As car owners, we all know we need to maintain our vehicles properly to make them last, but most of us hate how expensive a trip to the repair shop can be — and for good reasons. Nowadays, mechanics may charge you well over $100/hour for labor alone, contributing heavily to the $652 average yearly car maintenance cost in the US.
So if you want to save a little here, you may want to perform some of that basic maintenance on your own. In fact, most of the basic stuff is fairly easy once you get the hang of it. And with the help of modern car repair manuals, you don’t need years of training to change your oil, check the brakes, and so on. All you need is a few garage tools, a safe space to work, and a pair of brave hands.
Wondering what DIY-friendly car services you can nail at home and save some money in the long run? Here are five relatively basic maintenance jobs you can try your hand at, even with no prior experience — just take your time, follow the instructions found in your car repair manual, and you’ll be good to go.
1. Checking Fluid Levels
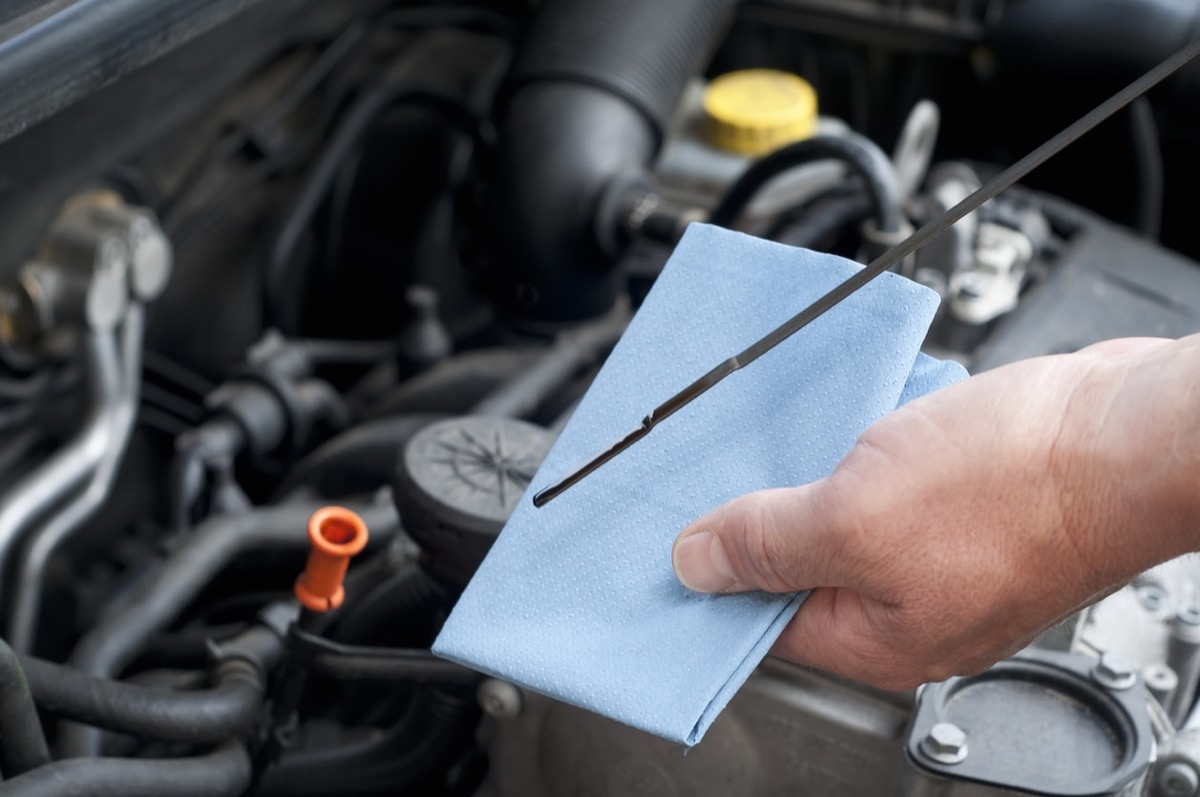
One of the easiest inspections you can do at home is checking the fluid levels. Apart from fuel, your car also needs a few other essential liquids to run, like oil, coolant, transmission fluid, etc. Some of them do have to be changed regularly, but I still recommend you check them every once in a while and ensure they are level, even between services — it’s a good way to detect leaks before they get too severe.
Before you start, ensure your vehicle is parked on level ground, and the engine has cooled off. If you have difficulty finding those fluid reservoir caps, don’t hesitate to consult your car owner’s manual to find their precise locations. Once you know where to put each fluid, it’ll be a quick process.
The inspection method may vary depending on the fluid type. For instance, the engine oil and transmission fluid levels are commonly measured by their provided dipstick, with a minimum and maximum indicator. Meanwhile, others like the coolant, brake fluid, power steering fluid, and windshield washer have those indicators marked clearly on their respective tank.
Make sure these fluid levels are always above the “MIN” and near (but not exceeding) the “MAX” stripe. If you see anything low, that’s usually a sign you need to change it or top it off.
2. Oil Change
The oil change is arguably the most crucial maintenance task to perform. It ensures your engine stays properly lubricated and keeps it clean by removing any built-up dirt and debris.
Many manufacturers will advise you to change your oil and filter every 3,000 miles/6 months, making it one of the most frequently performed vehicle services. So instead of visiting your mechanic that often, why not learn to do it yourself for roughly half the price? After all, it’s a pretty simple procedure.

Lift your car on a flat surface with a jack and find the drain plug under the oil pan. Put a service pan underneath it and remove the plug using a wrench; it may take around 10 minutes for all the old oil to drain before you can reinstall the plug. After that, reposition the pan under the oil filter and unscrew it; you may need to use an oil filter wrench if it’s too tight. Dab a bit of fresh oil on the new filter’s gasket and screw it back on.
Once you’ve tightened the drain plug and filter, open the oil filler cap on top of your engine and pour the right amount of new oil using a funnel. Put back the oil cap, run the engine for about 30 seconds, wait another 30 seconds for the oil to settle back in the pan, and confirm the level is right.
Voila! You’ve successfully changed your own oil.
Just remember to take the used oil to a nearby parts store to have it recycled once you’re done.
Download your car repair manual here!
3. Replacing Air Filters
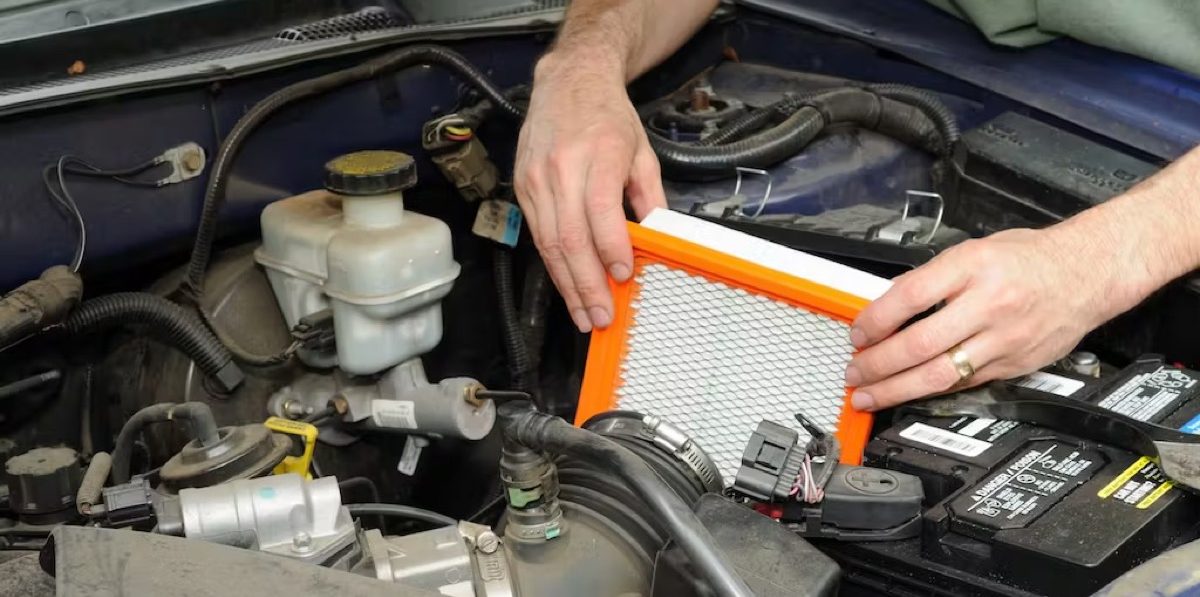
Your car typically has two air filters – one in the engine and one inside the cabin. The engine air filter helps to prevent dust, debris, or insects from reaching your motor and potentially damaging the internal components. Meanwhile, the cabin filter keeps your HVAC system blowing out clean air without leaves and dust. Eventually, both filters will become dirty and won’t work as efficiently as they once did, so you’ll have to change them periodically — preferably once a year, but that will really depend on how often you drive your car, in which condition, and in which climate.
Luckily, changing air filters is rather a plug-and-play process – just pull the old one out and slide the new one in. The engine air filter should be located inside a plastic housing under the hood that can be opened by a latch or screwdriver/socket wrench. As for the cabin air filter, it’s usually located right behind the glove box.
4. Changing Wiper Blades

Having a good pair of wiper blades during heavy rain or snowstorm is crucial. These blades usually last anywhere from 3-12 months before they can’t clean your windshield effectively. So if you start seeing streaks or hearing them squeak, you may need a new pair.
Changing your wiper blades is a piece of cake. Depending on the type/design, you may only need a screwdriver or, in most cases, just your bare hands. Replacing those with a pin, hook, or clip is pretty straightforward; just unlatch the old ones and secure the new ones in place without any tools. Only when dealing with straight-end connector blades will you need to use a screwdriver to depress a tab inside the arms – trust me, just read a few automotive repair guides online, and you won’t need a mechanic to assist you here.
Also, remember to get new blades with the correct lengths and attachment points for your vehicle model. Check your owners manual if you aren’t sure.
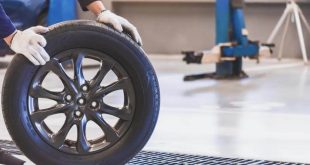
5. Tire Pressure Checks
Although your tires may look fine at most times, it’s important to check your tire pressure regularly (ideally, once a month) and ensure they’re properly inflated. Even without a leak, it’s common for them to lose air pressure over time. And low tire pressure can cause many negatives, from premature tire wear to reduced overall safety and fuel efficiency.
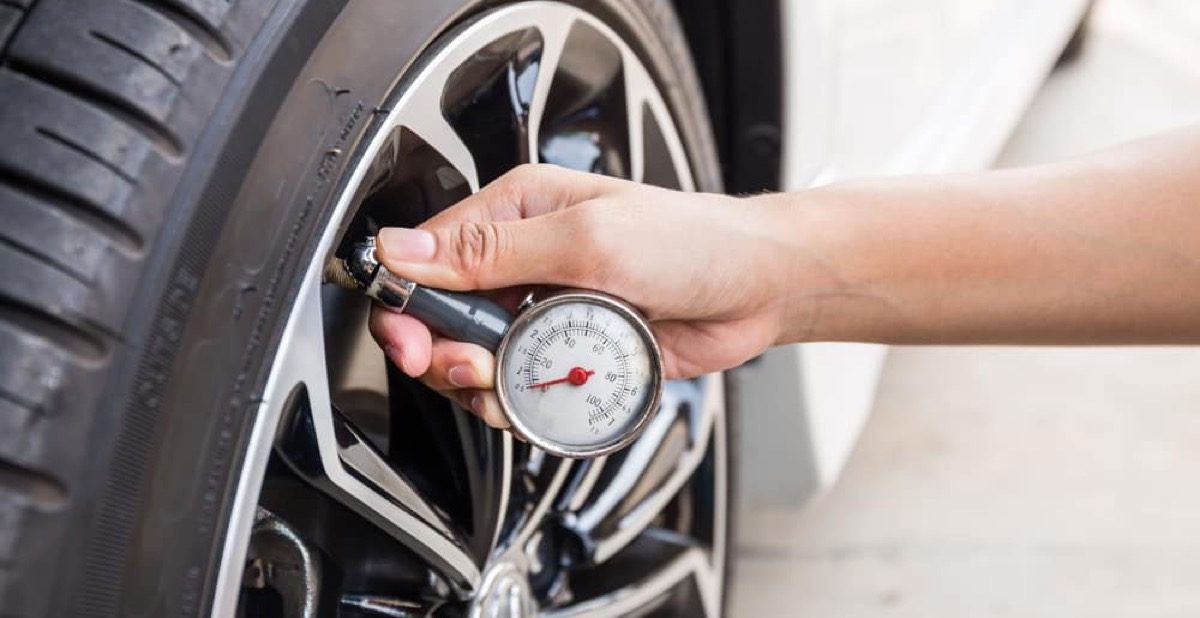
Fortunately, a tire pressure check is pretty cheap and quite easy to do. All you need is a tire pressure gauge, which usually costs around $1-10, depending on the type. Start by removing the valve cap from the tire and press down the pressure gauge on the valve stem until you see the PSI reading. If it’s lower than recommended, drive to the nearest gas station and add some air.
Usually, you can find your vehicle’s recommended tire pressure mentioned on a sticker inside the driver’s door. Alternatively, it should be listed somewhere in your vehicle repair manual.
Last Words
Now you know many car services are beginner’s friendly and DIY-able. And once you familiarize yourself with accomplishing those tasks above, you could be seeing your mechanic a lot less for the other maintenance services.
That being said, I wish you the best of luck and happy DIY-ing!
Download 2.5M+ car repair manuals here!