WARNING CAUTION: NOTE: NOTICE This manual was written by the Yamaha Motor Company primarily for use by Yamaha dealers and their qualified mechanics. It is not possible to put an entire mechanic’s education into one manual, so it is assumed that persons using this book to perform maintenance and repairs on Yamaha snowmobiles have a basic under- standing of the mechanical concepts and pro- cedures inherent in snowmobile repair. Without such knowledge, attempted repairs or service to this model may render it unfit and / or unsafe to use. Yamaha Motor Company, Ltd. is continually striving to improve all models manufactured by Yamaha. Modifications and significant changes in speci- fications or procedures will be forwarded to all authorized Yamaha dealers and will, where ap- plicable, appear in future editions of this manu- al. RX10H/RX10SH RX10MH/RX10MSH RX10RH/RX10RSH SERVICE MANUAL 2002 by Yamaha Motor Corporation, U.S.A. 1st Edition, June 2002 All rights reserved. Any reprinting or unauthorized use without the written permission of Yamaha Motor Corporation, U.S.A. is expressly prohibited. Printed in U.S.A. P/N.LIT-12618-02-28 HOW TO USE THIS MANUAL Particularly important information is distin- guished in this manual by the following nota- tions: The Safety Alert Symbol means ATTENTION! BE ALERT! YOUR SAFETY IS INVOLVED! Failure to follow WARNING instructions could result in severe injury or death to the snowmo- bile operator, a bystander, or a person inspect- ing or repairing the snowmobile. A CAUTION indicates special precautions that must be taken to avoid damage to the snowmo- bile. A NOTE provides key information that can make procedures easier or clearer. MANUAL FORMAT All of the procedures in this manual are orga- nized in a sequential, step-by-step format. The information has been compiled to provide the mechanic with an easy to read, handy reference that contains comprehensive explanations of all inspection, repair, assembly, and disassembly operations. In this revised format, the condition of a faulty component will precede an arrow symbol and the course of action required to correct the prob- lem will follow the symbol, e.g., S Bearings Pitting/damage ! Replace. EXPLODED DIAGRAM Each chapter provides exploded diagrams be- fore each disassembly section to facilitate cor- rect disassembly and assembly procedures.
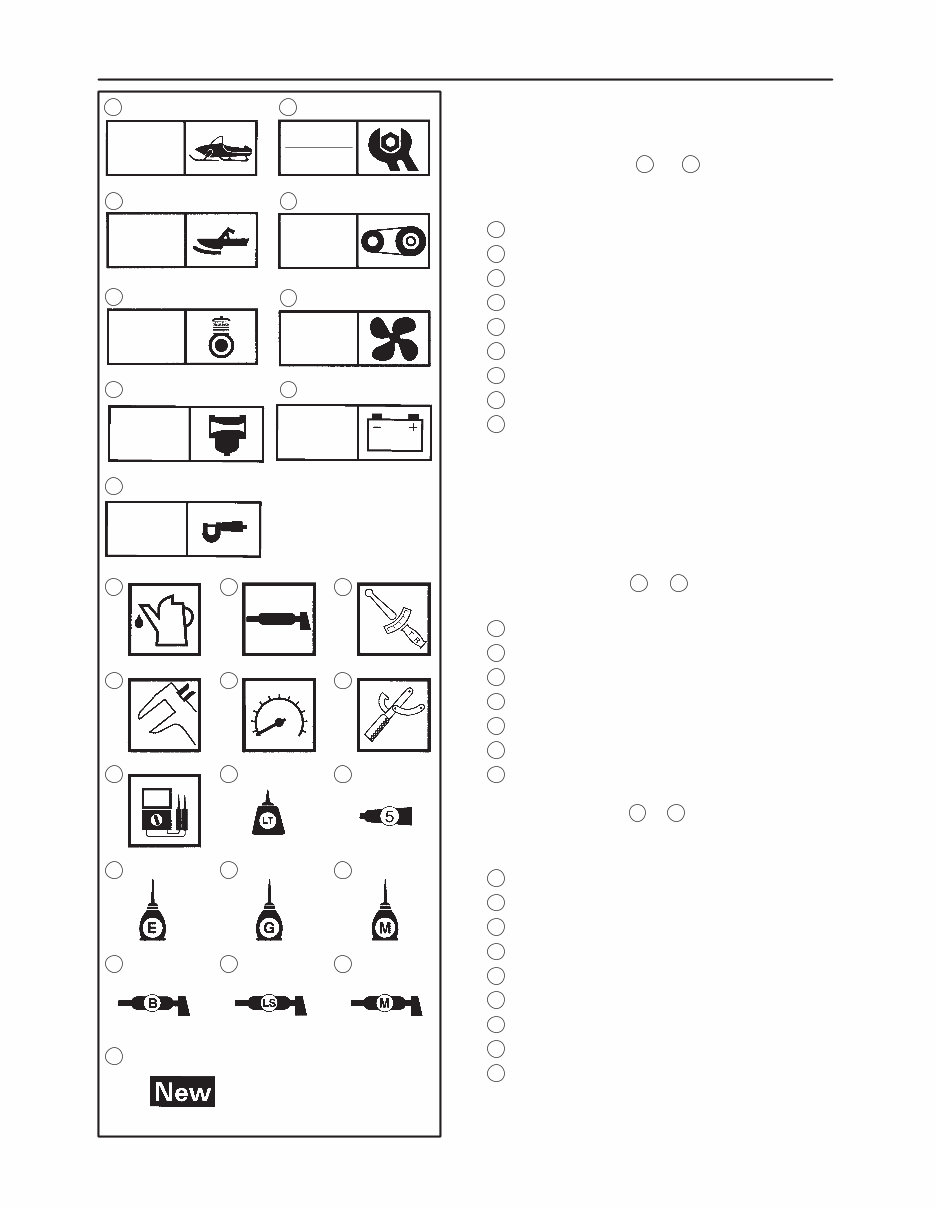
10 SPEC ELEC CARB 8 1 2 3 4 5 6 7 11 12 13 14 15 16 17 18 19 20 21 22 23 24 25 GEN INFO INSP ADJ ENG CHAS POWR TR 9 COOL ILLUSTRATED SYMBOLS (Refer to the illustration) Illustrated symbols 1 to 9 are designed as thumb tabs to indicate the chapter’s number and content. 1 General information 2 Periodic inspections and adjustments 3 Chassis 4 Power train 5 Engine 6 Cooling system 7 Carburetion 8 Electrical 9 Specifications Illustrated symbols 10 to 16 are used to identify the specifications which appear. 10 Filling fluid 11 Lubricant 12 Tightening 13 Wear limit, clearance 14 Engine speed 15 Special tool 16 Ω, V, A Illustrated symbols 17 to 25 in the exploded dia- gram indicate grade of lubricant and location of lubrication point. 17 Apply locking agent (LOCTITE ) 18 Apply Yamabond No.5 19 Apply engine oil 20 Apply gear oil 21 Apply molybdenum disulfide oil 22 Apply wheel bearing grease 23 Apply low-temperature lithium-soap base grease 24 Apply molybdenum disulfide grease 25 Use new one
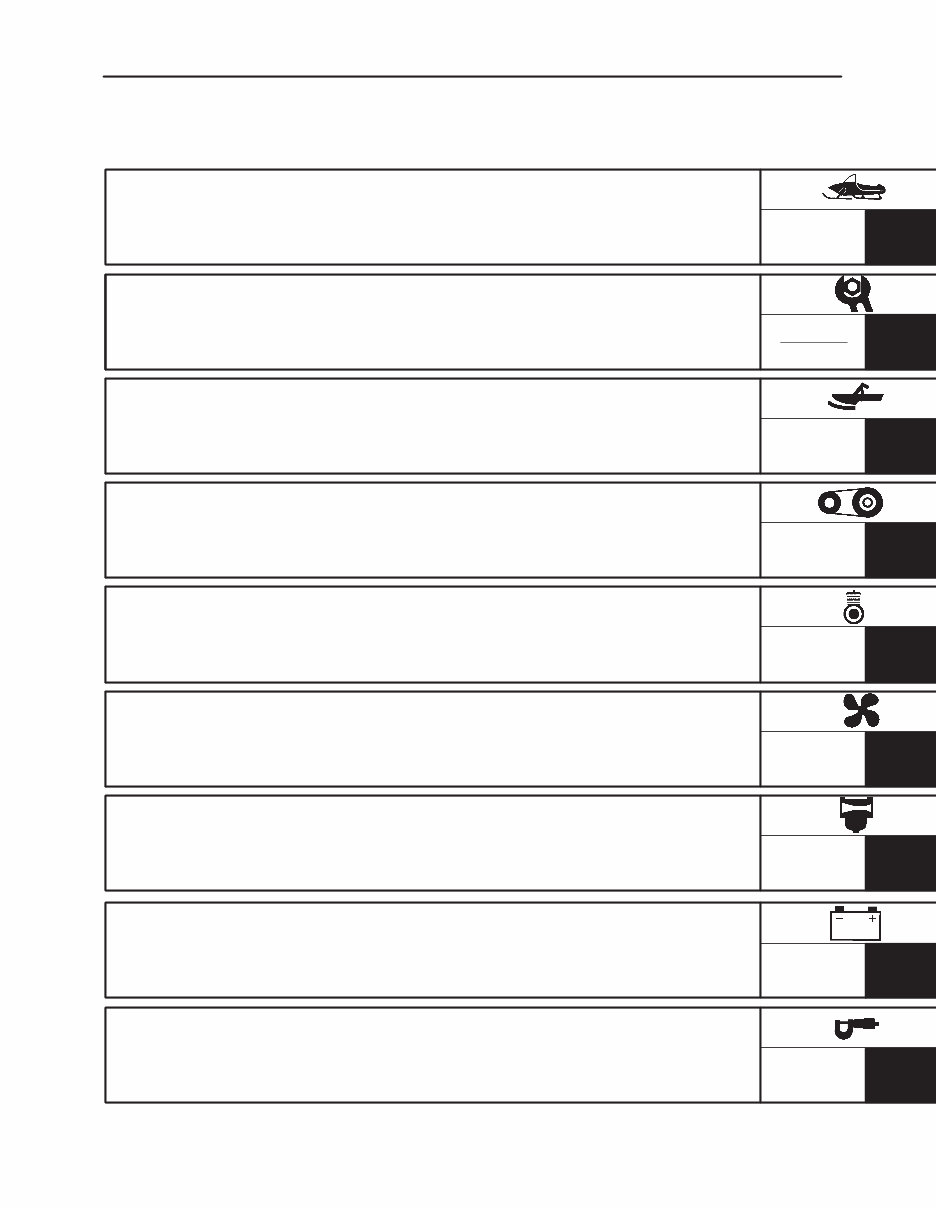
1 9 8 6 5 4 INSP ADJ GENERAL INFORMATION PERIODIC INSPECTIONS AND ADJUSTMENTS POWER TRAIN ENGINE COOLING SYSTEM ELECTRICAL SPECIFICATIONS GEN INFO 2 3 POWR TR ENG COOL ELEC SPEC CHASSIS CHAS 7 CARBURETION CARB INDEX
1-1 MACHINE IDENTIFICATION GEN INFO NOTE: GENERAL INFORMATION MACHINE IDENTIFICATION FRAME SERIAL NUMBER The frame serial number 1 is located on the right-hand side of the frame (just below the front of the seat). ENGINE SERIAL NUMBER The engine serial number 1 is located on the left-hand side of the crankcase. Designs and specifications are subject to change without notice.
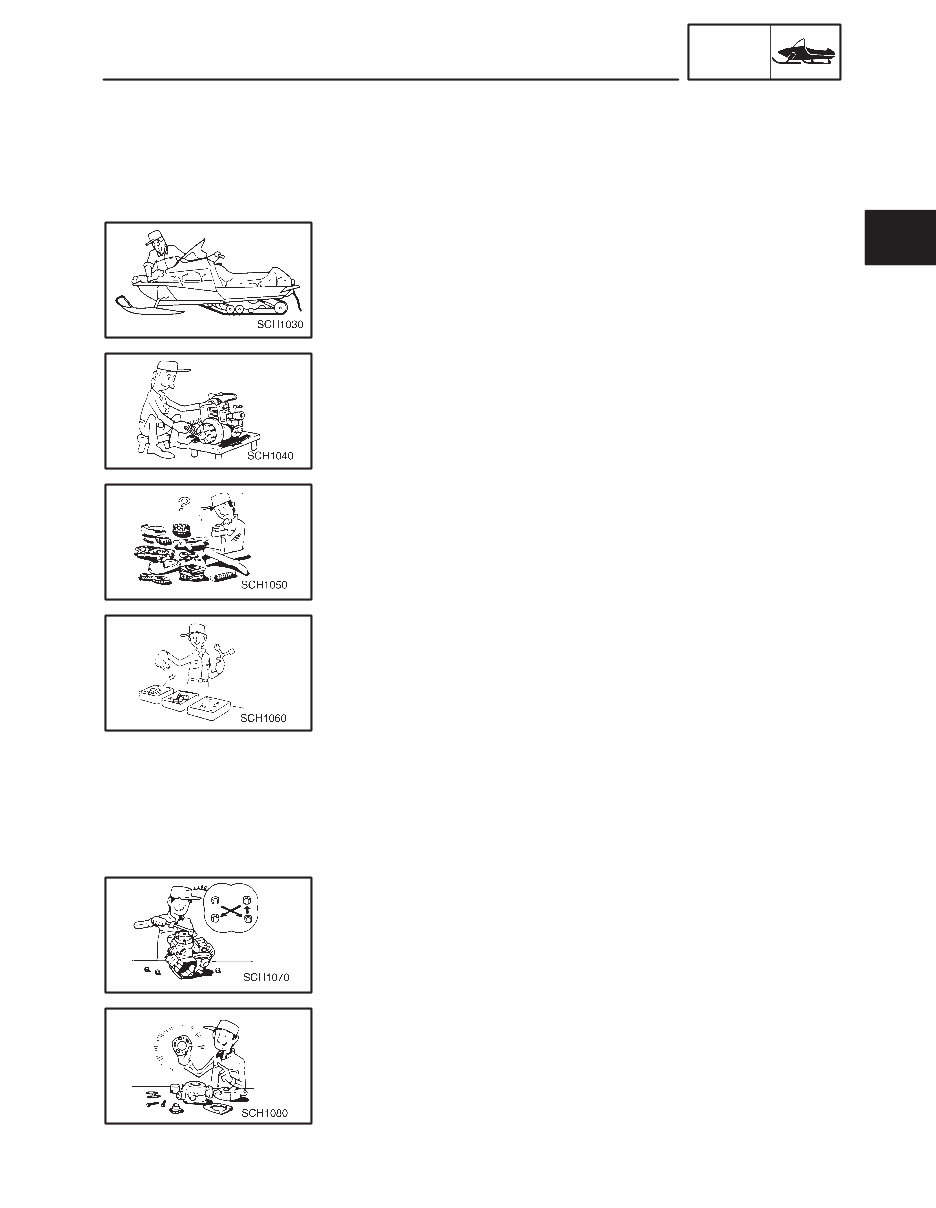
1 1-2 IMPORTANT INFORMATION GEN INFO IMPORTANT INFORMATION PREPARATION FOR REMOVAL AND DISASSEMBLY 1. Remove all dirt, mud, dust, and foreign material before removal and disassembly. While cleaning, take care to protect the electrical parts, such as relays, switches, motor, resistors, controllers, etc., from high pres- sure water splashes. 2. Use proper tools and cleaning equipment. Refer to “SPECIAL TOOLS”. 3. When disassembling the machine, keep mated parts together. This includes gears, cylinders, pistons, and other parts that have been “mated” through normal wear. Mated parts must be reused or replaced as an assembly. 4. During disassembly of the machine, clean all parts and place them in trays in the order of disassembly. This will speed up as- sembly time and help ensure that all parts are reinstalled correctly. 5. Keep all parts away from any source of fire. 6. Be sure to keep to the tightening torque specifications. When tightening bolts, nuts, and screws, start with those that have larger diameters, and proceed from the inside to the outside in a criss- cross pattern. ALL REPLACEMENT PARTS We recommend using genuine Yamaha parts for all replacements. Use oil and grease recommended by Yamaha for assembly and ad- justments.
The 2003-2006 Yamaha RX10 Snowmobiles OEM Service & Repair Manual is the official factory guide for maintaining and repairing these models. Covering the RX10H, RX10SH, RX10MH, RX10MSH, RX10RH, and RX10RSH, it provides step-by-step procedures, manufacturer-approved specifications, and troubleshooting instructions for accurate service and repairs.
This manual details essential maintenance, including engine servicing, fuel system adjustments, clutch inspections, and suspension tuning. It includes critical specifications such as torque values, fluid capacities, and component wear limits to ensure all work is performed to factory standards. Proper servicing and timely repairs help maximize performance and extend the snowmobile’s operational life in demanding winter conditions.
For those maintaining a Yamaha RX10 series snowmobile, this manual serves as a crucial reference. Whether performing routine maintenance or diagnosing mechanical issues, it provides the necessary factory-approved procedures to keep the machine running efficiently and reliably in cold-weather environments.
Printable: Yes Language: English Compatibility: Pretty much any electronic device, incl. PC & Mac computers, Android and Apple smartphones & tablet, etc. Requirements: Adobe Reader (free)