1 1 FOREWORD Thankfully choosing the MINI KOLT as your vehicle. This manual is provided to introduce the specification, general inspection and disassemble / assemble of vehicle of mini cobra. In this manual, Chapter 1 contains the vehicle specification and the inspection schedule. Chapter 2 includes how to disassembling and assembling the engine and the vehicle. Chapter 3 comprises the parts of engine and the vehicle inspection. Please spend some time reading this manual for inspection before operating the vehicle. We kindly remind and warn the operators that the vehicle is designed and manufactured for " off-road " use only. Do not operate this vehicle on the public road. Thanks for choosing our product. We wish you enjoy operating our ATVs.
2 2 MINI KOLT Specification TYPE AT-60A AT-60B ENGINE TYPE 2-Stroke, Horizontal CYLINDER NUMBER 1 DISPLACEMENT 49.3 cc BORE STROKE 40×39.2 COMPRESSION RATIO 4:1 MAX.POWER 1.76kw/5500rpm MAX. TORQUE 3.32N-m/5000rpm STARTING Electric/ Kicker LUBRICATE Auto lube OIL TANK CAPACITY 1 Liter TRANSMISSION Automatic (C.V.T system) FRONT Double Wishbone N/A SUSPENSION REAR SWING ARM FRONT Drum N/A BRAKE REAR Drum FRONT 145×70-6 TIRE REAR 15×6-6 OVERALL DIMENSION 1180×780×750 mm WHEELBASE 745 mm SEAT HEIGHT 550 mm GROUND CLEARANCE 75 mm DRY WEIGHT 77 Kg 75.5Kg MAX. LOAD 40 Kg FUEL Unleaded Gasoline FUEL CAPABILITY 3.4 Liter
3 3 Inspection Schedule Service Item Initial Service (First two weeks) Monthly 1/2 Yearly Yearly Air Cleaner C Fuel Filter I Fuel/ Oil Tube I Battery I I Brake Shoe I Spark Plug I Lubricate of Chain I Lubricate of Steering I Carburetor C Throttle Operate I Tire Pressure I Bolts and Nuts T Gear Oil R R R: Replace C: Clean T: Tighten I: Inspection Note: The inspection schedule is for your reference, if the vehicle is operated very often please check the vehicle more frequently.
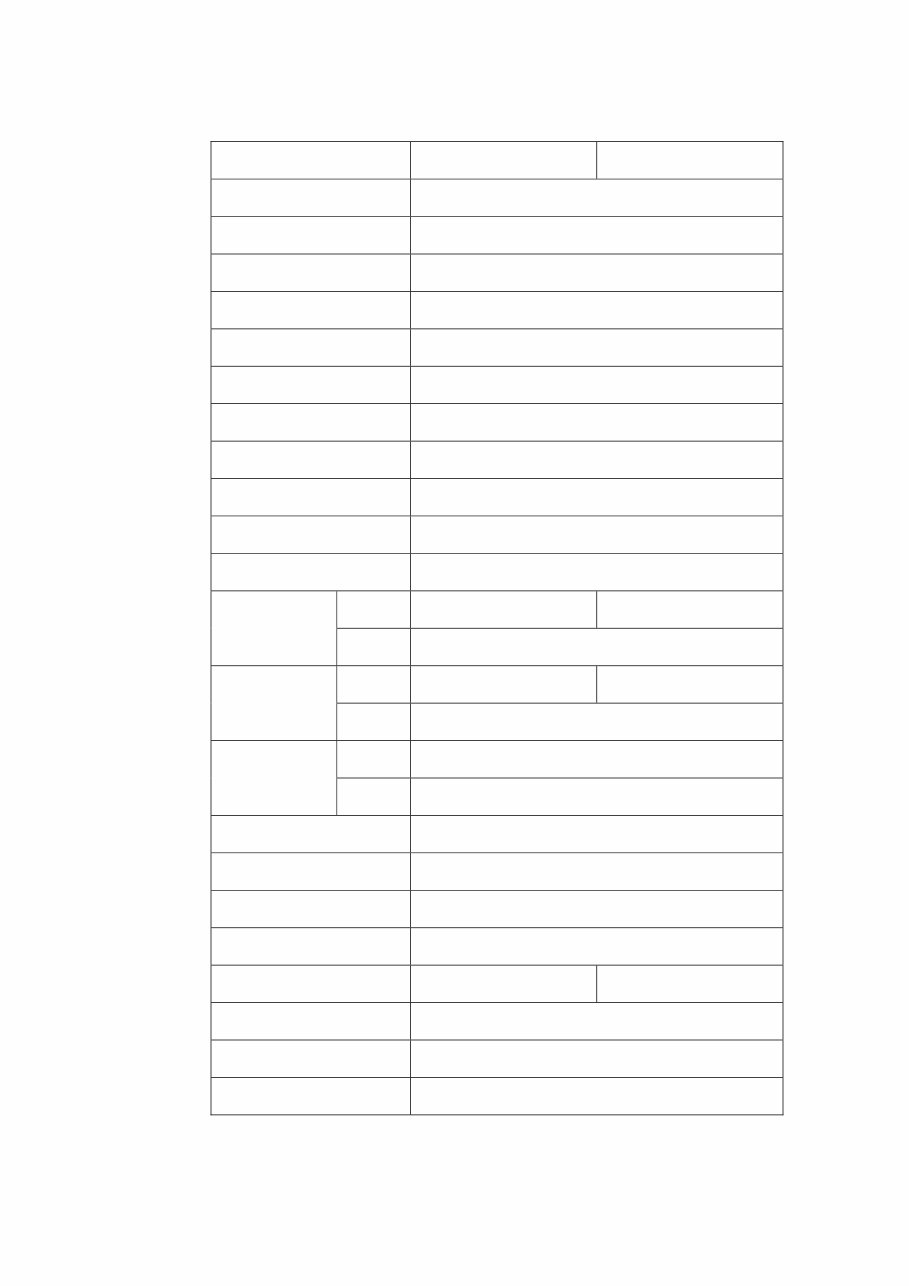
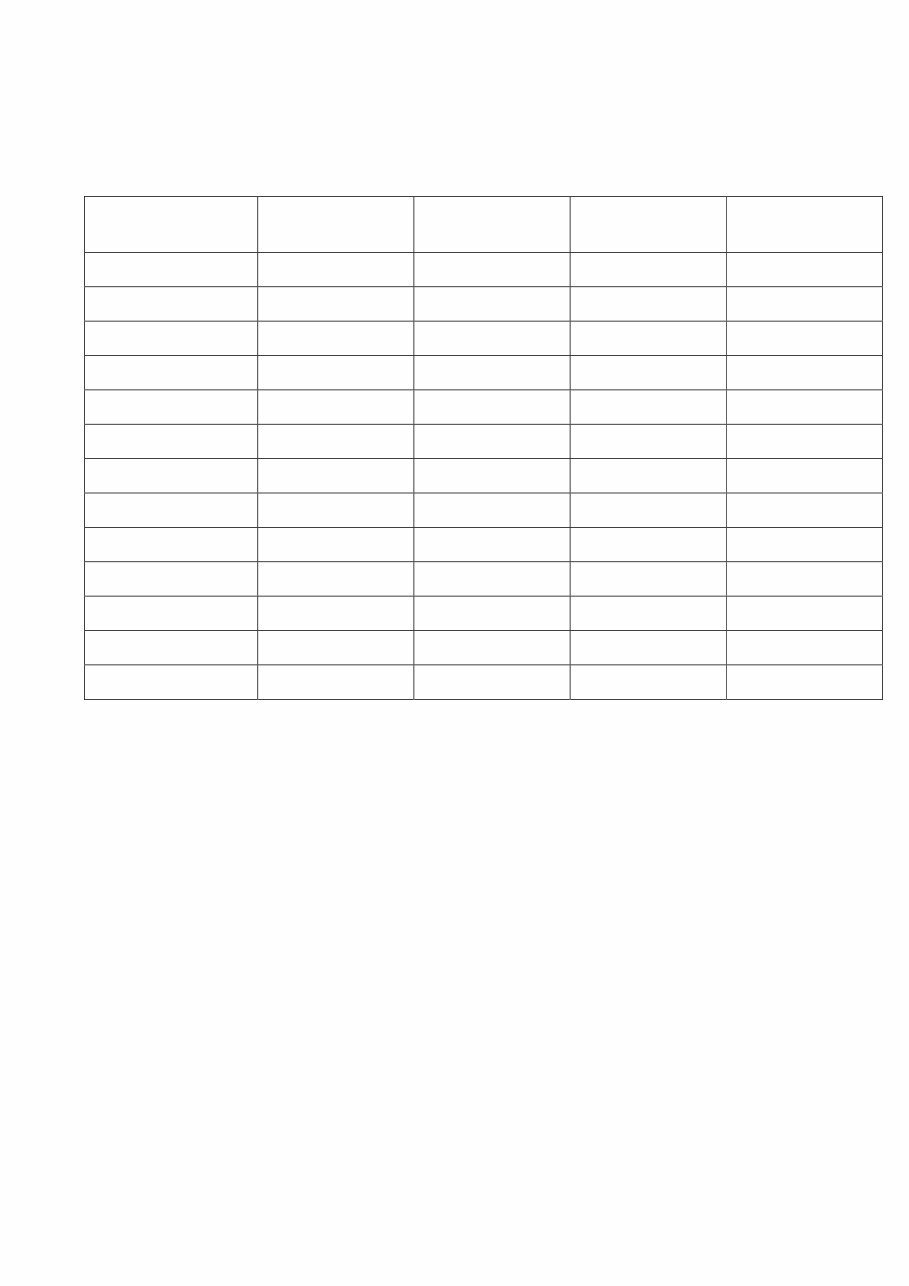
4 4 Engine Disassembling Fan Cover & Cylinder Air Shroud Loosen the bolts and screw of fan cover. Remove the cylinder air shroud and deflector Loosen the bolts and remove fan. Start Motor Loosen the bolts and remove the start motor. Inlet & Fuel System Loosen the bolts, remove the clip and air cleaner CAUTION Please clean the air filter during an operating period (refer to the inspection schedule) and don’t use any volatilize solvent to clean the air filter. Loosen the screw of clamp and remove the carburetor. Clamp
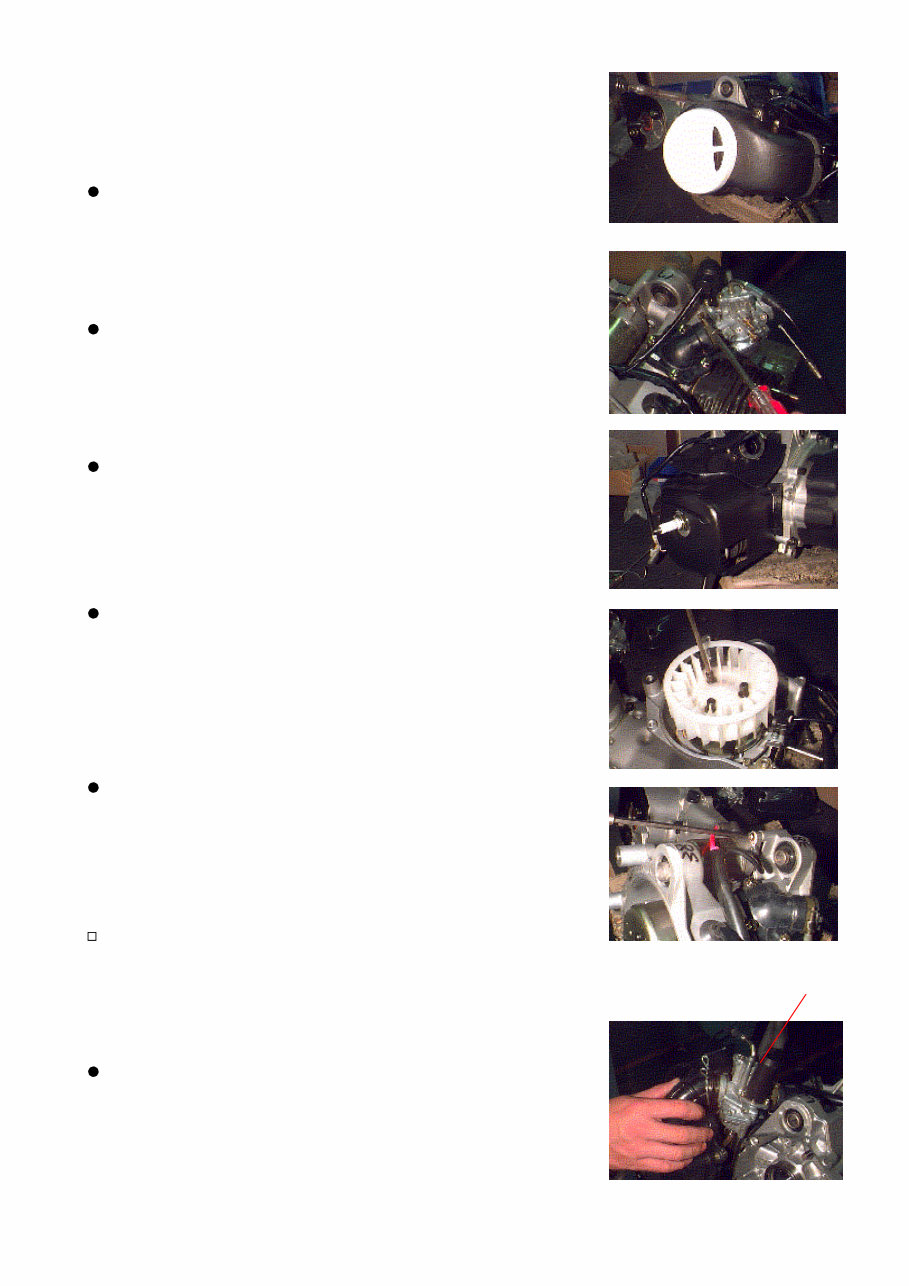
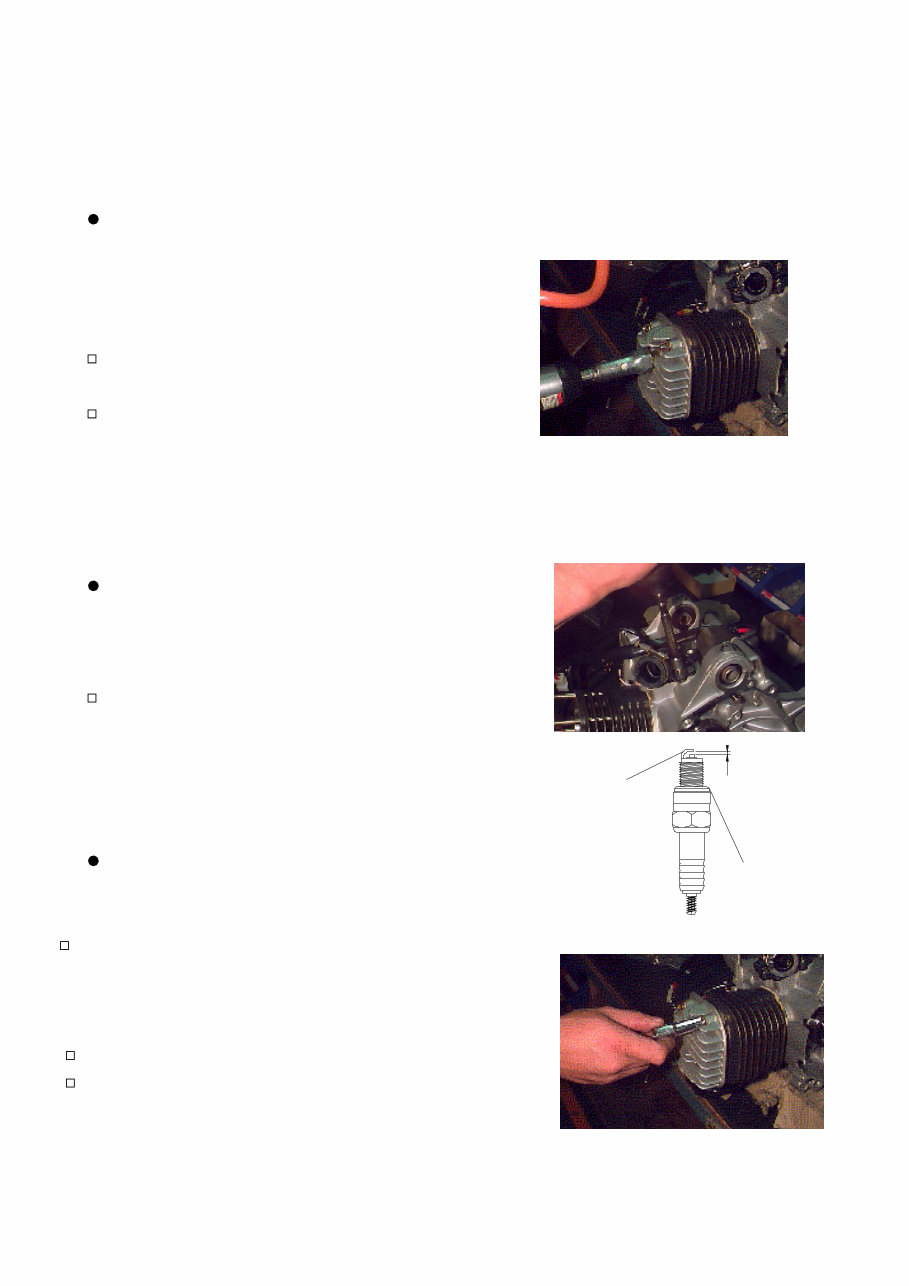
5 5 ngine Disassembling nlet & Fuel System Loosen the bolts and remove the intake AUTION ed valve is moved, please e tongue uffler, Cylinder & Cylinder Head Remove the spark plug AUTION electrode of spark plug, the the Loosen the nuts of cylinder head and CA inder head gasket, if it damages E I manifold and reed valve. C After the re checks the gasket damage or not. Check the state of reed valve, if th damaged please change a new set. M C Check the normal gap of electrode is between 0.6~0.7 mm and clean the carbon of electrode. remove the cylinder head UTION Check the cyl or distortions please change a new one. 0.6~0.7 mm Washer Center Electrode Damages or distortions please change a new one. Clean the carbon of the combustion chamber.
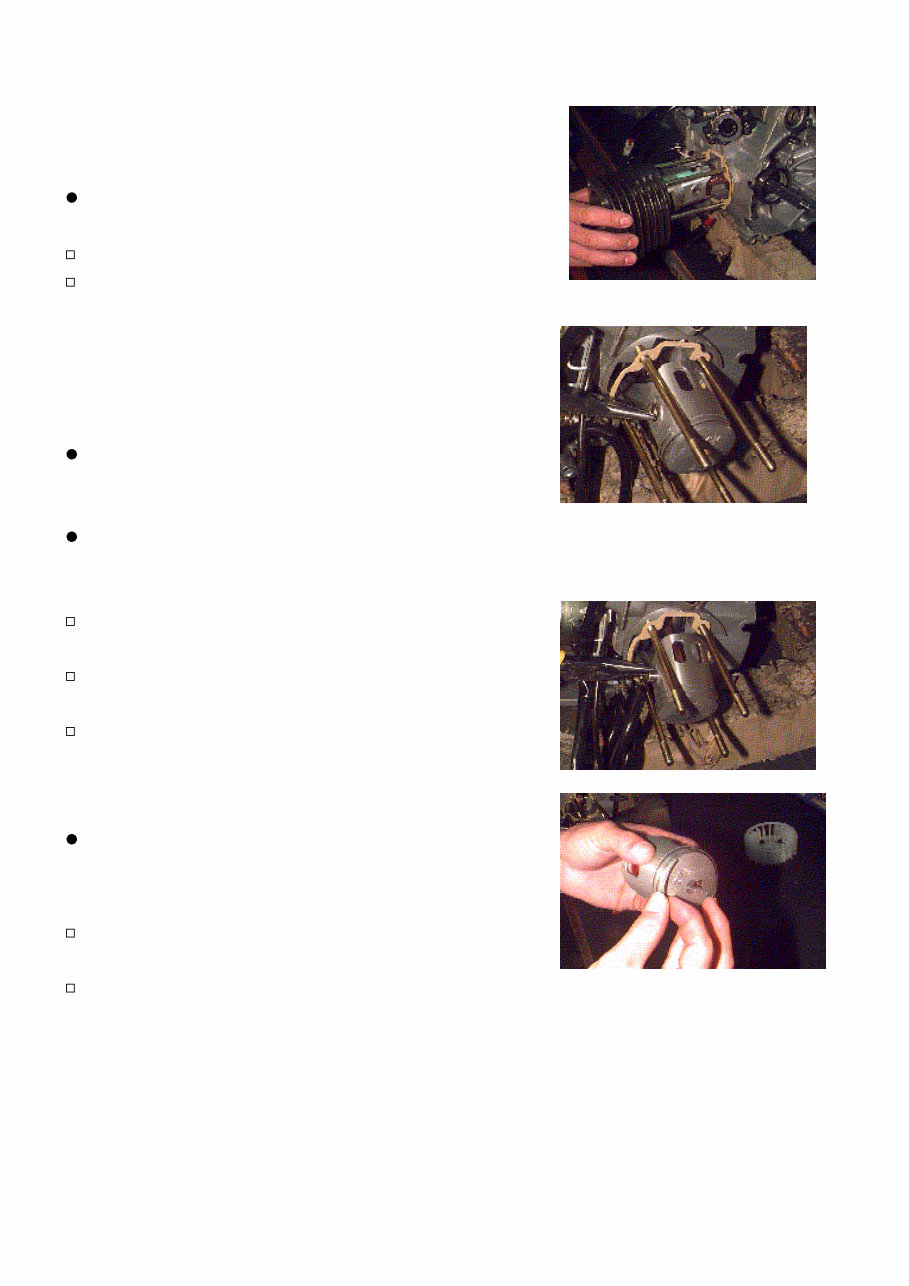
6 ngine Disassembling ead AUTION linder wall and ports. cylinder surface with scrape or not, if the of oil or Piston Pin, Piston and Rings Remove the piston pin and piston Check the piston surface has scrape or not and clean of the top face. f mear some oil on the piston. Removing the rings. Be careful while removing the rings, don’t damage or e ring. E Cylinder & Cylinder H Remove the cylinder C Clean the carbon of cy Check the surface is scraped please increase the feeding change a new one. Remove the piston pin clip CAUTION the carbon Keep the piston carefully. Don’t damage the surface o piston. After checking and mount it into the cylinder again, please s CAUTION distort th Mounts the rings, the opening of ring must stand on the pin.
This is a full professional quality in-depth Service & Repair manual that provides access to all PC, MAC, Tablets & Smartphones. Save money by performing your own repairs with easy-to-follow step-by-step instructions, pictures, and wiring diagrams covering all areas of repair, including routine maintenance.
Format: .PDF
Language: English
Compatible: Win/MAC/Linux
Instant delivery upon receipt of payment. No shipping cost or waiting for the mailman. Start your repair today with easy access on your PC, Tablet, or Laptop.
FAQ:
Why should I purchase this manual?
This manual provides an easy layout format covering all repair procedures in great detail, helping you better understand all parts and repair procedures. With the knowledge contained within this manual, you will easily be able to do your own servicing, maintenance, and repairs.
What models are covered in this manual?
All models for the above stated years and all engine types are included.
What type of information is covered?
Every manual is packed with all aspects of Service, repair & maintenance.
How long for delivery?
Delivery on this item is instant once you have paid with your Credit/Debit/Paypal Account, there is no shipping involved, you will receive this manual right away! You Can Fix It Today!
How much money will I save?
This manual will help you save money upwards into the thousands. Don't be scammed by mechanics, technicians, or engineers charging you tons of money for a small job that you can do yourself using the information & knowledge contained in this Manual.
Is this Manual hard to use?
No, not at all. If you can open up an email then you can use this manual, it's that simple! This manual is in .PDF format and will work on any PC/MAC computer.