

1985-1999 Yamaha Virago XV700/750/1000/1100 Service & Repair Manual
What's Included?
Fast Download Speeds
Offline Viewing
Access Contents & Bookmarks
Full Search Facility
Print one or all pages of your manual
GJYAMAHA
XV700/XV750
XV1000/XV1100
Service Manual
428
LIT-11616-XV-11
---------
OYAMAHA
Supplementary
liP ice IIIII
LIT-11616-06-10
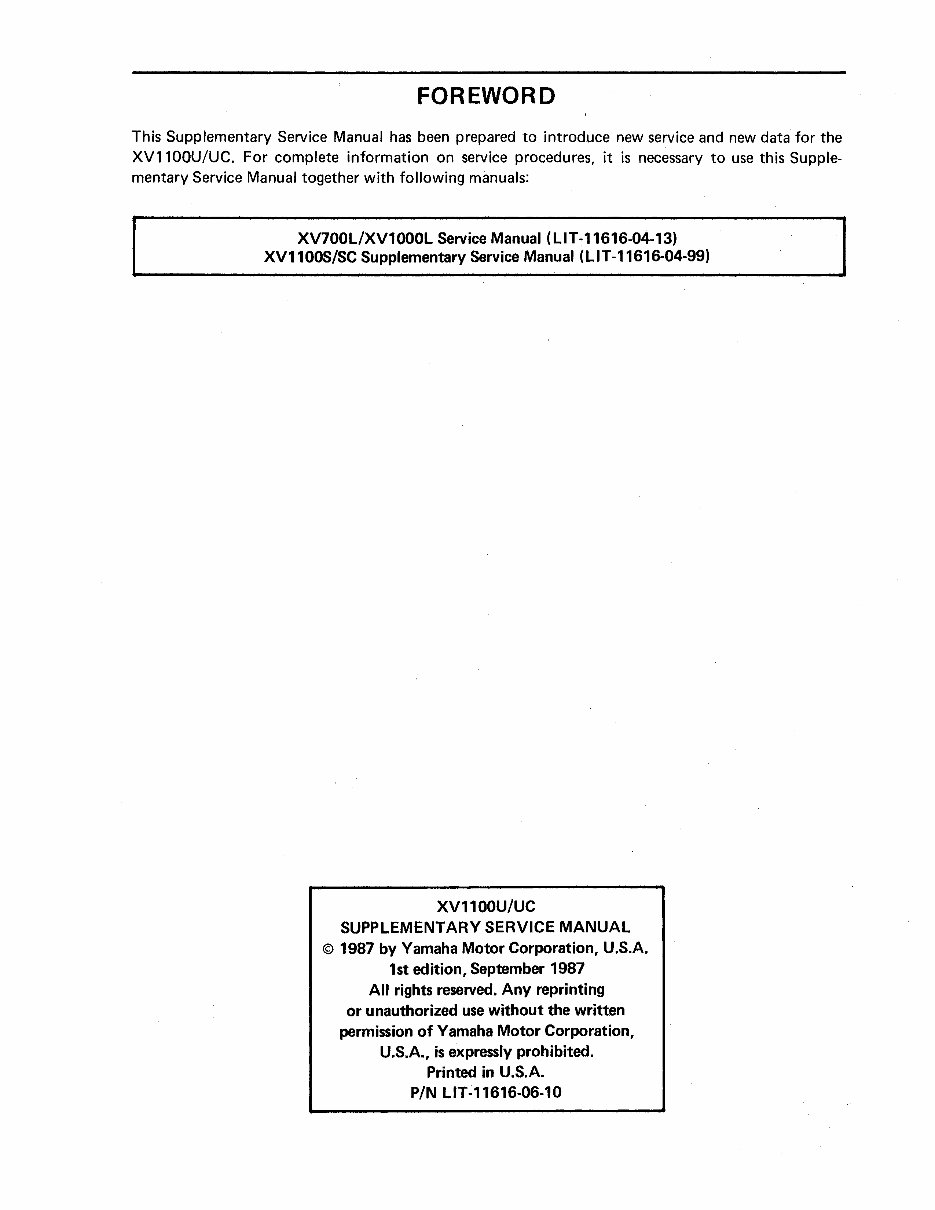
FOREWORD
This Supplementary Service Manual has been prepared to introduce new service and new data for the
XV1100U/UC. For complete information on service procedures, it is necessary to use this Supple-
mentary Service Manual together with following manuals:
XV700L/XV1000L Service Manual
XV1100S/SC Supplementary Service Manual (LIT-11616-04-99)
XV1100U/UC
SUPPLEMENTARY SERVICE MANUAL
© 1987 by Yamaha Motor Corporation, U.S.A.
1st edition, September 1987
All rights reserved. Any reprinting
or unauthorized use without the written
permission of Yamaha Motor Corporation,
U.S.A., is expressly prohibited.
Printed in U.S.A.
P/N
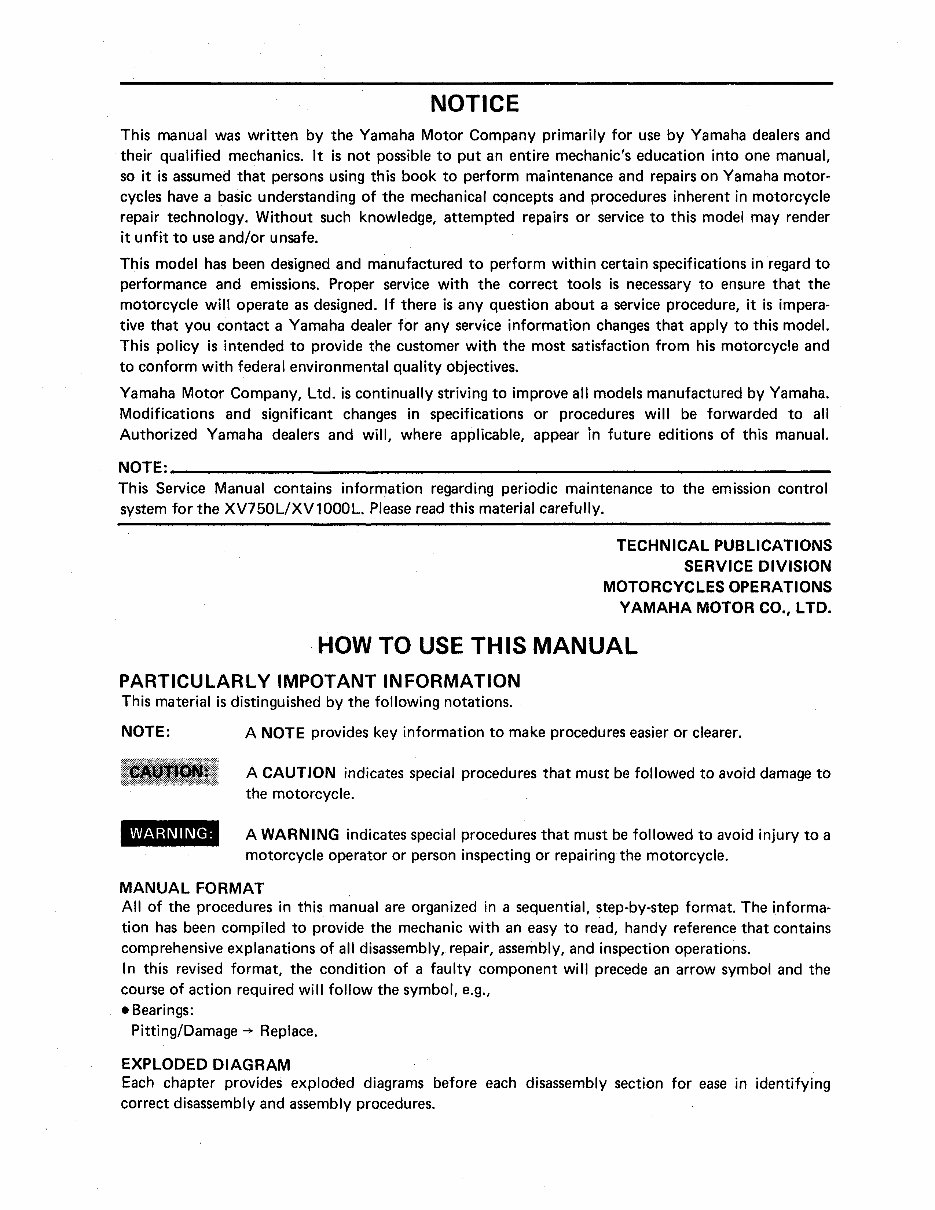
NOTICE
This manual was written by the Yamaha Motor Company primarily for use by Yamaha dealers and
their qualified mechanics. It is not possible to put an entire mechanic's education into one manual,
so it is assumed that persons using this book to perform maintenance and repairs on Yamaha motor-
cycles have a basic understanding of the mechanical concepts and procedures inherent in motorcycle
repair technology. Without such knowledge, attempted repairs or service to this model may render
it unfit to use and/or unsafe.
This model has been designed and manufactured to perform within certain specifications in regard to
performance and emissions. Proper service with the correct tools is necessary to ensure that the
motorcycle will operate as designed. If there is any question about a service procedure, it is impera-
tive that you contact a Yamaha dealer for any service information changes that apply to this model.
This policy is intended to provide the customer with the most satisfaction from his motorcycle and
to conform with federal environmental quality objectives.
Yamaha Motor Company, Ltd. is continually striving to improve all models manufactured by Yamaha.
Modifications and significant changes in specifications or procedures will be forwarded to all
Authorized Yamaha dealers and will, where applicable, appear in future editions of this manual.
NOTE:------------------------------------------------------------
This Service Manual contains information regarding periodic maintenance to the emission control
system for the XV750LIXV1000L. Please read this material carefully.
TECHNICAL PUBLICATIONS
SERVICE DIVISION
MOTORCYCLES OPERATIONS
YAMAHA MOTOR CO., LTO.
HOW TO USE THIS MANUAL
PARTICULARLY IMPOTANT INFORMATION
This material is distinguished by the following notations.
NOTE:
WARNING:
A NOTE provides key information to make procedures easier or clearer.
A CAUTION indicates special procedures that must be followed to avoid damage to
the motorcycle.
A WARNING indicates special procedures that must be followed to avoid injury to a
motorcycle operator or person inspecting or repairing the motorcycle.
MANUAL FORMAT
All of the procedures in this manual are organized in a sequential, step-by-step format. The informa-
tion has been compiled to provide the mechanic with an easy to read, handy reference that contains
comprehensive explanations of all disassembly, repair, assembly, and inspection operations.
In this revised format, the condition of a faulty component will precede an arrow symbol and the
course of action required will follow the symbol, e.g.,
• Bearings:
Replace.
EXPLODED DIAGRAM
Each chapter provides exploded diagrams before each disassembly section for ease in identifying
correct disassembly and assembly procedures.
CD ®
®
@
I ENG l'-1
®
@
(j)
®
IELECIIiliiii I
IAPPxl•'l
®
@
@ @
@
[0]
@
rmTI
@ @
®
@
®
®
•
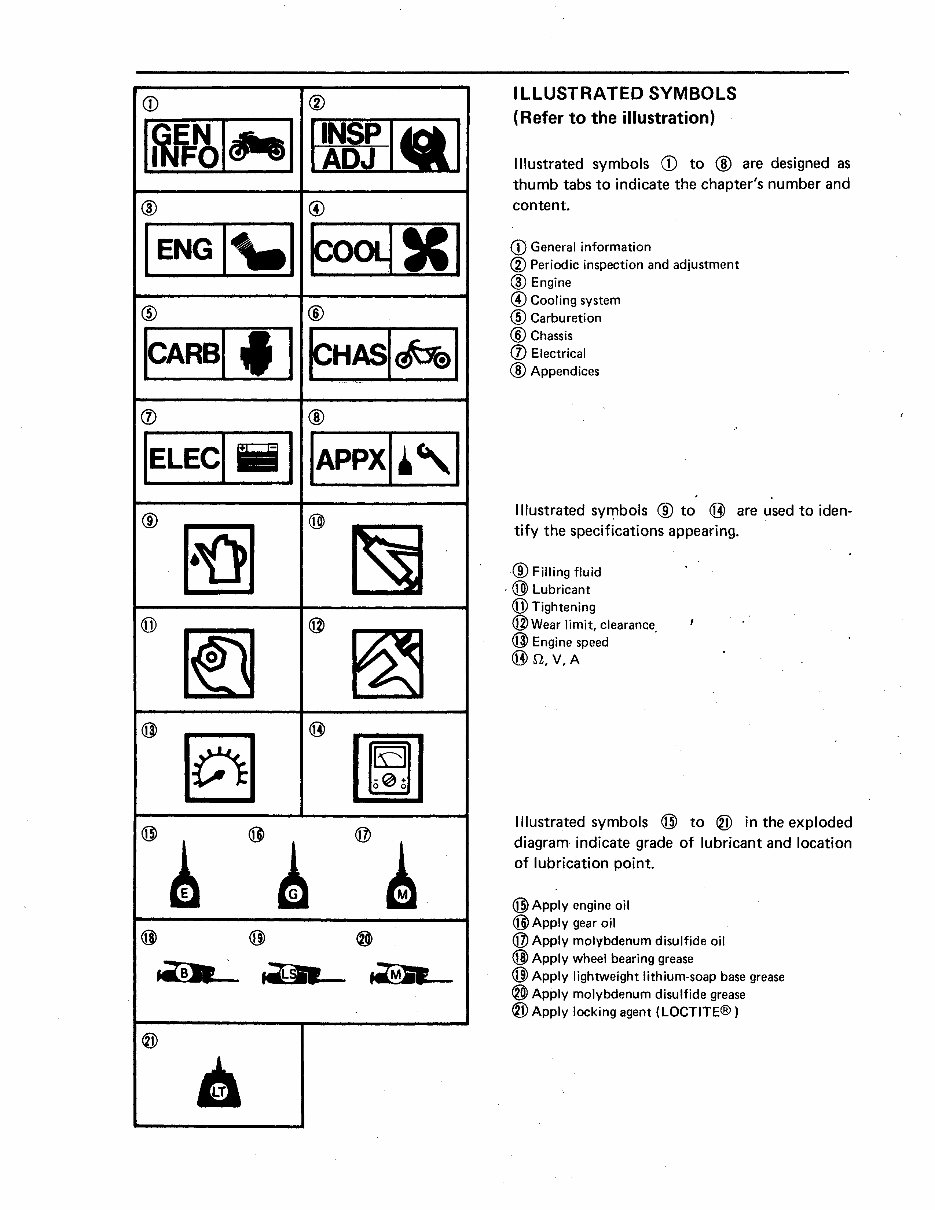
ILLUSTRATED SYMBOLS
(Refer to the illustration)
Illustrated symbols CD to @ are designed as
thumb tabs to indicate the chapter's number and
content.
CD General information
® Periodic inspection and adjustment
@Engine
@ Cooling system
@ Carburetion
@Chassis
(j) Electrical
@Appendices
Illustrated symbols ® to @ are used to iden-
tify the specifications appearing.
®Filling fluid
· @ Lubricant
@Tightening
@Wear limit, clearance
@ Engine speed .
@.st,V,A
Illustrated symbols @ to ® in the exploded
diagram indicate grade of lubricant and location
of lubrication point.
@Apply engine oil
@Apply gear oil
@Apply molybdenum disulfide oil
@Apply wheel bearing grease
@Apply lightweight lithium-soap base grease
®Apply molybdenum disulfide grease
@Apply locking agent (LOCTITE®)
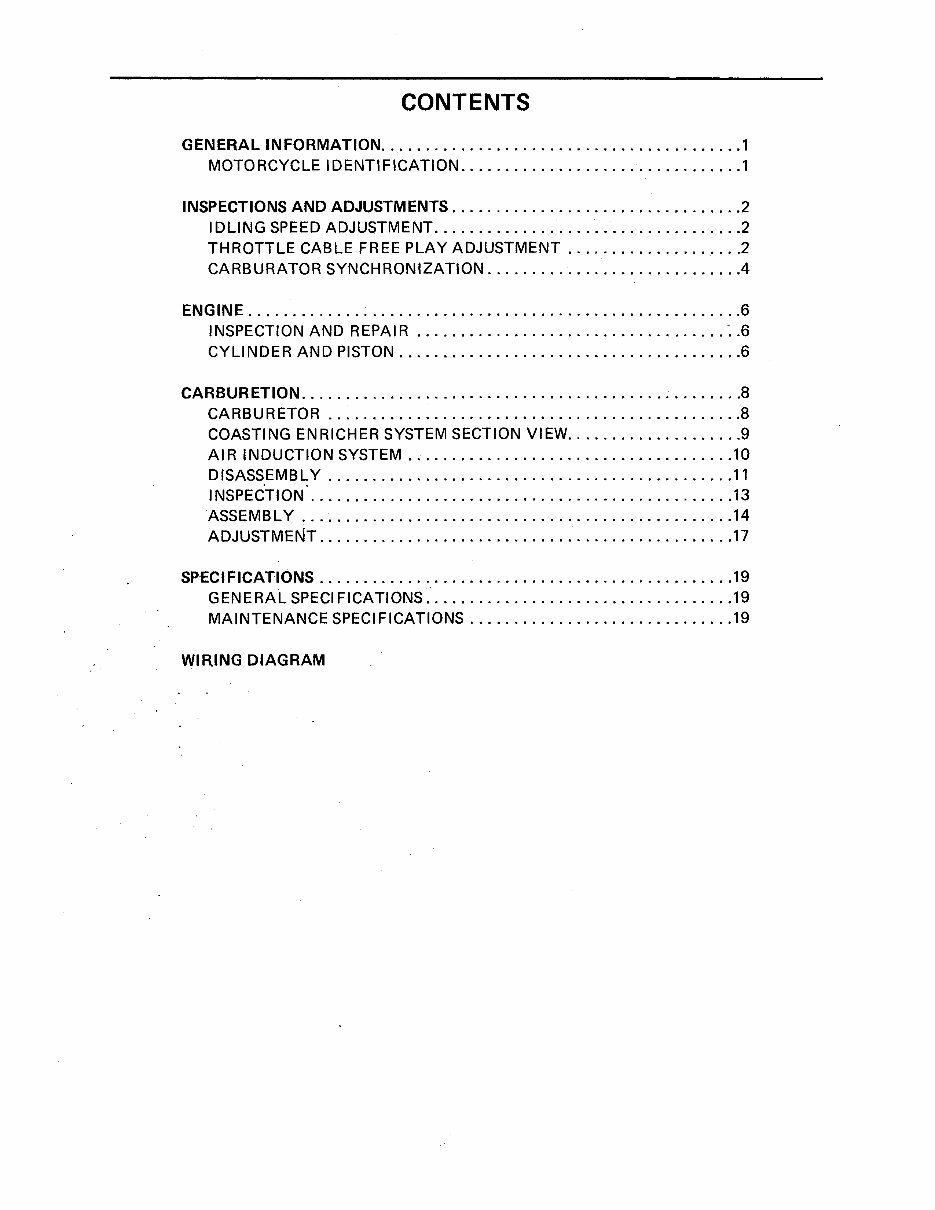
CONTENTS
GENERAL INFORMATION ......................................... 1
MOTORCYCLE IDENTIFICATION ................................ 1
INSPECTIONS AND ADJUSTMENTS ................................. 2
IDLING SPEED ADJUSTMENT ................................... 2
THROTTLE CABLE FREE PLAY ADJUSTMENT .................... 2
CARBURATOR SYNCHRONIZATION ............................ .4
ENGINE ........................................................ 6
INSPECTION AND REPAIR ................................... :.6
CYLINDER AND PISTON ....................................... 6
CARBURETION .......................................... - ........ 8
CARBURETOR ............................................... 8
COASTING ENRICHER SYSTEM SECTION VIEW .................... 9
AIR INDUCTION SYSTEM ..................................... 10
DISASSEMBLY .............................................. 11
INSPECTION ................................................ 13
ASSEMBLY ................................................. 14
ADJUSTMENT ............................................... 17
SP·ECIFICATIONS ............................................... 19
GENERAL SPECIFICATIONS ................................... 19
MAINTENANCE SPECIFICATIONS .............................. 19
WI RING DIAGRAM
-1-
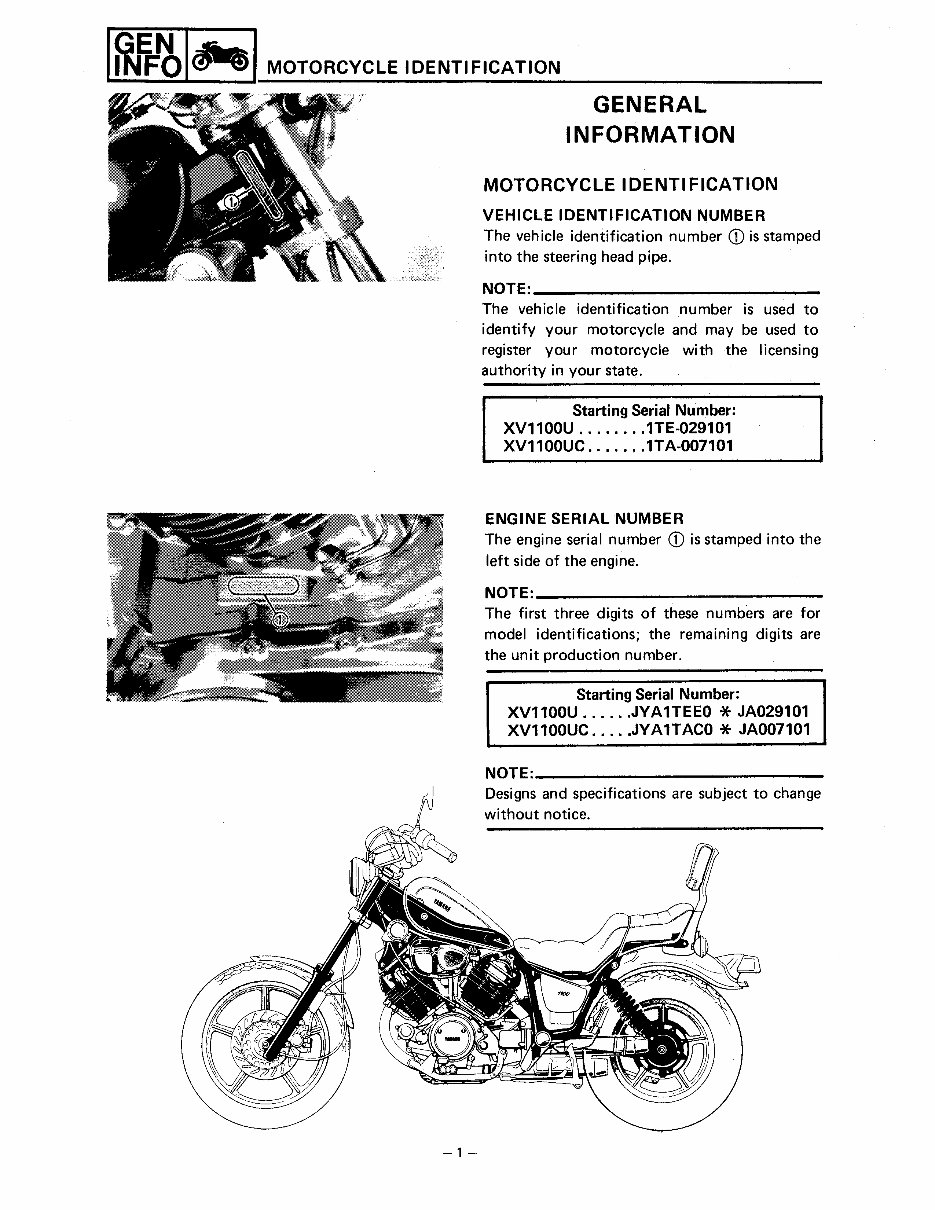
GENERAL
INFORMATION
MOTORCYCLE IDENTIFICATION
VEHICLE IDENTIFICATION NUMBER
The vehicle identification number CD is stamped
into the steering head pipe.
NOTE=--------------------------
The vehicle identification number is used to
identify your motorcycle and may be used to
register your motorcycle with the licensing
authority in your state.
Starting Serial Number:
XV1100U ........ 1TE-029101
XV1100UC . ..... . 1TA-007101
ENGINE SERIAL NUMBER
The engine serial number CD is stamped into the
left side of the engine.
NOTE=--------------------------
The first three digits of these numbers are for
model identifications; the remaining digits are
the unit production number.
Starting Serial Number:
XV1100U ...... JYA1TEEO * JA029101
XV1100UC ..... JYA1TACO * JA007101
NOTE:-------------
Designs and specifications are subject to change
without notice.
IDLING SPEED ADJUSTMENT/,INSP I Q I
THROTTLE CABLE FREE PLAY ADJUSTMENT ADJ
-2-
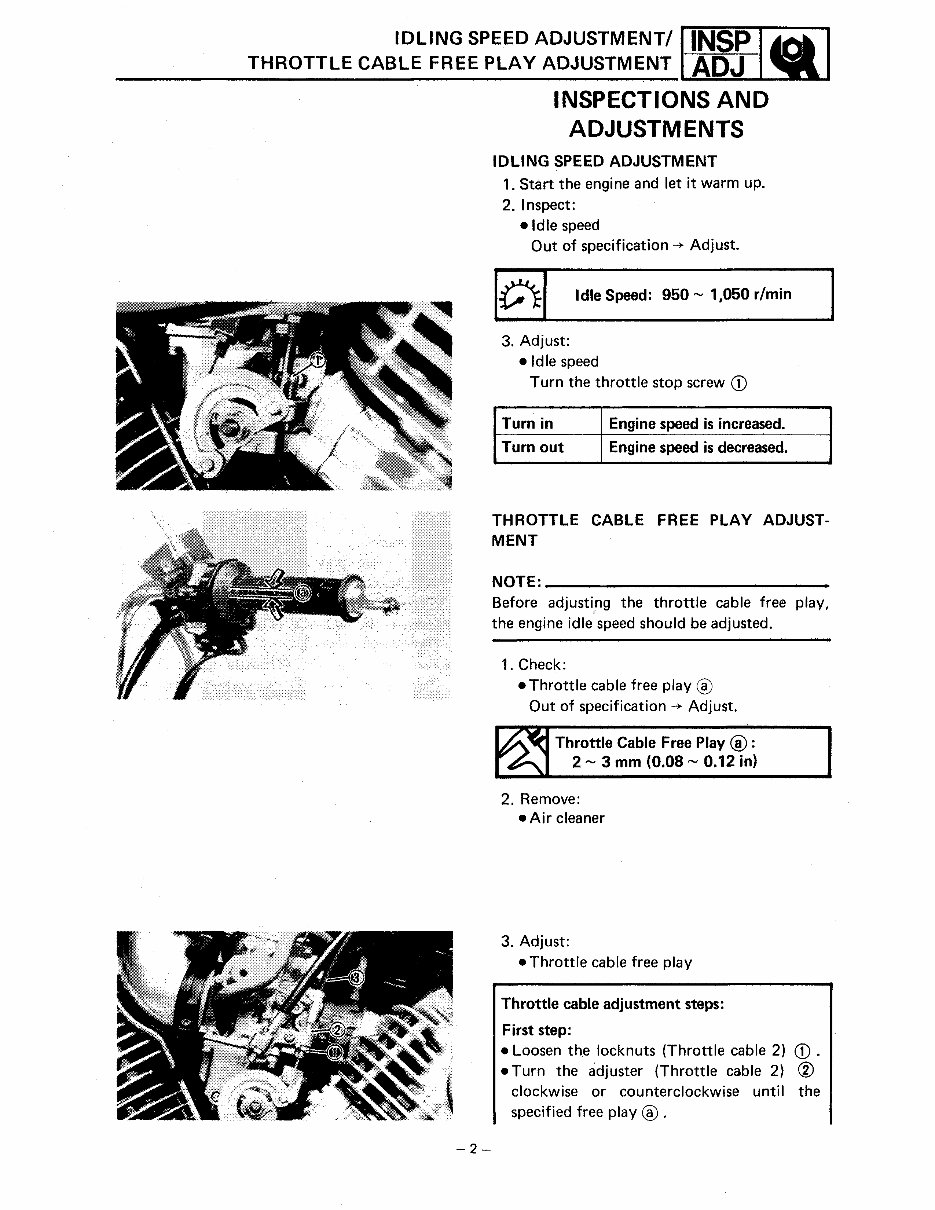
INSPECTIONS AND
ADJUSTMENTS
IDLING SPEED ADJUSTMENT
1. Start the engine and let it warm up.
2. Inspect:
•Idle speed
Out of specification -+ Adjust.
lwl Idle Speed: 950- 1,060 r/min
3. Adjust:
• Idle speed
Turn the throttle stop screw CD
Turn in Engine speed is increased.
Turn out Engine speed is decreased.
THROTTLE CABLE FREE PLAY ADJUST-
MENT
NOTE=-------------------------
Before adjusti,ng the throttle cable free play,
the engine idle speed should be adjusted.
1. Check:
• Throttle cable free play ®
Out of specification -+ Adjust.
Throttle Cable Free Play®:
2- 3 mm (0.08- 0.12 in)
2. Remove:
• Air cleaner
3. Adjust:
• Throttle cable free play
Throttle cable adjustment steps:
First step:
• Loosen the locknuts (Throttle cable 2) CD .
• Turn the adjuster (Throttle cable 2) CID
clockwise or counterclockwise until the
specified free play ® .
I I Q I THROTTLE CABLE FREE PLAY ADJUSTMENT
-3-
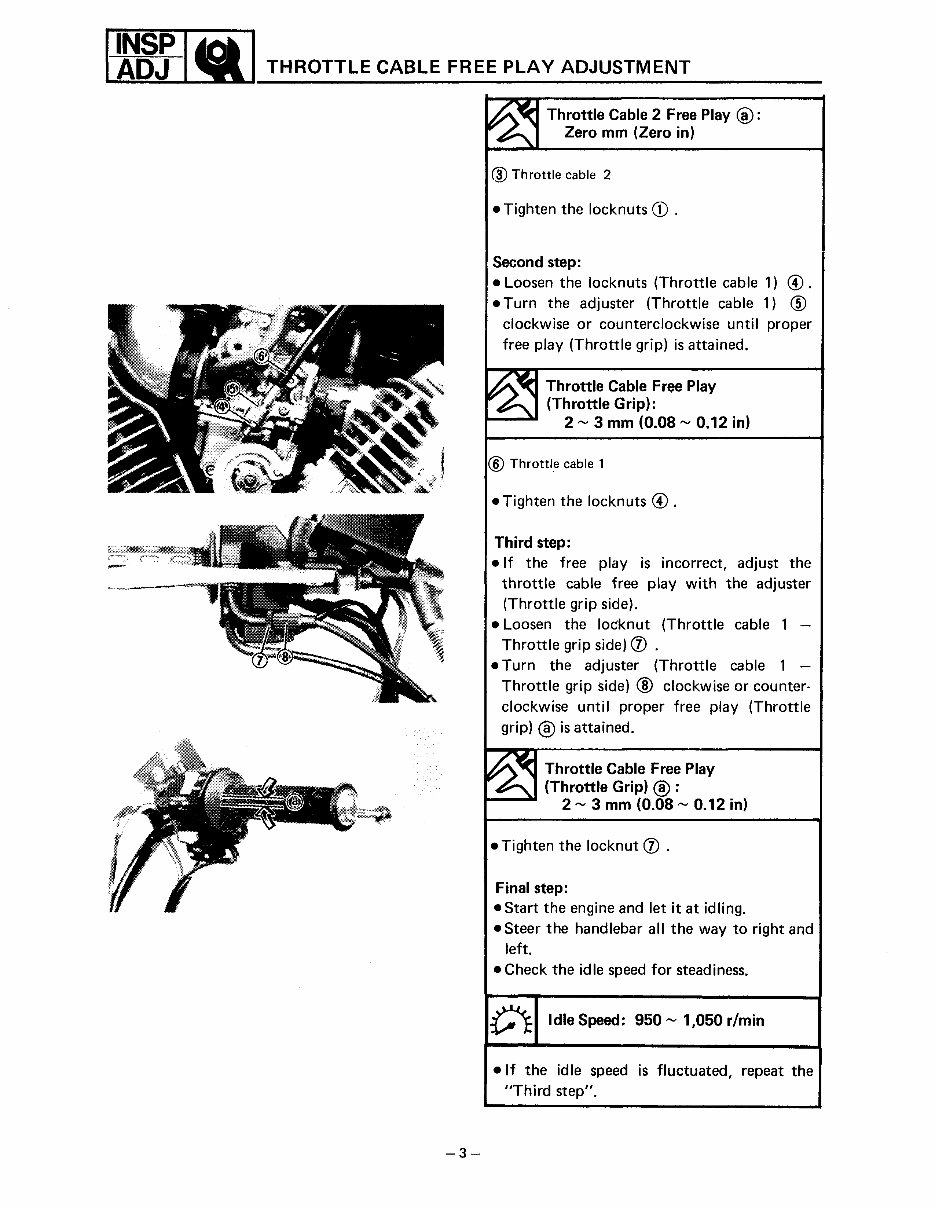
Throttle Cable 2 Free Play ®:
r A.' Zero mm (Zero in)
@ Throttle cable 2
• Tighten the locknuts CD .
Second step:
• Loosen the locknuts (Throttle cable 1) @ .
• Turn the adjuster (Throttle cable 1) @
clockwise or counterclockwise until proper
free play (Throttle grip) is attained.
Throttle Cable Free Play
r (Throttle Grip):
2"" 3 mm (0.08"" 0.12 in)
@ Throttle cable 1
• Tighten the locknuts@.
Third step:
• If the free play is incorrect, adjust the
throttle cable free play with the adjuster
(Throttle grip side).
• Loosen the locknut (Throttle cable 1 -
Throttle grip side) (j) .
• Turn the adjuster (Throttle cable 1 -
Throttle grip side) ® clockwise or counter-
clockwise unti I proper free play (Throttle
grip) ® is attained.
Throttle Cable Free Play
r A (Throttle Grip) ® :
2"" 3 mm (0.08 0.12 in)
• Tighten the locknut (j) .
Final step:
•Start the engine and let it at idling.
• Steer the handlebar all the way to right and
left.
•Check the idle speed for steadiness .
.t\ Idle Speed: 950 1,050 r/min
• If the idle speed is fluctuated, repeat the
"Third step".
CARBURETOR SYNCHRONIZATION I I G. I
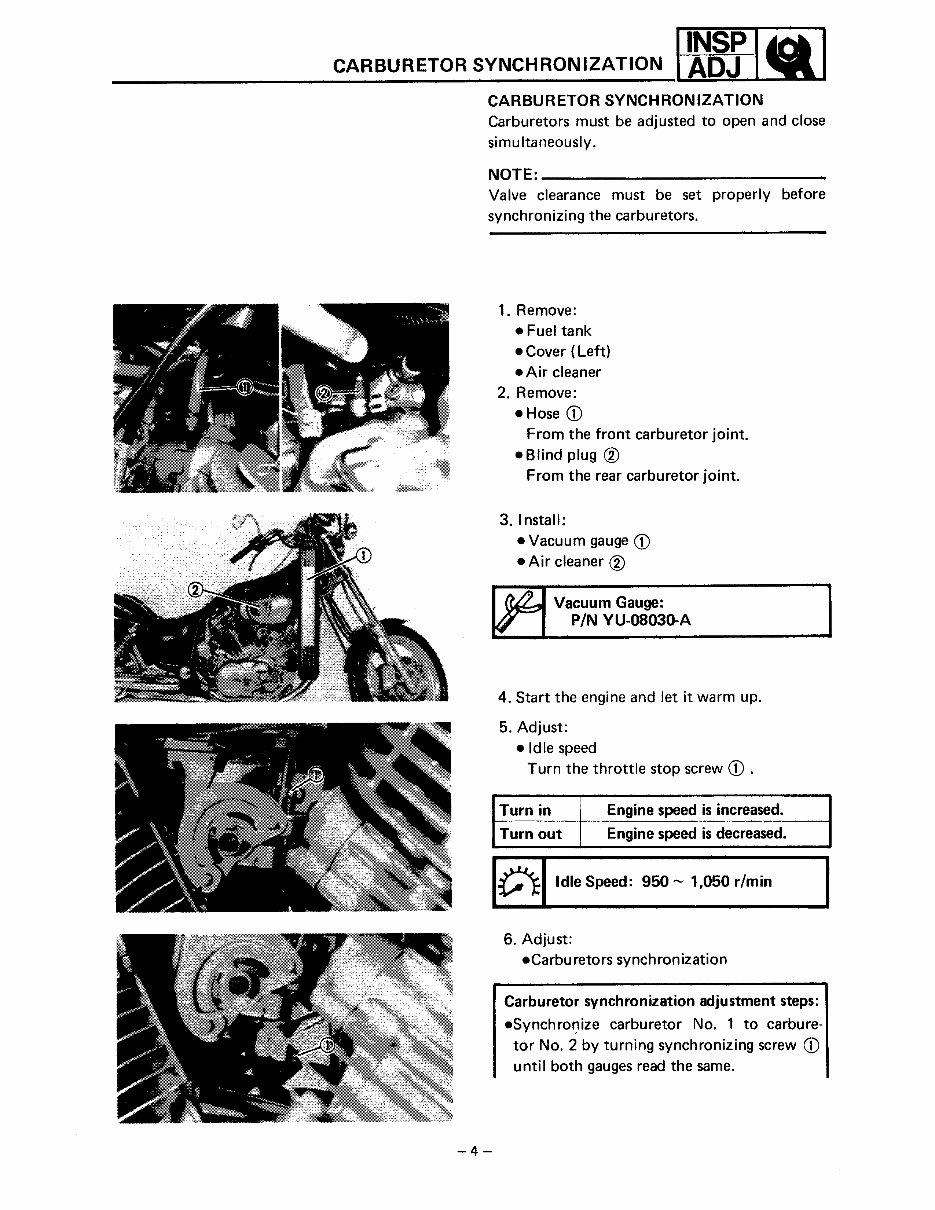
CARBURETOR SYNCHRONIZATION
Carburetors must be adjusted to open and close
simultaneously.
NOTE=-------------------------
Valve clearance must be set properly before
synchronizing the carburetors.
-4-
1. Remove:
• Fuel tank
• Cover ( Left)
• Air cleaner
2. Remove:
• Hose CD
From the front carburetor joint.
• Blind plug ®
From the rear carburetor joint.
3. Install:
• Vacuum gauge CD
• Air cleaner ®
I Vacuum Gauge:
w-
1
P/N vu-oso3o-A
4. Start the engine and let it warm up.
5. Adjust:
• Idle speed
Turn the throttle stop screw CD .
Turn in Engine speed is increased.
Turn out Engine speed is decreased.
IC'J:IIdle Speed: 950- 1,050 r/min
6. Adjust:
•Carburetors synchronization
Carburetor synchronization adjustment steps:
•Synchronize carburetor No. 1 to carbure-
tor No. 2 by turning synchronizing screw CD
until both gauges read the same.
You're Reading a Preview
What's Included?
Fast Download Speeds
Offline Viewing
Access Contents & Bookmarks
Full Search Facility
Print one or all pages of your manual
$39.99
Viewed 65 Times Today


Secure transaction
What's Included?
Fast Download Speeds
Offline Viewing
Access Contents & Bookmarks
Full Search Facility
Print one or all pages of your manual
$39.99
Get the comprehensive service and repair manual for the 1985-1999 Yamaha Virago XV700/750/1000/1100. This manual is invaluable for both professional mechanics and DIY enthusiasts. It covers the following models:
- XV700
- XV750
- XV1000
- XV1100
Additionally, the owner's manual is included for your convenience.


