

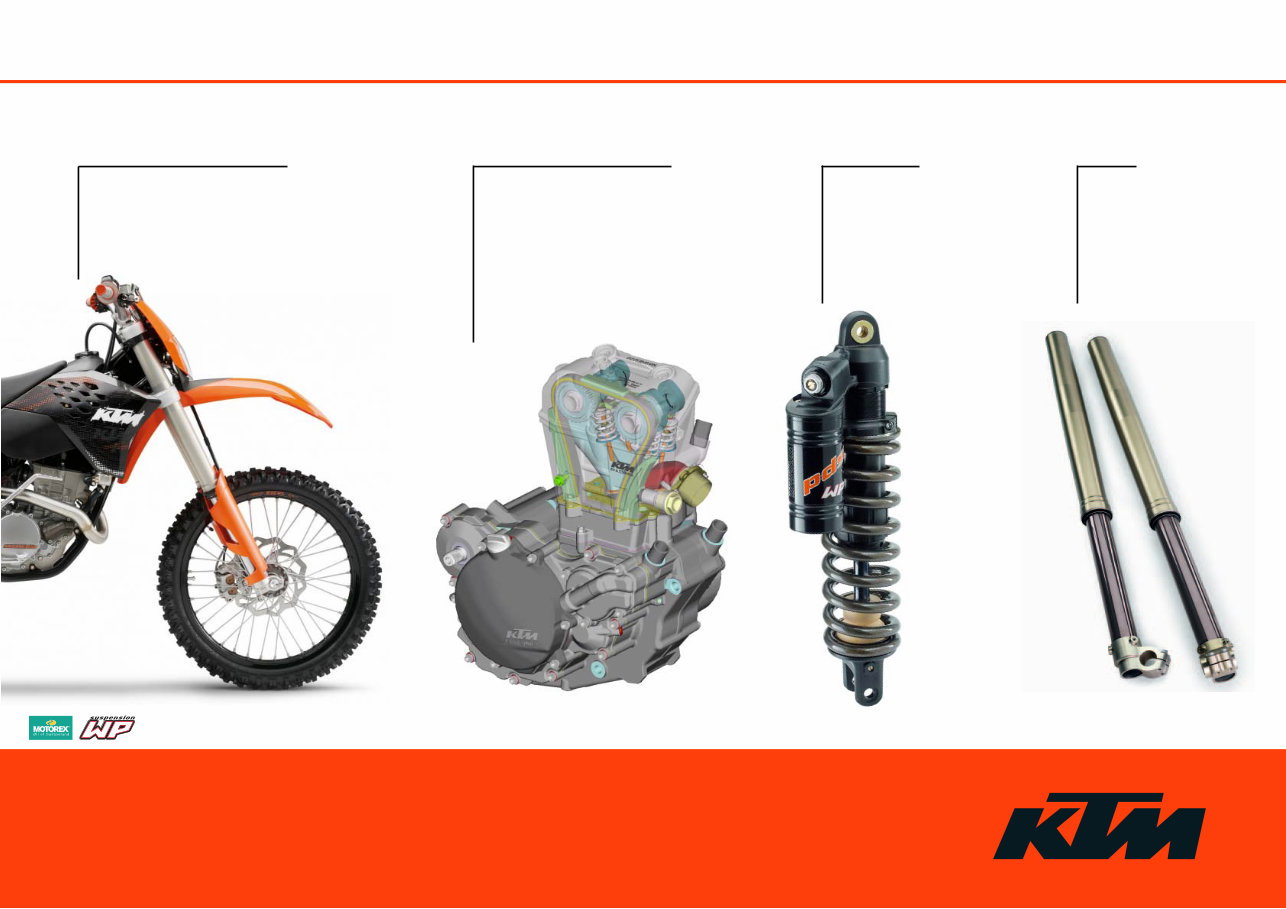
REPAIR MANUAL 2005-2010
BEDIENUNGSANLEITUNG
OWNER’S MANUAL
MANUALE O’USO
MANUEL D’UTILISATION
MANUAL DE INSTRUCCIONES
REPARATURANLEITUNG
REPAIR MANUAL
MANUALE DI REPARAZIONE
MANUEL DE REPARATION
MANUAL DE REPARACION
GABEL
FORK
FORCELLA
FOURCHE
HORQUILLA
FEDERBEIN
SHOCK ABSORBER
AMMORTIZZATORE
AMMORTISSEUR
AMORTIGUADOR
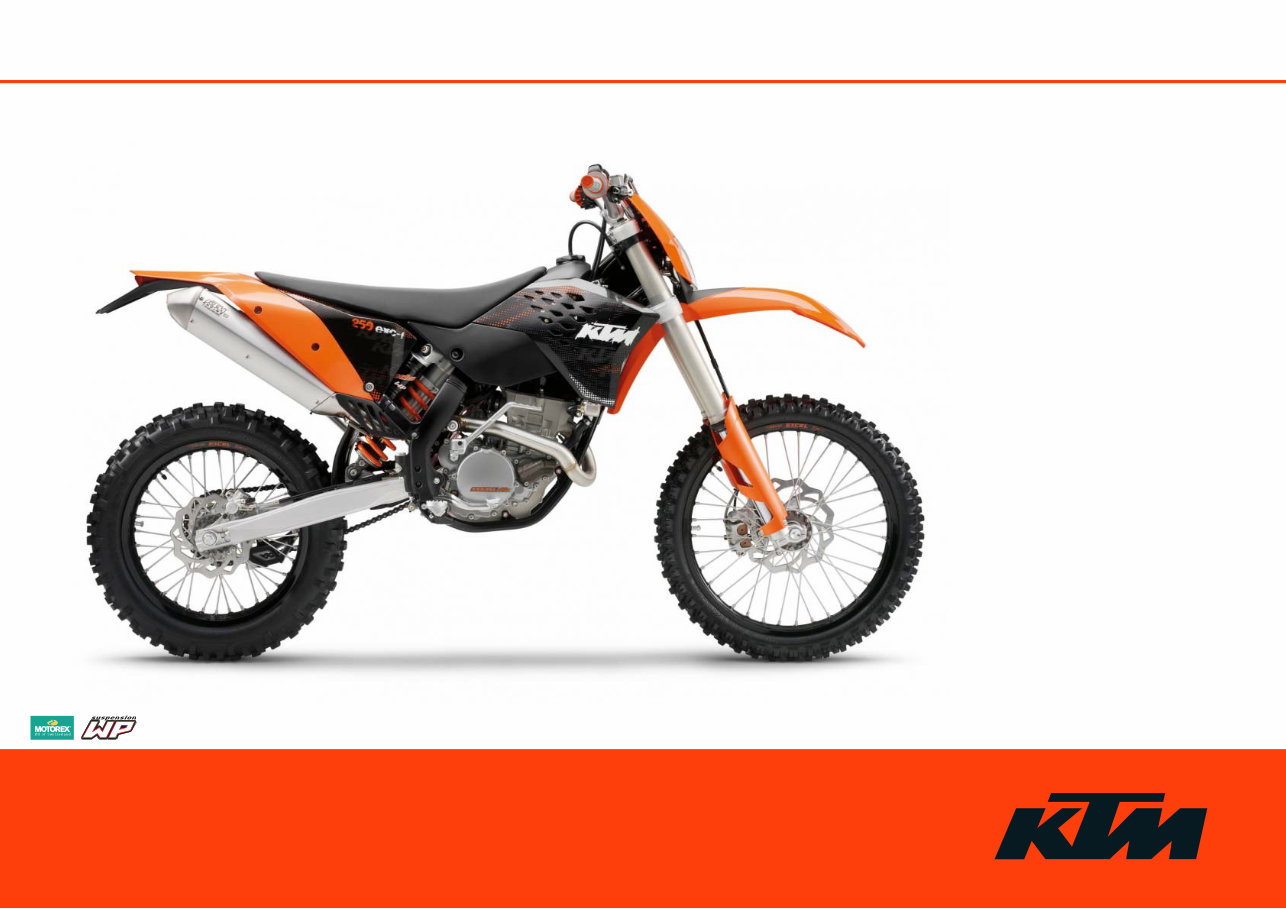
OWNERS MANUAL 2009/10
2009
2010
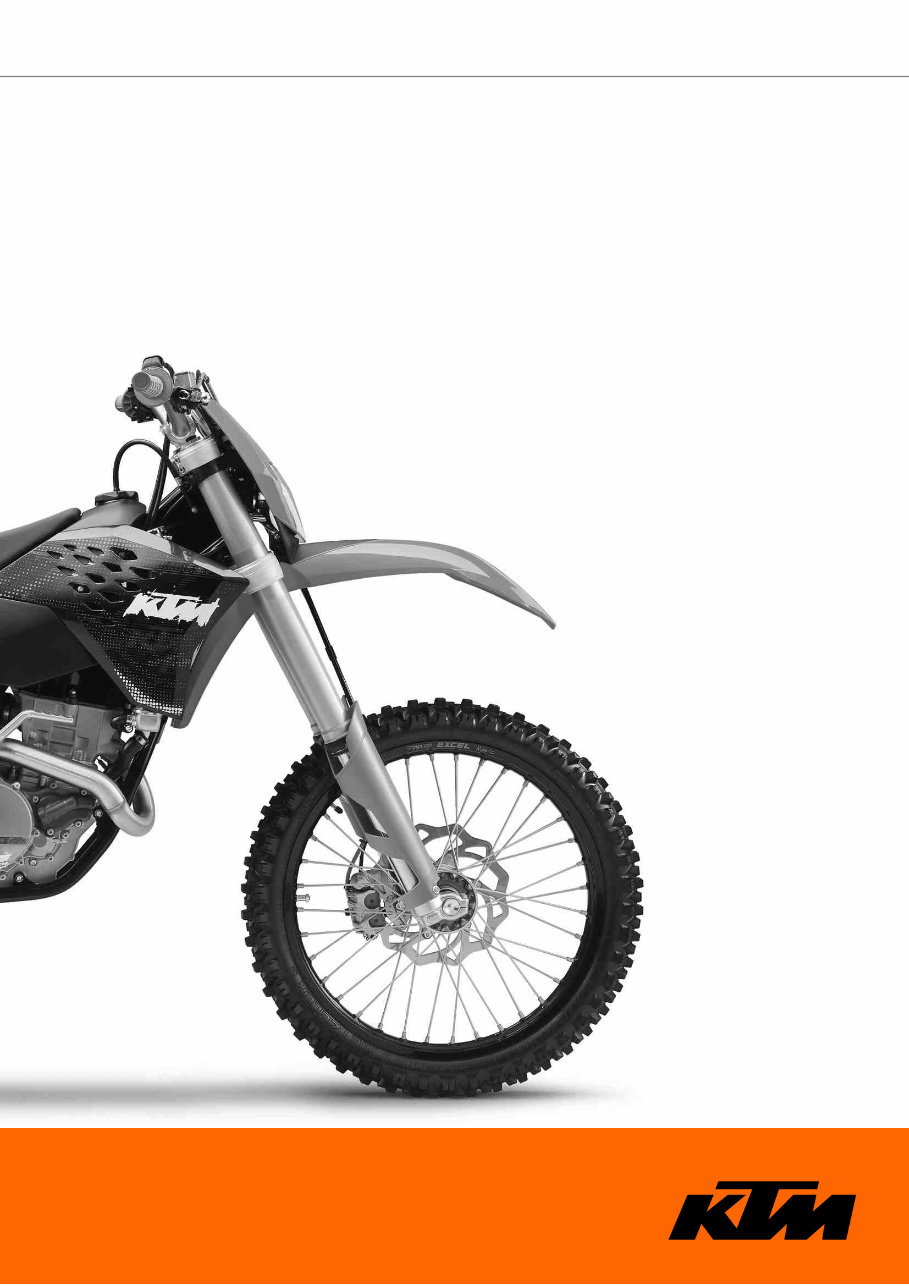
OWNER'S MANUAL 2009
250 EXC-F EU
250 EXC-F AUS
250 EXC-F SIX DAYS EU
250 XCF-W USA
250 XCF-W ZA
250 XC-F USA
250 SX-F EU
250 SX-F USA
ART. NO. 3211348en
CONTENTS 2
CONTENTS
MEANS OF REPRESENTATION ............................................ 5
IMPORTANT NOTES ............................................................ 6
VIEW OF VEHICLE............................................................... 8
View of the vehicle from the left front (example) ................. 8
View of the vehicle from the right rear (example) ................ 9
LOCATION OF SERIAL NUMBERS ...................................... 10
Chassis number ............................................................. 10
Type label ..................................................................... 10
Key number (EXC-F, EXC‑F SIX DAYS)............................. 10
Engine number.............................................................. 10
Fork part number........................................................... 10
Shock absorber part number ........................................... 11
CONTROLS ....................................................................... 12
Clutch lever .................................................................. 12
Hand brake lever ........................................................... 12
Short circuit button (XCF‑W, XC‑F, SX‑F) ......................... 12
Short circuit button (EXC-F, EXC‑F SIX DAYS) .................. 12
Emergency OFF switch (250 EXC-F AUS) ........................ 12
Electric starter button (EXC‑F EU, EXC‑F SIX DAYS,
XCF‑W, XC‑F) ................................................................ 13
Electric starter button (250 EXC-F AUS) .......................... 13
Light switch (EXC-F, EXC‑F SIX DAYS) ............................ 13
Light switch (XCF‑W) ..................................................... 13
Horn button (EXC-F, EXC‑F SIX DAYS)............................. 13
Flasher switch (EXC-F, EXC‑F SIX DAYS) ......................... 14
Overview of indicator lamps (EXC-F, EXC‑F SIX DAYS) ...... 14
CONTROLS (EXC‑F, EXC‑F SIX DAYS, XCF-W) ...................... 15
Speedometer................................................................. 15
Speedometer activation and test ..................................... 15
Tripmaster switch .......................................................... 15
Setting kilometers or miles ............................................. 15
Setting the clock ........................................................... 16
Adjusting the speedometer functions ............................... 16
Querying the lap time .................................................... 17
SPEED display mode (speed) .......................................... 17
SPEED/H display mode (service hours) ............................ 17
SPEED/CLK display mode (time) ..................................... 18
SPEED/LAP display mode (lap time) ................................ 18
SPEED/ODO display mode (odometer) ............................. 18
SPEED/TR1 display mode (trip master 1)......................... 18
SPEED/TR2 display mode (trip master 2)......................... 19
SPEED/A1 display mode (average speed 1) ...................... 19
SPEED/A2 display mode (average speed 2) ...................... 19
SPEED/S1 display mode (stop watch 1) ........................... 20
SPEED/S2 display mode (stop watch 2) ........................... 20
CONTROLS ....................................................................... 22
Fuel tap (EXC‑F, EXC‑F SIX DAYS, XCF‑W, XC‑F) .............. 22
Fuel tap (SX‑F) .............................................................. 22
Opening filler cap .......................................................... 22
Closing filler cap ........................................................... 23
Choke (EXC-F EU, EXC‑F SIX DAYS) ................................ 23
Choke (EXC‑F AUS, XCF‑W, XC‑F, SX‑F) .......................... 23
Shift lever ..................................................................... 23
Foot brake pedal ........................................................... 24
Kickstarter .................................................................... 24
Side stand (EXC‑F, EXC‑F SIX DAYS, XCF‑W, XC‑F) .......... 24
Plug-in stand (SX‑F) ...................................................... 24
Steering lock (EXC-F, EXC‑F SIX DAYS) ........................... 25
Locking the steering (EXC-F, EXC‑F SIX DAYS) ................. 25
Unlocking the steering (EXC-F, EXC‑F SIX DAYS).............. 25
GENERAL TIPS AND HINTS ON PUTTING INTO
OPERATION...................................................................... 26
Advice on first use ......................................................... 26
Running in the engine.................................................... 27
RIDING INSTRUCTIONS .................................................... 28
Checks before putting into operation ............................... 28
Starting ........................................................................ 28
Starting up ................................................................... 29
Shifting, riding .............................................................. 29
Braking ........................................................................ 29
Stopping, parking .......................................................... 30
Refueling...................................................................... 30
SERVICE SCHEDULE (EXC‑F, EXC‑F SIX DAYS, XCF-W)........ 32
Important maintenance work to be carried out by an
authorized KTM workshop. ............................................. 32
Important maintenance work to be carried out by an
authorized KTM workshop (as additional order)................. 33
SERVICE SCHEDULE (XC‑F, SX‑F) ...................................... 34
Important maintenance work to be carried out by an
authorized KTM workshop. ............................................. 34
Important maintenance work to be carried out by an
authorized KTM workshop (as additional order)................. 35
SERVICE SCHEDULE FOR RIDER ....................................... 36
Important checks and maintenance work to be carried
out by the rider. ............................................................ 36
MAINTENANCE WORK ON CHASSIS AND ENGINE .............. 37
Jacking up the motorcycle .............................................. 37
Removing the motorcycle from the work stand .................. 37
Checking the basic chassis setting with the rider's
weight .......................................................................... 37
Compression damping of shock absorber.......................... 37
Adjusting high-speed compression damping of the shock
absorber ....................................................................... 37
Adjusting the low-speed compression damping of the
shock absorber .............................................................. 38
Adjusting the rebound damping of the shock absorber....... 39
Measuring rear wheel sag unloaded ................................. 40
Checking the static sag of the shock absorber .................. 40
Checking the riding sag of the shock absorber .................. 41
Adjusting the spring preload of the shock absorber x ...... 41
Adjusting the riding sag x............................................. 42
Removing the shock absorber x..................................... 42
Installing the shock absorber x ..................................... 42
Checking basic setting of fork ......................................... 43
Adjusting the compression damping of the fork ................ 43
Adjusting the rebound damping of fork ............................ 44
Adjusting the spring preload of the fork (EXC‑F,
EXC‑F SIX DAYS, XCF-W) ............................................... 45
Bleeding fork legs .......................................................... 45
Cleaning dust boots of fork legs ...................................... 46
Loosening the fork protection.......................................... 46
Positioning the fork protection ........................................ 46
Checking play of steering head bearing ............................ 46
Adjusting play of steering head bearing x (EXC‑F EU,
EXC‑F AUS, XCF‑W ZA) .................................................. 47
Adjusting play of steering head bearing x
(EXC‑F SIX DAYS, XCF‑W USA, XC‑F, SX‑F) ..................... 47
Fork offset (XCF‑W USA, XC‑F, SX‑F) ............................... 48
Setting the fork offset x (XCF‑W USA, XC‑F, SX‑F) .......... 48
Removing the fork legs................................................... 48
Installing the fork legs x............................................... 49
Removing the fork protector x ....................................... 50
Installing the fork protector x ....................................... 50
CONTENTS 3
Removing the lower triple clamp x (EXC‑F SIX DAYS,
XCF‑W USA, XC‑F, SX‑F) ................................................ 50
Removing the lower triple clamp x (EXC‑F EU,
EXC‑F AUS, XCF‑W ZA) .................................................. 51
Installing the lower triple clamp x (EXC‑F SIX DAYS,
XCF‑W USA, XC‑F, SX‑F) ................................................ 51
Installing the lower triple clamp x (EXC‑F EU,
EXC‑F AUS, XCF‑W ZA) .................................................. 52
Greasing the steering head bearing x ............................. 53
Dismounting the front fender .......................................... 53
Installing the front fender ............................................... 53
Removing headlight mask with headlight (EXC‑F,
EXC‑F SIX DAYS, XCF-W ZA) .......................................... 53
Refitting the headlight mask with the headlight (EXC‑F,
EXC‑F SIX DAYS, XCF-W ZA) .......................................... 54
Dismount the start number plate (XCF‑W USA, XC‑F,
SX‑F)............................................................................ 54
Installing the start number plate (XCF‑W USA, XC‑F,
SX‑F)............................................................................ 54
Handlebar position ........................................................ 54
Adjusting the handlebar position x ................................ 55
Checking gas Bowden cable route ................................... 56
Checking play in the gas Bowden cable ........................... 56
Adjusting the gas Bowden cable play x .......................... 57
Checking for chain dirt accumulation .............................. 57
Cleaning the chain......................................................... 57
Checking the chain tension ............................................ 58
Checking the chain tension when fitting rear wheel ........... 58
Checking the rear sprocket / engine sprocket for wear ....... 59
Checking chain wear ...................................................... 59
Adjusting the chain tension ............................................ 59
Adjusting chain tension - after checking .......................... 60
Adjusting chain tension - fitting rear wheel ...................... 61
Adjusting the chain guide x (EXC‑F, EXC‑F SIX DAYS,
XCF‑W, XC‑F) ................................................................ 61
Adjusting the chain guide x (SX‑F) ................................ 62
Adjusting basic position of clutch lever ............................ 62
Checking the fluid level of hydraulic clutch ...................... 62
Changing the hydraulic clutch fluid x ............................ 63
Checking the brake discs................................................ 64
Checking free travel of hand brake lever........................... 64
Adjusting basic position of handbrake lever
(XCF‑W, XC‑F, SX‑F) ...................................................... 64
Adjusting free travel of handbrake lever
(EXC-F, EXC‑F SIX DAYS) ............................................... 65
Checking the front brake fluid level ................................. 65
Adding front brake fluid x ............................................ 65
Checking the front brake linings...................................... 66
Removing the front brake linings x ................................ 66
Installing the front brake linings x................................. 67
Changing the front brake linings x................................. 67
Checking free travel of foot brake lever ............................ 68
Adjusting basic position of footbrake lever x................... 68
Checking the rear brake fluid level .................................. 69
Adding brake fluid for the rear brake x .......................... 69
Checking the rear brake linings ....................................... 70
Removing rear brake linings x ....................................... 70
Installing the rear brake linings x .................................. 70
Changing the rear brake linings x .................................. 71
Removing the front wheel x .......................................... 72
Installing the front wheel x ........................................... 72
Removing rear wheel x ................................................. 73
Installing the rear wheel x ............................................ 73
Tire condition checking .................................................. 74
Checking tire air pressure ............................................... 75
Checking spoke tension.................................................. 75
Removing the battery x (EXC‑F, EXC‑F SIX DAYS,
XCF‑W, XC‑F) ................................................................ 75
Installing the battery x (EXC‑F, EXC‑F SIX DAYS,
XCF‑W, XC‑F) ................................................................ 76
Recharging the battery x (EXC‑F, EXC‑F SIX DAYS,
XCF‑W, XC‑F) ................................................................ 76
Removing a fuse (EXC‑F, EXC‑F SIX DAYS, XCF‑W,
XC‑F)............................................................................ 77
Replacing the fuse (EXC‑F, EXC‑F SIX DAYS, XCF‑W,
XC‑F)............................................................................ 77
Removing the seat ......................................................... 77
Mounting the seat ......................................................... 78
Dismounting the fuel tank x ......................................... 78
Installing the fuel tank x .............................................. 79
Cooling system .............................................................. 79
Checking antifreeze and coolant level .............................. 80
Checking the coolant level .............................................. 80
Draining the coolant x.................................................. 81
Refilling coolant x ....................................................... 81
Glass fiber yarn filling of main silencer ............................ 81
Removing main silencer ................................................. 82
Installing the main silencer ............................................ 82
Dismounting the air filter box lid ..................................... 82
Installing the air filter box lid.......................................... 82
Removing the air filter x............................................... 83
Installing the air filter x ............................................... 83
Cleaning air filter x ...................................................... 83
Carburetor - idle ............................................................ 84
Carburetor - adjusting idle x ......................................... 84
Emptying the carburetor float chamber x ....................... 85
Checking the engine oil level .......................................... 86
Changing the engine oil and oil filter, cleaning the oil
screen x ..................................................................... 86
Draining the engine oil x .............................................. 86
Cleaning the oil screens x ............................................ 87
Removing the oil filter x ............................................... 88
Installing the oil filter x ............................................... 88
Filling up with engine oil x ........................................... 89
Adding engine oil .......................................................... 89
TROUBLESHOOTING......................................................... 90
CLEANING........................................................................ 92
Cleaning motorcycle ...................................................... 92
STORAGE ......................................................................... 93
Storage......................................................................... 93
Putting into operation after storage ................................. 93
TECHNICAL DATA - ENGINE .............................................. 94
Capacity- engine oil ....................................................... 95
Capacity - coolant .......................................................... 95
TECHNICAL DATA - ENGINE TIGHTENING TORQUES .......... 96
TECHNICAL DATA - CARBURETOR ..................................... 98
EXC-F, EXC‑F SIX DAYS ................................................. 98
XCF‑W, 250 XC-F USA ................................................... 98
SX‑F............................................................................. 98
TECHNICAL DATA - CHASSIS ............................................ 99
Lighting equipment ..................................................... 100
Tires .......................................................................... 100
Capacity - fuel............................................................. 100
CONTENTS 4
TECHNICAL DATA - FORK................................................ 101
EXC‑F, EXC‑F SIX DAYS, XCF-W ................................... 101
250 XC-F USA ............................................................ 101
250 SX-F EU .............................................................. 102
250 SX-F USA ............................................................ 102
TECHNICAL DATA - SHOCK ABSORBER ........................... 103
EXC‑F, EXC‑F SIX DAYS, XCF-W ................................... 103
250 XC-F USA ............................................................ 103
250 SX-F EU .............................................................. 104
250 SX-F USA ............................................................ 104
TECHNICAL DATA - CHASSIS TIGHTENING TORQUES ...... 105
WIRING DIAGRAM .......................................................... 106
Wiring diagram (EXC-F EU, EXC‑F SIX DAYS) ................. 106
Wiring diagram (250 EXC-F AUS) ................................. 110
Wiring diagram (XCF‑W, 250 XC-F USA) ........................ 112
Wiring diagram (SX‑F) .................................................. 114
SUBSTANCES ................................................................. 116
AUXILIARY SUBSTANCES................................................ 117
STANDARDS ................................................................... 119
INDEX ............................................................................ 120
MEANS OF REPRESENTATION 5
1MEANS OF REPRESENTATION
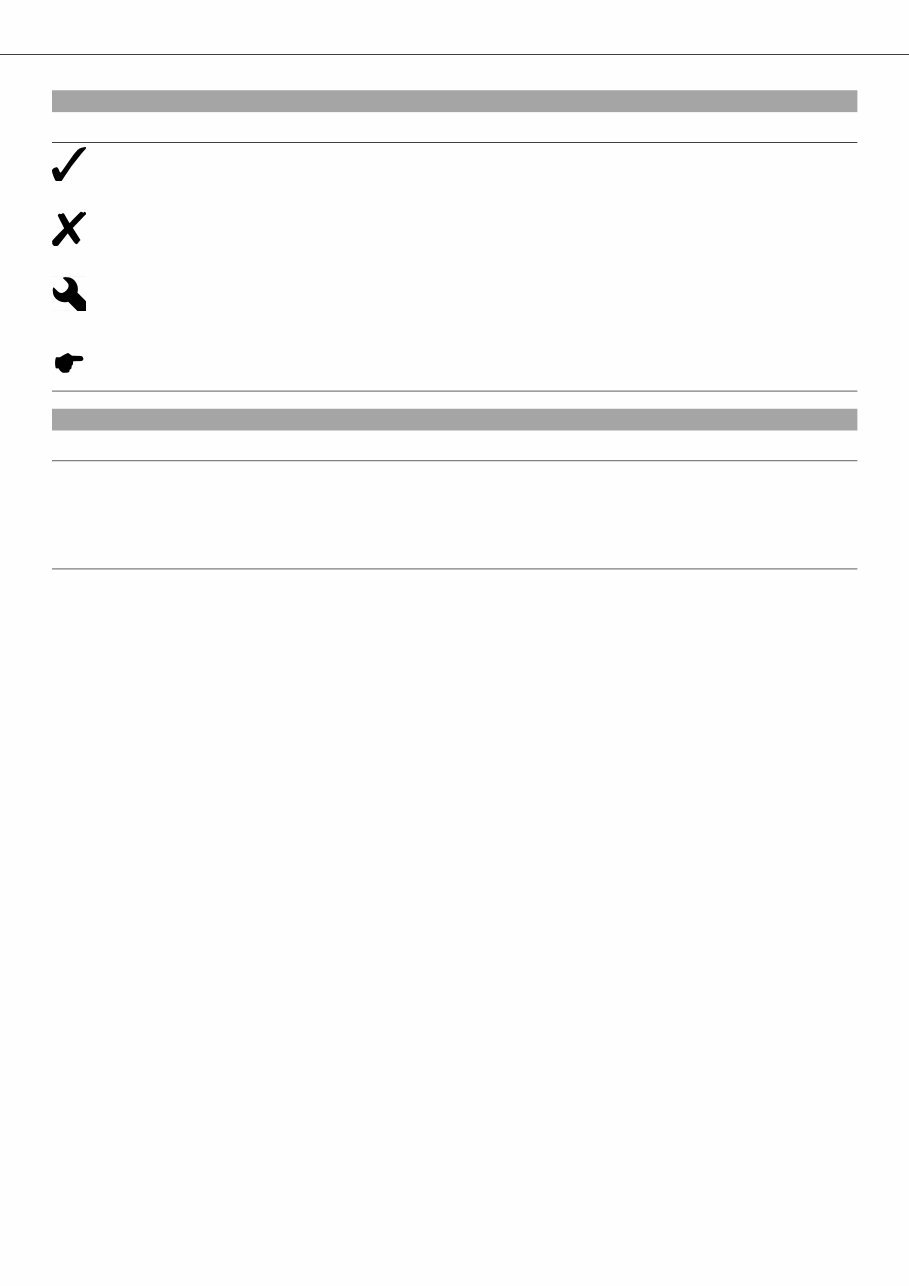
Symbols used
The symbols used are explained in the following.
Indicates an expected reaction (e.g. of a work step or a function).
Indicates an unexpected reaction (e.g. of a work step or a function).
All work marked with this symbol requires specialist knowledge and technical understanding. In the interest of
your own safety, have these jobs done in an authorized KTM workshop! There, your motorcycle will be serviced
optimally by specially trained experts using the specialist tools required.
Identifies a page reference (more information is provided on the specified page).
Formats used
The typographical and other formats used are explained in the following.
Specific name Identifies a specific name.
Name
®
Identifies a protected name.
Brand™ Identifies a brand in merchandise traffic.
IMPORTANT NOTES 6
2IMPORTANT NOTES
Use definition (EXC-F, EXC‑F SIX DAYS)
KTM sport motorcycles are designed and built to withstand the normal stresses and strains of competitive use. The motorcycles com-
ply with currently valid regulations and categories of the top international motorsport organizations.
Info
The motorcycle is authorized for public road traffic in the homologous (reduced) version only.
In the derestricted version, the motorcycle must be used only on secluded property remote from public road traffic.
The motorcycle is designed for off-road sport endurance competition (Enduro) and not for the predominant motocross use.
Use definition (XCF‑W, XC‑F, SX‑F)
KTM sport motorcycles are designed and built to withstand the normal stresses and strains of competitive use. The motorcycles com-
ply with currently valid regulations and categories of the top international motorsport organizations.
Info
The motorcycle must be used only on secluded property remote from public road traffic.
The motorcycle is designed for off-road sport endurance competition (Enduro) and not for the predominant motocross use.
Maintenance
A prerequisite for perfect operation and prevention of wear is that the engine and chassis maintenance and adjustment work described
in the owner's manual are properly carried out. Poor adjustment and tuning of the engine and chassis can lead to damage and break-
age of components.
Using the motorcycle in extreme conditions such as very muddy or wet terrain can lead to above-average wear of components such as
the transmission train or the brakes. For this reason, it may be necessary to service or replace worn parts before the limit specified in
the service schedule is reached.
Pay careful attention to the prescribed running-in period, inspection and maintenance intervals. If you observe these exactly, you will
ensure a much longer service life for your motorcycle.
Warranty
The work prescribed in the service schedule must be carried out in an authorized KTM workshop and confirmed in the customer's ser-
vice record, since otherwise no warranty claims will be recognized. No warranty claims can be considered for damage resulting from
manipulations and/or alterations to the vehicle.
Fuel, oils, etc.
You should use the fuels, oils and greases according to specifications as listed in the owner's manual.
Spare parts, accessories
For your own safety, only use spare parts and accessory products that are approved and/or recommended by KTM and have them
installed by an authorized KTM workshop. KTM accepts no liability for other products and any resulting damage or loss.
The current KTM PowerParts for your vehicle can be found on the KTM website.
International KTM Website: http://www.ktm.com
Work rules
When the vehicle is assembled, non-reusable parts (e.g., self-locking screws and nuts, gaskets, seal rings, O-rings, splints, lock wash-
ers) must be replaced with new parts.
Where thread lockers are used on screw connections (e.g., Loctite
®
), follow the instructions for use from the manufacturer.
After disassembly, clean the parts that are to be reused and check them for damage and wear. Replace damaged or worn parts.
After you complete the repair or maintenance work, check the roadworthiness of the vehicle.
Transport
Note
Danger of damage Danger of damage by the vehicle running away or falling over.
– Always place the vehicle on a firm and even surface.
Note
Fire hazard Some components (engine, radiator and exhaust system) get very hot when the engine is running.
– Do not place the vehicle where there are flammable or explosive substances.
– Switch off the engine.
IMPORTANT NOTES 7
(EXC‑F, EXC‑F SIX DAYS, XCF‑W, XC‑F)
– Turn handle of the fuel tap to the OFF position. (Figure 500137-10 p. 22)
(SX‑F)
– Turn handle of the fuel tap to the OFF position. (Figure 500178-10 p. 22)
– Use straps or other suitable devices to secure the motorcycle against accidents or falling over.
Environment
Offroad motorcycling is a wonderful sport and we naturally hope that you will be able to enjoy it to the fullest. However, it is a poten-
tial problem for the environment and can lead to conflicts with other persons. But if you use your motorcycle responsibly, you can
ensure that such problems and conflicts do not have to occur. To protect the future of motorcycle sport, make sure that you use your
motorcycle legally, display environmental consciousness, and respect the rights of others.
Notes/warnings
Be sure to pay attention to the notes and warnings given here.
Info
Various notes and warning stickers are attached to the vehicle. Do not remove any notes and warning stickers. If they are miss-
ing, you or others may not recognize dangers and may therefore be injured.
Grades of risks
Danger
Danger that leads immediately and certainly to severe and permanent injury or death.
Warning
Danger that will probably lead to severe and permanent injury or death.
Note
Danger of serious damage to machine or material.
Warning
Risk of environmental damage.
OWNER'S MANUAL
– It is important that you read this owner's manual carefully and completely before making your first trip. It contains useful infor-
mation and many tips on how to operate and handle your motorcycle. Only then will you find out how to best customize the motor-
cycle for your own use and how you can protect yourself from injury. The owner's manual also contains important information on
servicing the motorcycle.
– The owner's manual is an important component of the motorcycle and should be handed over to the new owner if the vehicle is
sold.
VIEW OF VEHICLE 8
3VIEW OF VEHICLE
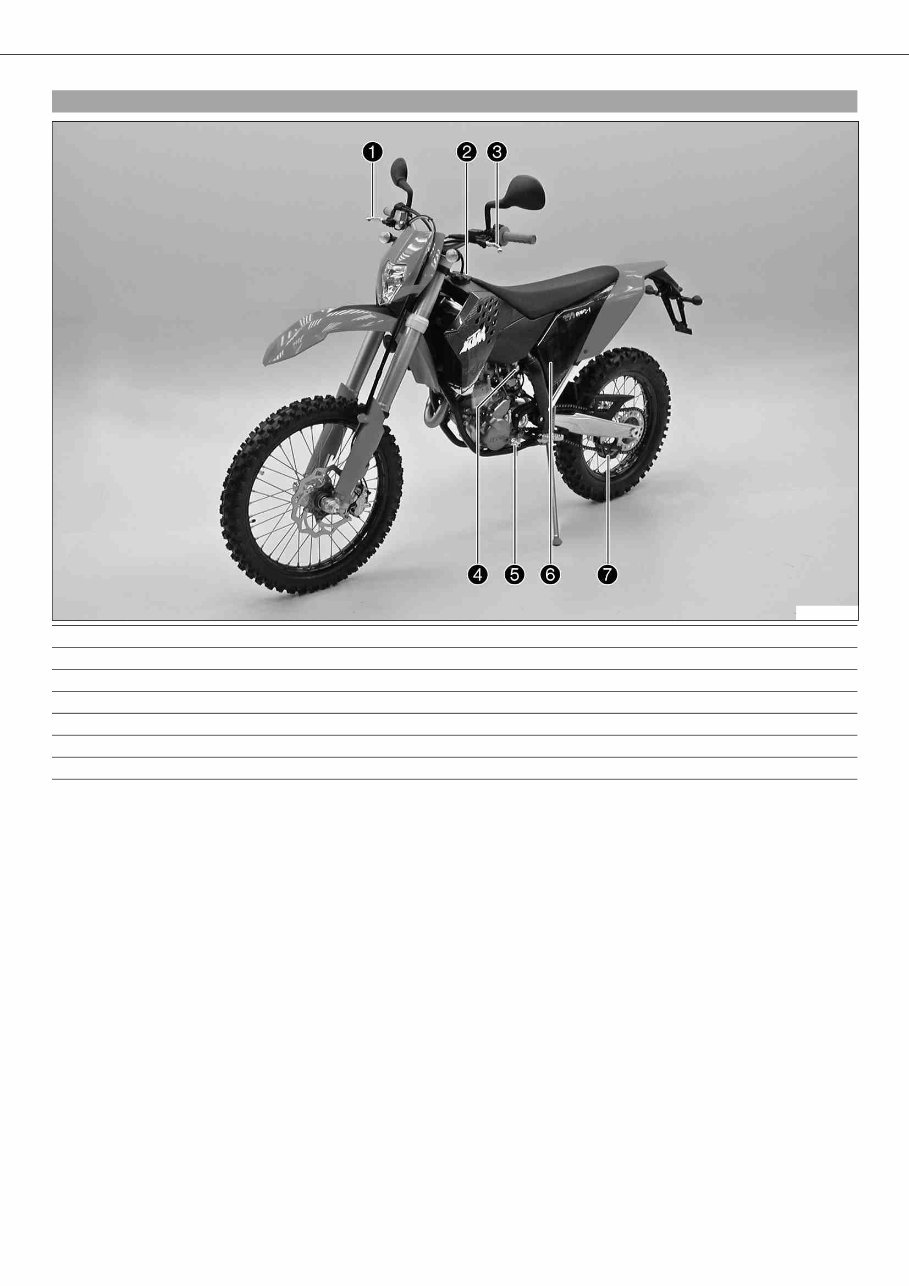
3.1 View of the vehicle from the left front (example)
600657-10
1 Hand brake lever
2 Filler cap
3 Clutch lever
4 Fuel tap
5 Shift lever
6 Air filter box lid
7 Chain guide
You're Reading a Preview
What's Included?
 Lifetime Access
Fast Download Speeds
Online & Offline Access
Access PDF Contents & Bookmarks
Full Search Facility
Print one or all pages of your manual
$41.99
2005-2008 KTM 250 SX-F, EXC-F, EXC-F Six Days, XCF-W, XC-F, SXS-F Motorcycle Service & Repair Manual
Viewed 40 Times Today

What's Included?
Lifetime Access
Fast Download Speeds
Online & Offline Access
Access PDF Contents & Bookmarks
Full Search Facility
Print one or all pages of your manual
$41.99

Secure transaction
What's Included?
Lifetime Access
Fast Download Speeds
Online & Offline Access
Access PDF Contents & Bookmarks
Full Search Facility
Print one or all pages of your manual
Description
- This workshop service and repair manual is designed for the KTM 250 SX-F, EXC-F, EXC-F SIX DAYS, XCF-W, XC-F, SXS-F Motorcycle, covering production years 2005-2008.
- It is a comprehensive manual with over 2,500 pages, totaling 177MB, and is both searchable and printable.
- It is available in English, German, French, Italian, and Spanish languages, suitable for professional mechanics and DIY enthusiasts.
- The manual includes detailed illustrations, step-by-step instructions, and provides valuable information for vehicle maintenance, engine, control system, and mechanical repairs.
- It also covers engine coolant, emission control systems, drive shaft, drive belt, differential case assembly, and cylinder block assembly.
- Additionally, it provides guidance on the cooling system, clutch unit, charging system, brake system, body repair, and steering system.
- Furthermore, it includes troubleshooting and electrical service procedures combined with detailed wiring diagrams for ease of use.
- The manual is available in PDF format, compatible with all PC-based Windows operating systems and Mac.
- Upon purchase, the manual is instantly accessible via download link and is DRM-free without any restrictions.
For more information and to purchase the manual, please visit the direct preview link: KTM 250 SX-F Workshop Service Repair Manual.


