



BMW AG Motorcycle Division
After Sales
K 1100 LT/RS
Repair Manual

Published by BMW AG Motorcycle Division
After Sales
UX-VS-2
All rights reserved. Not to be reprinted, translated or duplicated either wholly or in part without prior written
permission.
Errors and omissions excepted; subject to technical amendment.
Produced in Germany 5/99
Introduction
This repair manual will help you to perform all the main maintenance and repair work correctly and efficient-
ly. If it is consulted regularly by workshop personnel it will form a useful addition to the theoretical and prac-
tical knowledge acquired at the BMW Training Centre. It is a contribution towards achieving even higher
Service quality.
All information in both text and illustrations refers to motorcycles in standard condition or with genuine
BMW accessories installed, and not to motorcycles which have been modified in any way to depart from
the manufacturer’s specification.
•
The repair manual is structured in the logical sequence of the work to be performed: Removal, Disas-
sembly, Repair, Assembly, Installation.
•
The entire contents are divided into individual chapters, corresponding to the Construction Groups.
11 . 10
Chapter Page number within chapter
•
Work to be performed during an Inspection is described in Group “00”. The various inspection routines
are numbered I, II, III and IV. This numbering is repeated in the work descriptions which follow, so that
work can take place without interruption.
•
Use of the BMW special tools needed for certain tasks is described in the work instructions.
If the need arises, repair instructions are also issued in the form of Service Information. This information is
of course incorporated into the next issue of the repair manual. We also recommend, as an additional
source of information, the Electronic Parts Catalogue (ETC), which contains clear and easy-to-follow illus-
trations.
If the work described here is restricted to a particular equipment specification, for instance if a specific op-
tional extra (OE) is fitted, this is stated in square brackets at the start of the item concerned, e.g. [LT].
Please refer to the following pages as well for a description of other symbols used and how to work with it.
BMW AG Motorcycle Division
After Sales
Published by: BMW AG Motorcycle Division
After Sales
UX-VS-2
D - 80788 München
All rights reserved. Not to be reprinted, translated or duplicated either wholly or in part without prior written
permission.
Errors and omissions excepted; subject to technical amendment.
Produced in Germany

Usage
Each chapter starts with the list of contents.
The list of contents is followed by the Technical Data table.
Chapter 00 “Maintenance and general instructions” details the handover checklist and lists all tightening
torques and operating fluids.
Key to symbols
In this Workshop Manual for the K 1200 LT model, the following symbols are used; their meanings are ex-
plained in the table.
Special instructions aimed at improving the work procedures
L Note:
Specific information on operating, inspecting and adjusting work for the motorcycle as well as maintenance
procedures.
e Caution:
Instructions and precautions specifically intended to prevent damage to the motorcycle. Failure to comply
with them could invalidate the warranty.
d Caution:
This symbol stands for precautions and measures which are essential in order to protect the rider or other
persons from possibly severe or fatal injury.
Contents
Headlines for the work described in the chapter........................................... with the relevant page number
X Tightening torques:
Values are stated if they differ from DIN EN 24 014 or DIN 912 ISO industrial standards.
Order No. 01 71 9 799 131 UX-VS-2, 12/98 Printed in Germany
Customer Registration No.
Order No. Signature of mechanic
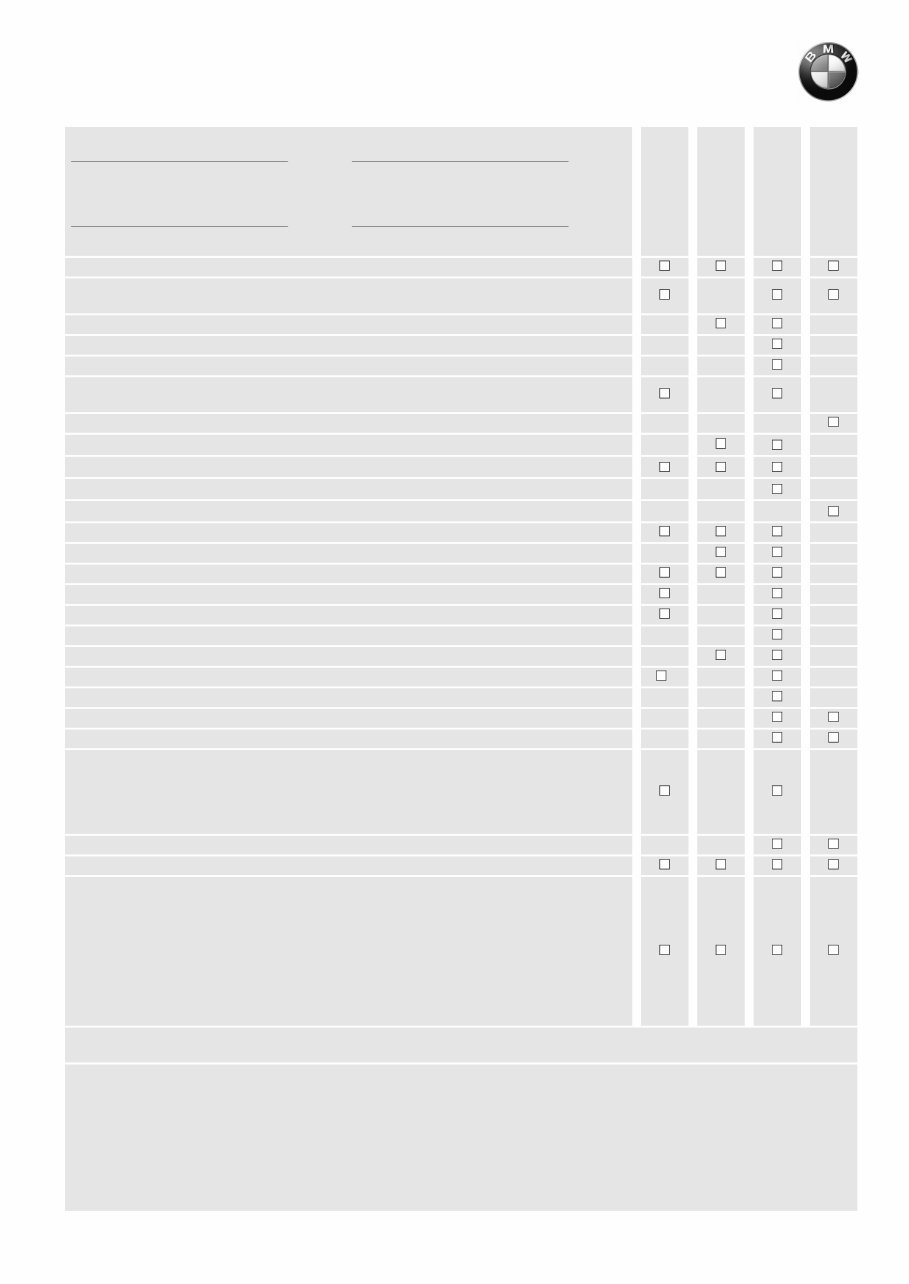
BMW Inspection
1000km/600mls
BMW Service
10000 km/
6000 miles
BMW Inspection
20 000 km/
12 000 miles
BMW
Annual Service
Change oil when engine at regular operating temperature, renew oil filter element
1)
Change oil in gearbox, final drive and telescopic fork
2)
Clean inductive sensor at rear wheel
2)
Grease upper/lower clutch cable nipples and side/centre stand pivots
Renew intake air cleaner element
3)
Renew fuel filter element
4)
Check hose clips on fuel and cooling system for leaks and take up slack if necessary
Check coolant level and concentration, and top up if necessary
Renew coolant after at least every 2 years *
)
Check brake pads and discs for wear, renew if necessary *
)
Check front/rear brake fluid level, top up if necessary *
)
[b SI 00 027 95 (716)]
Check brake system with regard to function, leaks; repair/renew as required *
)
Renew brake fluid at least once a year
Check sensor gap for ABS at front and rear, adjust if necessary
6)
Check sensor/pulse wheel for ABS at front and rear for contamination, clean if necessary
6) 5)
Check operation of electric side stand switch (angle)
Check clutch operating clearance, adjust if necessary
Check free travel at throttle and cold-start (choke) cables, adjust if necessary
Renew spark plugs
Read out MOTRONIC fault memory
7)
Check valve clearences, adjust if necessary
8) 5)
Check steering head bearing play, adjust if necessary *
)
Check battery acid level, top up with distilled water if necessary
Clean and grease the battery posts, if necessary
Take up slack at bolts and nuts:
– power unit to frame
– suspension strut mounts
– side/center stand pivot
– rear wheel studs
Apply silicone spray to guide rods of adjustable windshield (only K 1100 LT, K 75 RT)
Check idle speed, throttle synchronisation and CO value, adjust if necessary
Final inspection with safety/operating check:
– condition of tyres and wheels, tyre pressures
– lights and signal systems
– telltale and warning lights
– clutch and gear shift
– handbrake and footbrake, ABS
– steering
– instruments
– test ride, if necessary
Recommendation: In severe operating conditions, grease the throttle twistgrip and
steering head bearings at least every 30,000 km (18,000 miles) *
)
1)
at least every 6 months; if motorcycle is used only for short journeys or at outside temperatures below 0°C, every 3 months, and at least every 3,000 km (1,800 miles)
2)
at least once a year
3)
in very dirty or dusty conditions, renew the intake air cleaner element every 10,000 km (6,000 miles), or even more frequently if necessary
4)
normally every 40,000 km (24,000 miles), but if fuel is of poor quality every 20,000 km (12,000 miles)
5)
K 75 models only
6)
only motorcycles with ABS
7)
only motorcycles with catalytic converter
8)
on all K models, renew the lining on the chain tensioner rail every 60,000 km (36,000 miles)
*
)
invoiced as a separate item
BMW AG Motorcycle Division
Maintenance Schedule K 75 RT/K 1100 RS/LT
(from 1993 onlys)
Order No. 01 71 9 799 131 UX-VS-2, 12/98 Printed in Germany
Customer Registration No.
Order No. Signature of mechanic
BMW
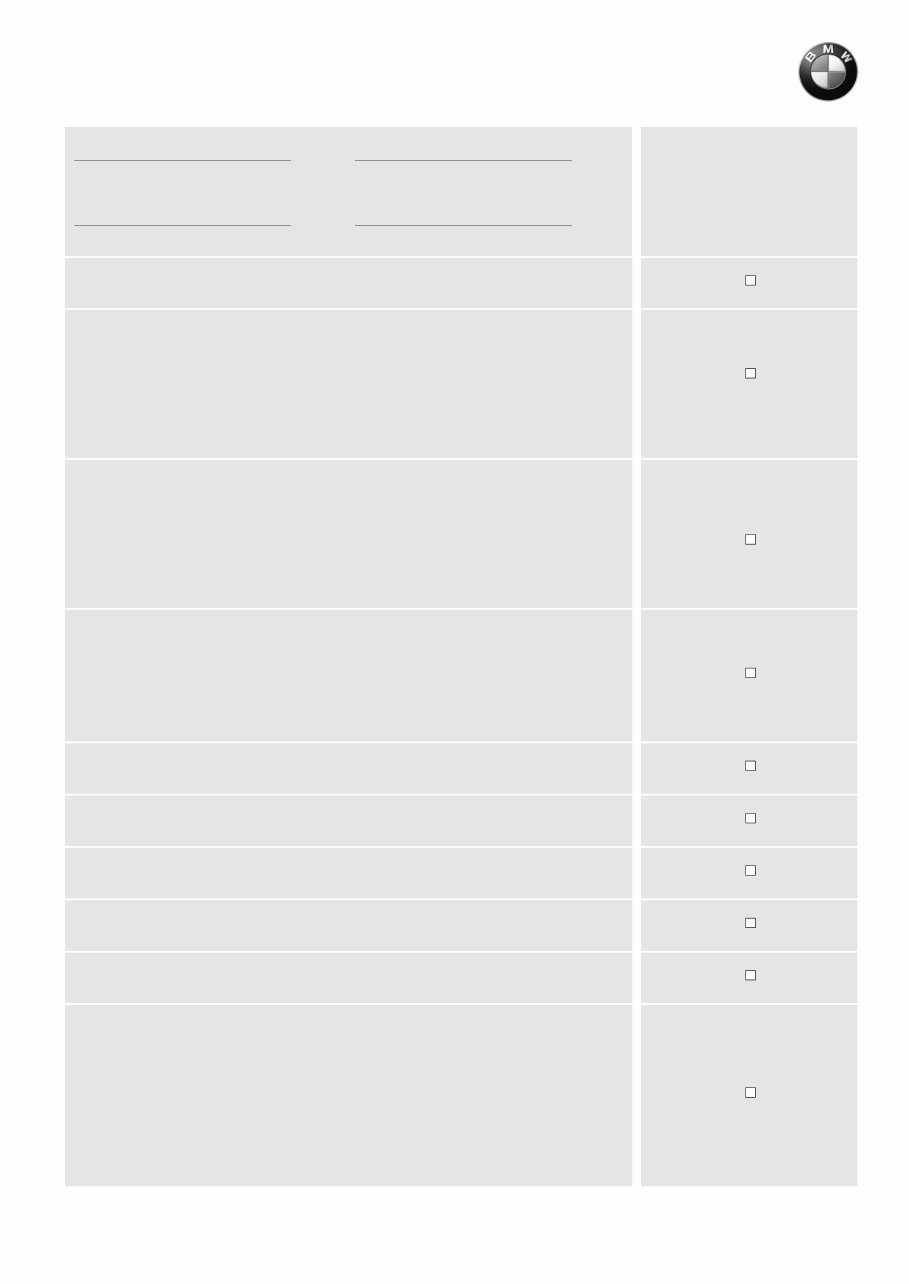
Pre-delivery check
Inspect crates on receipt for signs of damage
Motorcycle:
– unpack
– check scope of delivery
– install front wheel
– complete
– clean
Battery:
– remove
– add battery acid
– charge
– grease the terminal posts
– re-install (mark date)
Check complete specification delivery:
– tools
– handbooks and documents
– keys
– optional extras
Check front and rear wheel brake fluid levels (only disc brake)
Check switch function of electrically-operated side stand (angle)
Check torque setting of the rear wheel retaining studs
Check tyre pressure
Fuel the motorcycle
Safety/operating check as final inspection:
– idle speed
– clutch, gear shifting
– steering
– front and rear brakes, ABS
– telltale and warning lights, instruments, lighting and signalling equipment
– adjust the headlight
– test ride, if necessary
BMW AG Motorcycle Division
Pre-delivery Check K 75 RT/K 1100 RS/LT
(from 1993 onlys)
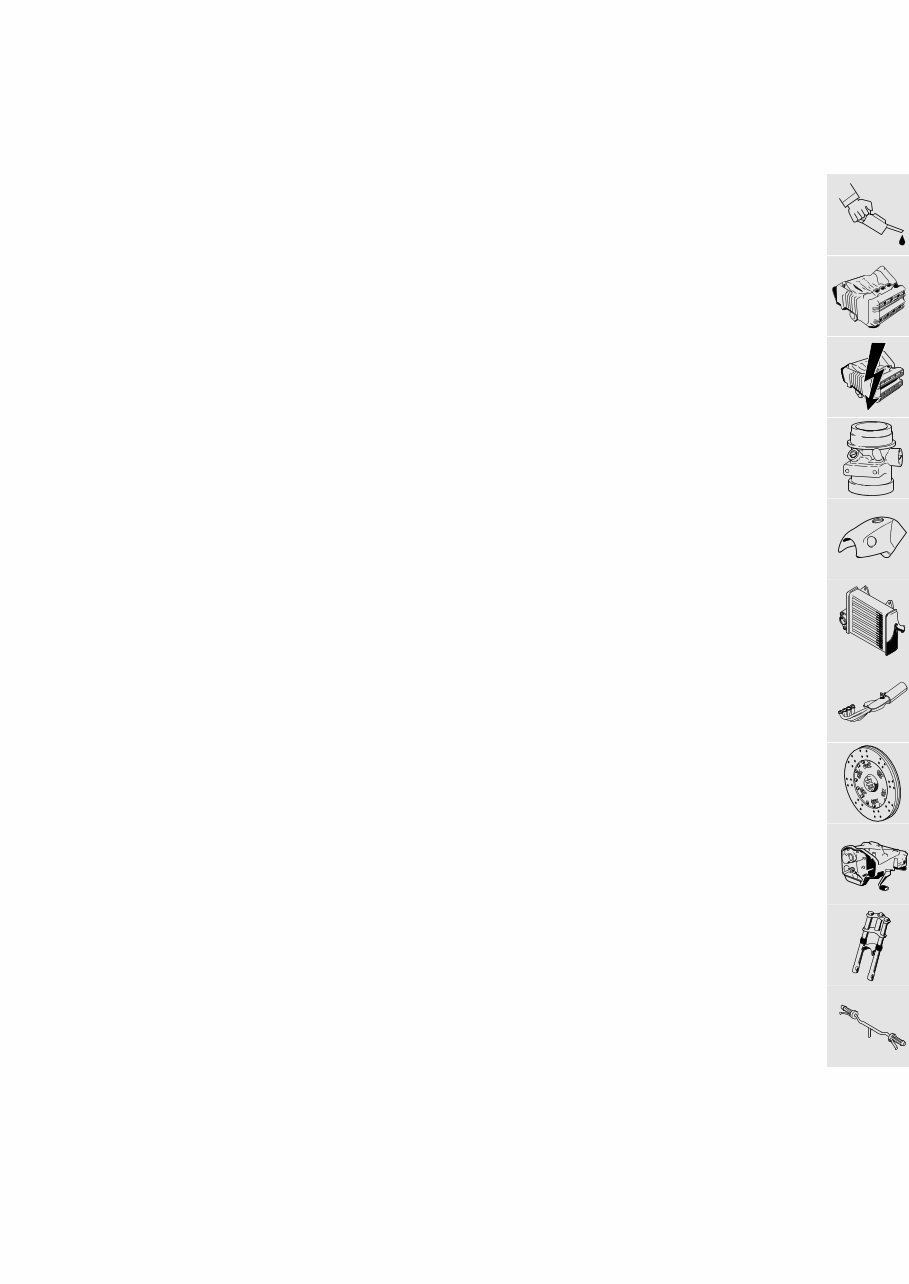
00 Maintenance and general instructions ................................................. 00.1
11 Motor ........................................................................................................ 11.1
12 Engine electrics ...................................................................................... 12.1
13 Fuel preparation and control ................................................................. 13.1
16 Fuel tank and lines .................................................................................. 16.1
17 Radiator ................................................................................................... 17.1
18 Exhaust system ....................................................................................... 18.1
21 Clutch ....................................................................................................... 21.1
23 Gearbox.................................................................................................... 23.1
31 Front fork ................................................................................................. 31.1
32 Steering.................................................................................................... 32.1
Contents
Group / Chapter
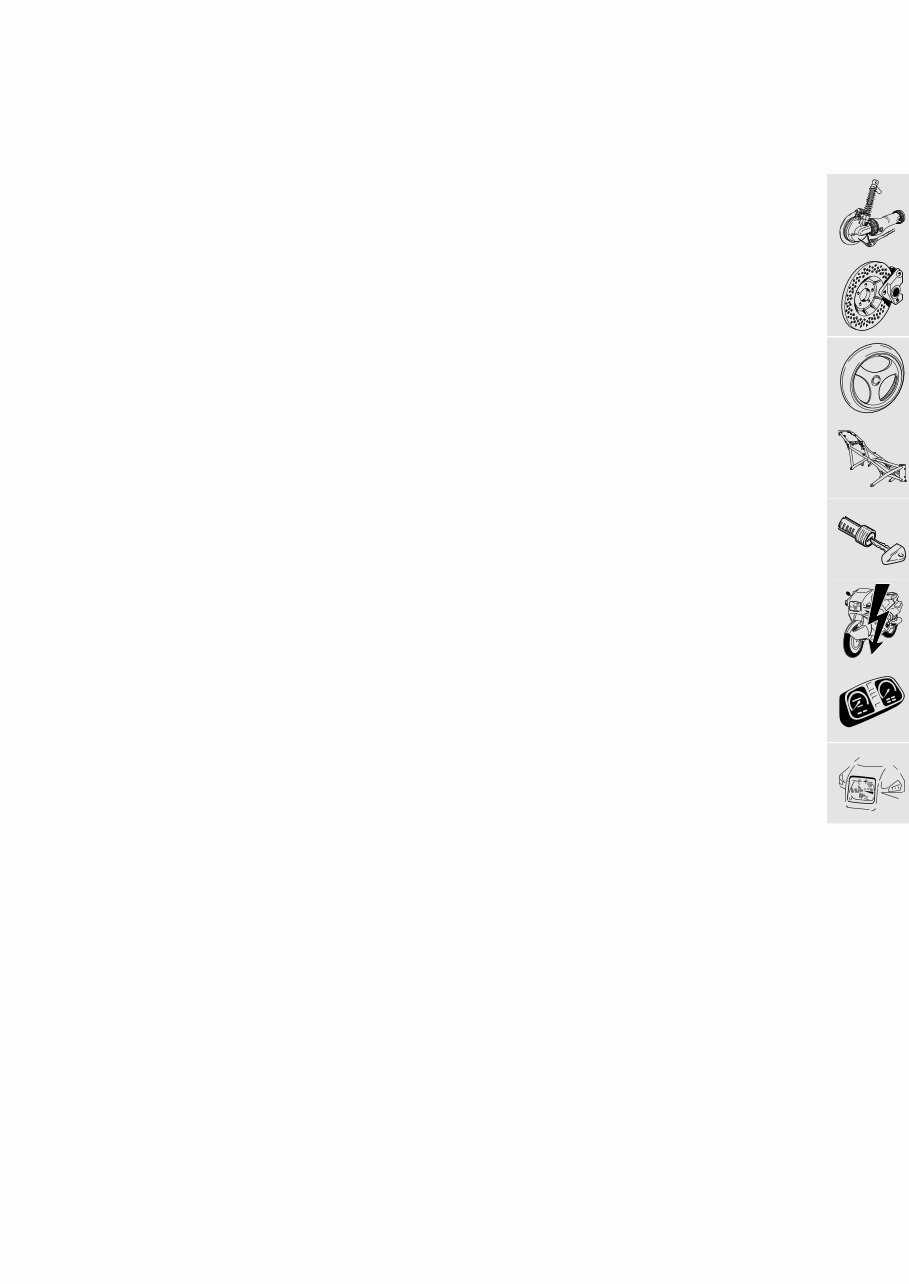
33 Rear wheel drive ..................................................................................... 33.1
34 Brakes ...................................................................................................... 34.1
36 Wheels and tyres..................................................................................... 36.1
46 Frame ....................................................................................................... 46.1
51 Equipment................................................................................................ 51.1
61 General electrical equipment ................................................................ 61.1
62 Instruments.............................................................................................. 62.1
63 Lights........................................................................................................ 63.1
Group / Chapter

00.1
Contents Page
00
Tightening torque .........................................................................................................................3
Table of operating fluids ......................................................................................................... 10
Key to maintenance intervals .............................................................................................. 11
Changing engine oil .................................................................................................................. 11
Inspections I, II, III, IV
Changing oil in transmission (gearbox) .......................................................................... 11
Inspections I, III, IV
Changing oil in rear wheel drive ........................................................................................ 12
Inspections I, III, IV
Changing oil in telescopic fork ........................................................................................... 12
Inspection I, III, IV
Renewing intake air cleaner ................................................................................................ 12
Inspection III
Renewing fuel filter ................................................................................................................... 13
Inspection III
Cleaning inductive pulse generator at rear wheel drive ....................................... 13
Inspections I, III, IV
Checking brake pads, brake discs for wear and renewing if necessary .... 14
Inspection II, III
Front wheel brake
Rear wheel brake
Checking brake fluid level and correcting if necessary ....................................... 15
Inspections I, II, III
Checking brake fluid level
Adding brake fluid
Checking brake system .......................................................................................................... 15
Inspection III
Checking ABS sensor spacing and adjusting if necessary ................................ 15
Inspections I, II, III
Front sensor
Rear sensor
Renewing brake fluid ............................................................................................................... 16
Renewing front brake fluid
Renewing rear brake fluid
00 Maintenance and general instructions

00.2
Contents Page
Checking function of electric switch on side stand
and adjusting if necessary .................................................................................................... 17
Inspections I, II, III
Checking clutch clearance and adjusting if necessary ........................................ 18
Inspections I, III
Reading out Motronic defect code memory ............................................................... 18
Inspections II, III
Checking increased starting speed (choke) and adjusting if necessary .... 19
Inspections I, III
Checking increased starting speed
Checking valve clearance and adjusting if necessary .......................................... 20
Inspections I, III
Adjusting valve clearance ..................................................................................................... 20
Removing sprockets
Removing camshafts
Installing camshafts
Installing sprockets
Installing cylinder head cover
Checking steering bearing play and adjusting if necessary .............................. 23
Inspection III
Lubricating guide pins, adjustable screen ................................................................... 24
Inspections III, IV
Checking idle speed, synchronising
and CO value and adjusting if necessary ...................................................................... 25
Inspections I, II, III, IV
Adjusting idle speed
Adjusting CO value without catalytic converter
You're Reading a Preview
What's Included?
 Lifetime Access
Fast Download Speeds
Online & Offline Access
Access PDF Contents & Bookmarks
Full Search Facility
Print one or all pages of your manual
$36.99
BMW K1100LT K1100RS Workshop Repair Manual 1999-2000
Viewed 11 Times Today

What's Included?
Lifetime Access
Fast Download Speeds
Online & Offline Access
Access PDF Contents & Bookmarks
Full Search Facility
Print one or all pages of your manual
$36.99

Secure transaction
What's Included?
Lifetime Access
Fast Download Speeds
Online & Offline Access
Access PDF Contents & Bookmarks
Full Search Facility
Print one or all pages of your manual
Description
Discover top-quality professional workshop service and repair manuals available for your needs.
- These manuals are essential for both professional mechanics and DIY enthusiasts, providing detailed instructions and step-by-step diagrams for all workshop procedures.
- They cover everything from basic tasks like changing the plugs to more complex tasks like rebuilding the engine, along with electrical diagrams, torque settings, fluid capacities, and more.
- Access the most comprehensive diagnostic, service, repair, and maintenance information used by professional technicians and mechanics with just a click of a mouse.
- Written by the manufacturers, these workshop manuals contain thousands of pages of diagrams and detailed information for specific vehicle or equipment repair.
- These original service manuals, wiring diagrams, and bulletins are the most accurate and complete resources available.
- Each service repair workshop manual is year and model specific, featuring factory diagnostic and repair procedures to provide access to the same repair information used by certified technicians and mechanics.
- All manuals are available in easy-to-use Acrobat PDF files and are compatible with both Windows and MAC operating systems.
- Multiple forms of payment are accepted, including Paypal, Credit, and Debit Cards.
Click on the above button to access these valuable resources now.


