

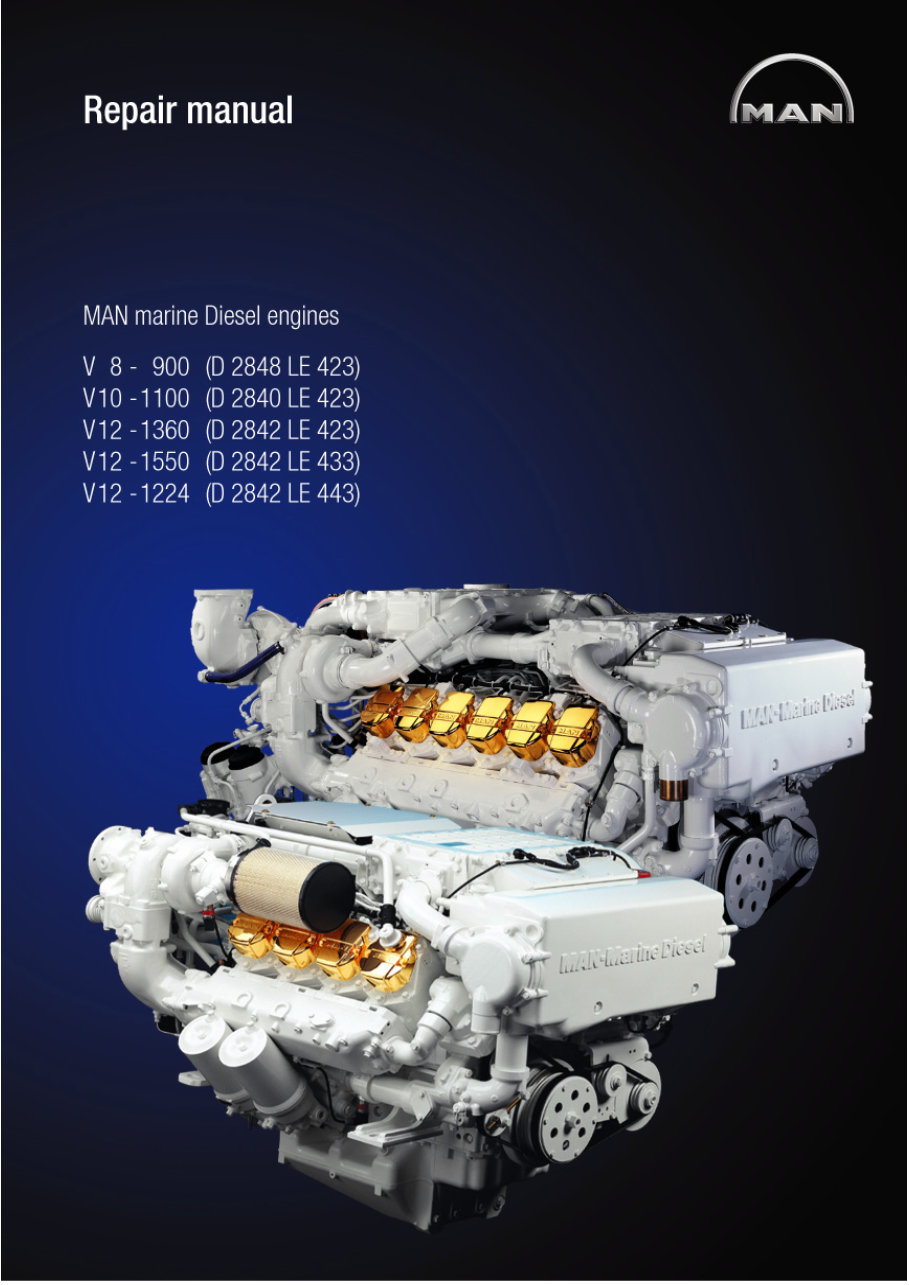
Man Marine Diesel Engine V8-900 V10-1100 V12-1360 V12-1550 V12-1224 Workshop Service Repair Manual
What's Included?
Fast Download Speeds
Online & Offline Access
Access PDF Contents & Bookmarks
Full Search Facility
Print one or all pages of your manual


Preface
1
This Repair Manual is designed to facilitate repair of the engines listed in line with accepted technical prin-
ciples.
In addition to this Repair Manual the following publications are available:
D Operating Instructions
D Fuels, Lubricants and Coolants for MAN Diesel Engines
D Spare-parts catalogue
D Service record book with maintenance plan
Note:
Only use fuel, coolants and lubricants in accordance with MAN’s regulations otherwise the
manufacturer’s warranty will not apply!
For basic information on the fuels see the publication “Fuels, Lubricants and Coolants for MAN
Diesel Engines”.
You can find the approved products in the internet under:
−http://www.mn.man.de/index/mn_eng/motor/serviceproducts.htm−
The pictures and associated descriptions show typical work that may not always be applicable to the en-
gine in hand, which nevertheless does not mean that they are not correct.
In such cases, the repair work is to be planned and carried out in a similar way.
It is compulsory that the engine be removed before performing any of the work describe in this Repair Man-
ual.
The expert knowledge necessary for handling Diesel engines was taken for granted when this publication
was compiled.
Any repair of components such as injection pump, alternator etc. ought to be left to our or the manufac-
turer’s service department.
Best regards
MAN Nutzfahrzeuge Aktiengesellschaft
Nuremberg Plant
We reserve the right to make technical modifications in the course of further development.
© 2005 MAN Nutzfahrzeuge Aktiengesellschaft
Reprinting, duplication or translation, in whole or in part, is not permitted without the written permission of
MAN. MAN reserves all rights accorded by the relevant laws on copyright.
MTDB Technical status: 10.2005 51.99598−8123
Instructions
2
Important instructions which concern technical safety and protection of persons are emphasised as shown
below.
Danger:
This refers to working and operating procedures which must be complied with in order to rule out
the risk to persons.
Caution:
This refers to working and operating procedures which must be complied with in order to prevent
damage to or destruction of material.
Note:
Explanatory descriptions which help in understanding the relevant work or operating procedure to
be carried out.
Assembly of pipes
Danger:
No pipes may be bent.
Risk of breakage!
Fitting flat seals / gaskets
Flat seals / gaskets are often inserted with sealing agents or adhesives to make fitting them easier or to
achieve better sealing. Flat seals may slip in operation due to the “sewing-machine” effect, in particular if
they are used between parts with different rates of linear expansion under heat (e.g. aluminium and cast
iron), and leaks may then occur.
Example:
The cap of the front crankshaft seal. If a sealing agent or an adhesive is used here the flat seal will move
inwards in the course of time as a result of the different expansion rates of the materials. Oil will be lost, for
which the shaft seal may be thought to be responsible.
Flat seals / gaskets can be fitted properly only if the following points are observed:
D Use only genuine MAN seals / gaskets
D The sealing faces must be undamaged and clean
D Do not use any sealing agent or adhesive − as an aid to fitting the seals a little grease can be used if
necessary so that the seal will stick to the part to be fitted
D Tighten bolts evenly to the specified torque
Fitting round sealing rings
D Use only genuine MAN round sealing rings
D The sealing faces must be undamaged and clean
D Always wet round sealing rings with engine oil before fitting them

Contents
3
Page
Preface 1 . . . . . . . . . . . . . . . . . . . . . . . . . . . . . . . . . . . . . . . . . . . . . . . . . . . . . . . . . . . . . . . . . . . . . . . . . . . . . . . . .
Instructions 2 . . . . . . . . . . . . . . . . . . . . . . . . . . . . . . . . . . . . . . . . . . . . . . . . . . . . . . . . . . . . . . . . . . . . . . . . . . . . .
Engine type classification 5 . . . . . . . . . . . . . . . . . . . . . . . . . . . . . . . . . . . . . . . . . . . . . . . . . . . . . . . . . . . . . . .
Safety regulations 6 . . . . . . . . . . . . . . . . . . . . . . . . . . . . . . . . . . . . . . . . . . . . . . . . . . . . . . . . . . . . . . . . . . . . . . .
Fault table 12 . . . . . . . . . . . . . . . . . . . . . . . . . . . . . . . . . . . . . . . . . . . . . . . . . . . . . . . . . . . . . . . . . . . . . . . . . . . . . .
General notes on engine overhaul 15 . . . . . . . . . . . . . . . . . . . . . . . . . . . . . . . . . . . . . . . . . . . . . . . . . . . . . . . .
Commissioning after engine overhaul 16 . . . . . . . . . . . . . . . . . . . . . . . . . . . . . . . . . . . . . . . . . . . . . . . . . . . .
Engine views D 2848 LE 423 18 . . . . . . . . . . . . . . . . . . . . . . . . . . . . . . . . . . . . . . . . . . . . . . . . . . . . . . . . . . . . .
Engine views D 2840 LE 423 20 . . . . . . . . . . . . . . . . . . . . . . . . . . . . . . . . . . . . . . . . . . . . . . . . . . . . . . . . . . . . .
Engine views D 2842 LE 423/443 22 . . . . . . . . . . . . . . . . . . . . . . . . . . . . . . . . . . . . . . . . . . . . . . . . . . . . . . . . .
Engine views D 2842 LE 433 24 . . . . . . . . . . . . . . . . . . . . . . . . . . . . . . . . . . . . . . . . . . . . . . . . . . . . . . . . . . . . .
Engine lubrication schedule 26 . . . . . . . . . . . . . . . . . . . . . . . . . . . . . . . . . . . . . . . . . . . . . . . . . . . . . . . . . . . . . . . .
Schematic diagram of cooling system D 2842 LE 433 29 . . . . . . . . . . . . . . . . . . . . . . . . . . . . . . . . . . . . . .
Schematic diagram of cooling system D 2848/40/42 LE 423/443 28 . . . . . . . . . . . . . . . . . . . . . . . . . . . . .
Fuel diagram 30 . . . . . . . . . . . . . . . . . . . . . . . . . . . . . . . . . . . . . . . . . . . . . . . . . . . . . . . . . . . . . . . . . . . . . . . . . . . .
Fuel system
Removing and installing the high-pressure lines 31 . . . . . . . . . . . . . . . . . . . . . . . . . . . . . . . . . . . . . . . . . . . .
Removing and installing high-pressure pump 32 . . . . . . . . . . . . . . . . . . . . . . . . . . . . . . . . . . . . . . . . . . . . . .
Removing and installing the rail 34 . . . . . . . . . . . . . . . . . . . . . . . . . . . . . . . . . . . . . . . . . . . . . . . . . . . . . . . . . .
Removing and installing the rail pressure sensor, pressure relief valve 37 . . . . . . . . . . . . . . . . . . . . . . . .
Removing and installing the injectors 38 . . . . . . . . . . . . . . . . . . . . . . . . . . . . . . . . . . . . . . . . . . . . . . . . . . . . .
Fuel prefilter with hand pump 43 . . . . . . . . . . . . . . . . . . . . . . . . . . . . . . . . . . . . . . . . . . . . . . . . . . . . . . . . . . . .
Removing and installing the Fuel Service Centre, replacing the filter cartridge 44 . . . . . . . . . . . . . . . . . .
Cooling system
Draining and filling coolant 45 . . . . . . . . . . . . . . . . . . . . . . . . . . . . . . . . . . . . . . . . . . . . . . . . . . . . . . . . . . . . . .
Removing and installing thermostats 48 . . . . . . . . . . . . . . . . . . . . . . . . . . . . . . . . . . . . . . . . . . . . . . . . . . . . .
Removing and installing coolant pump 49 . . . . . . . . . . . . . . . . . . . . . . . . . . . . . . . . . . . . . . . . . . . . . . . . . . . .
Repairing coolant pump 51 . . . . . . . . . . . . . . . . . . . . . . . . . . . . . . . . . . . . . . . . . . . . . . . . . . . . . . . . . . . . . . . .
Cleaning cooling system 56 . . . . . . . . . . . . . . . . . . . . . . . . . . . . . . . . . . . . . . . . . . . . . . . . . . . . . . . . . . . . . . . .
Removing and installing heat exchanger 58 . . . . . . . . . . . . . . . . . . . . . . . . . . . . . . . . . . . . . . . . . . . . . . . . . .
Removing and installing pipe cluster for heat exchanger 60 . . . . . . . . . . . . . . . . . . . . . . . . . . . . . . . . . . . .
Checking and repairing pipe cluster for heat exchanger 63 . . . . . . . . . . . . . . . . . . . . . . . . . . . . . . . . . . . . .
Cleaning heat exchanger pipe cluster 65 . . . . . . . . . . . . . . . . . . . . . . . . . . . . . . . . . . . . . . . . . . . . . . . . . . . .
Changing impeller of sea water pump 66 . . . . . . . . . . . . . . . . . . . . . . . . . . . . . . . . . . . . . . . . . . . . . . . . . . . .
Removing and installing sea water pump 68 . . . . . . . . . . . . . . . . . . . . . . . . . . . . . . . . . . . . . . . . . . . . . . . . .
Lubrication system
Changing oil filter 69 . . . . . . . . . . . . . . . . . . . . . . . . . . . . . . . . . . . . . . . . . . . . . . . . . . . . . . . . . . . . . . . . . . . . . .
Removing and installing the oil cooler 70 . . . . . . . . . . . . . . . . . . . . . . . . . . . . . . . . . . . . . . . . . . . . . . . . . . . .
Removing and installing, repairing oil pump D 2848 LE 423 72 . . . . . . . . . . . . . . . . . . . . . . . . . . . . . . . . . .
Removing and installing, repairing oil pump D 2840/42 LE 4.. 76 . . . . . . . . . . . . . . . . . . . . . . . . . . . . . . . .
Oil injection nozzle 81 . . . . . . . . . . . . . . . . . . . . . . . . . . . . . . . . . . . . . . . . . . . . . . . . . . . . . . . . . . . . . . . . . . . . .
Flywheel / Crankshaft seal
Removing and fitting vibration damper, Replacing front crankshaft gasket 83 . . . . . . . . . . . . . . . . . . . . .
Removing and installing flywheel, Replacing starter gear ring 87 . . . . . . . . . . . . . . . . . . . . . . . . . . . . . . . .
Replacing crankshaft seal (flywheel end) 89 . . . . . . . . . . . . . . . . . . . . . . . . . . . . . . . . . . . . . . . . . . . . . . . . . .
Replacing the bearing race 90 . . . . . . . . . . . . . . . . . . . . . . . . . . . . . . . . . . . . . . . . . . . . . . . . . . . . . . . . . . . . . .
Crankshaft seals 91 . . . . . . . . . . . . . . . . . . . . . . . . . . . . . . . . . . . . . . . . . . . . . . . . . . . . . . . . . . . . . . . . . . . . . .

Contents
4
Page
Intake / exhaust system
Removing and installing air filter 92 . . . . . . . . . . . . . . . . . . . . . . . . . . . . . . . . . . . . . . . . . . . . . . . . . . . . . . . . .
Removing and installing intake pipes 93 . . . . . . . . . . . . . . . . . . . . . . . . . . . . . . . . . . . . . . . . . . . . . . . . . . . . .
Removing and installing exhaust pipe 94 . . . . . . . . . . . . . . . . . . . . . . . . . . . . . . . . . . . . . . . . . . . . . . . . . . . .
Turbocharger, troubleshooting 96 . . . . . . . . . . . . . . . . . . . . . . . . . . . . . . . . . . . . . . . . . . . . . . . . . . . . . . . . . . .
Removing and installing turbocharger D 2848/40/42 LE 423/443 98 . . . . . . . . . . . . . . . . . . . . . . . . . . . . .
Removing and installing turbocharger D 2842 LE 433 100 . . . . . . . . . . . . . . . . . . . . . . . . . . . . . . . . . . . . . . .
Measuring axial / radial clearance of turbocharger shaft 103 . . . . . . . . . . . . . . . . . . . . . . . . . . . . . . . . . . . . .
Charge pressure control valves 104 . . . . . . . . . . . . . . . . . . . . . . . . . . . . . . . . . . . . . . . . . . . . . . . . . . . . . . . . . .
Removing and installing intercooler D 2848/40/42 LE 423/443 105 . . . . . . . . . . . . . . . . . . . . . . . . . . . . . . .
Removing and installing intercooler D 2842 LE 433 107 . . . . . . . . . . . . . . . . . . . . . . . . . . . . . . . . . . . . . . . . .
Cylinder head
Removing and installing cylinder head 109 . . . . . . . . . . . . . . . . . . . . . . . . . . . . . . . . . . . . . . . . . . . . . . . . . . . .
Setting the valve clearance 113 . . . . . . . . . . . . . . . . . . . . . . . . . . . . . . . . . . . . . . . . . . . . . . . . . . . . . . . . . . . . .
Dismantling and assembling the rocker arm mechanism 115 . . . . . . . . . . . . . . . . . . . . . . . . . . . . . . . . . . . .
Removing and installing valves 119 . . . . . . . . . . . . . . . . . . . . . . . . . . . . . . . . . . . . . . . . . . . . . . . . . . . . . . . . . .
Removing and installing valve guides 125 . . . . . . . . . . . . . . . . . . . . . . . . . . . . . . . . . . . . . . . . . . . . . . . . . . . . .
Replacing valve seat insert 126 . . . . . . . . . . . . . . . . . . . . . . . . . . . . . . . . . . . . . . . . . . . . . . . . . . . . . . . . . . . . .
Reworking valve seat 128 . . . . . . . . . . . . . . . . . . . . . . . . . . . . . . . . . . . . . . . . . . . . . . . . . . . . . . . . . . . . . . . . . .
Refacing valves 131 . . . . . . . . . . . . . . . . . . . . . . . . . . . . . . . . . . . . . . . . . . . . . . . . . . . . . . . . . . . . . . . . . . . . . . .
Valve timing
Removing and installing the timing case 132 . . . . . . . . . . . . . . . . . . . . . . . . . . . . . . . . . . . . . . . . . . . . . . . . . .
Removing and installing camshaft 134 . . . . . . . . . . . . . . . . . . . . . . . . . . . . . . . . . . . . . . . . . . . . . . . . . . . . . . . .
Checking the valve timing 137 . . . . . . . . . . . . . . . . . . . . . . . . . . . . . . . . . . . . . . . . . . . . . . . . . . . . . . . . . . . . . . .
Crankgear, pistons
Removing and installing crankshaft 138 . . . . . . . . . . . . . . . . . . . . . . . . . . . . . . . . . . . . . . . . . . . . . . . . . . . . . .
Removing and installing pistons with conrods 141 . . . . . . . . . . . . . . . . . . . . . . . . . . . . . . . . . . . . . . . . . . . . . .
Removing pistons from conrod and fitting, checking − replacing conrod 144 . . . . . . . . . . . . . . . . . . . . . . .
Removing and installing piston rings 146 . . . . . . . . . . . . . . . . . . . . . . . . . . . . . . . . . . . . . . . . . . . . . . . . . . . . .
Replacing cylinder liners 148 . . . . . . . . . . . . . . . . . . . . . . . . . . . . . . . . . . . . . . . . . . . . . . . . . . . . . . . . . . . . . . . .
Measuring piston protrusion 152 . . . . . . . . . . . . . . . . . . . . . . . . . . . . . . . . . . . . . . . . . . . . . . . . . . . . . . . . . . . . .
Attachments
Removing and installing starter motor 153 . . . . . . . . . . . . . . . . . . . . . . . . . . . . . . . . . . . . . . . . . . . . . . . . . . . .
Removing and attaching alternator 154 . . . . . . . . . . . . . . . . . . . . . . . . . . . . . . . . . . . . . . . . . . . . . . . . . . . . . . .
V-belts 156 . . . . . . . . . . . . . . . . . . . . . . . . . . . . . . . . . . . . . . . . . . . . . . . . . . . . . . . . . . . . . . . . . . . . . . . . . . . . . . .
Removing and installing power take-off for sea water pump 160 . . . . . . . . . . . . . . . . . . . . . . . . . . . . . . . . .
Removing and installing power take-off for hydraulic pump 163 . . . . . . . . . . . . . . . . . . . . . . . . . . . . . . . . . .
Service Data 165 . . . . . . . . . . . . . . . . . . . . . . . . . . . . . . . . . . . . . . . . . . . . . . . . . . . . . . . . . . . . . . . . . . . . . . . . . . . .
Special tools 200 . . . . . . . . . . . . . . . . . . . . . . . . . . . . . . . . . . . . . . . . . . . . . . . . . . . . . . . . . . . . . . . . . . . . . . . . . . . .
Index 212 . . . . . . . . . . . . . . . . . . . . . . . . . . . . . . . . . . . . . . . . . . . . . . . . . . . . . . . . . . . . . . . . . . . . . . . . . . . . . . . . . . .

Engine type classification
5
All the engines dealt with here are related in terms of their design and make up a family.
The type classification, which is made up of a series of letters and numbers, reveals some of the features
of the engine in question provided the reader is familiar with the underlying nomenclature.
The system is explained below using the model type D 2848 LE 423 as an example:
D The “D” at the start of the type classification stands for “Diesel”
28 The numbers “28” indicates that the power plant in question has a bore of 128 mm
4 The “4” means 142 mm stroke
8 The “8” indicates that there are 8 cylinders. If there is a “0”, this is a 10-cylinder engine
L This letter stands for “charge-air cooling” (German: Ladeluftkühlung)
E The “E” stands for “fitted engine” (German: Einbaumotor) and is intended to distinguish MAN
vehicle engines
423 This is a factory-internal development number
Safety regulations
6
General notes
This summary is a compilation of the most important regulations. These are broken down into main sec-
tions which contain the information necessary for preventing injury to persons, damage to property and
pollution. Additional information can be found in the operating instructions of the engine.
Important:
Should an accident occur despite all precautionary measures, particularly one involving contact with corros-
ive acid, penetration of fuel under the skin, scalding by hot oil, antifreeze splashing into the eyes etc. you
must seek medical assistance immediately.
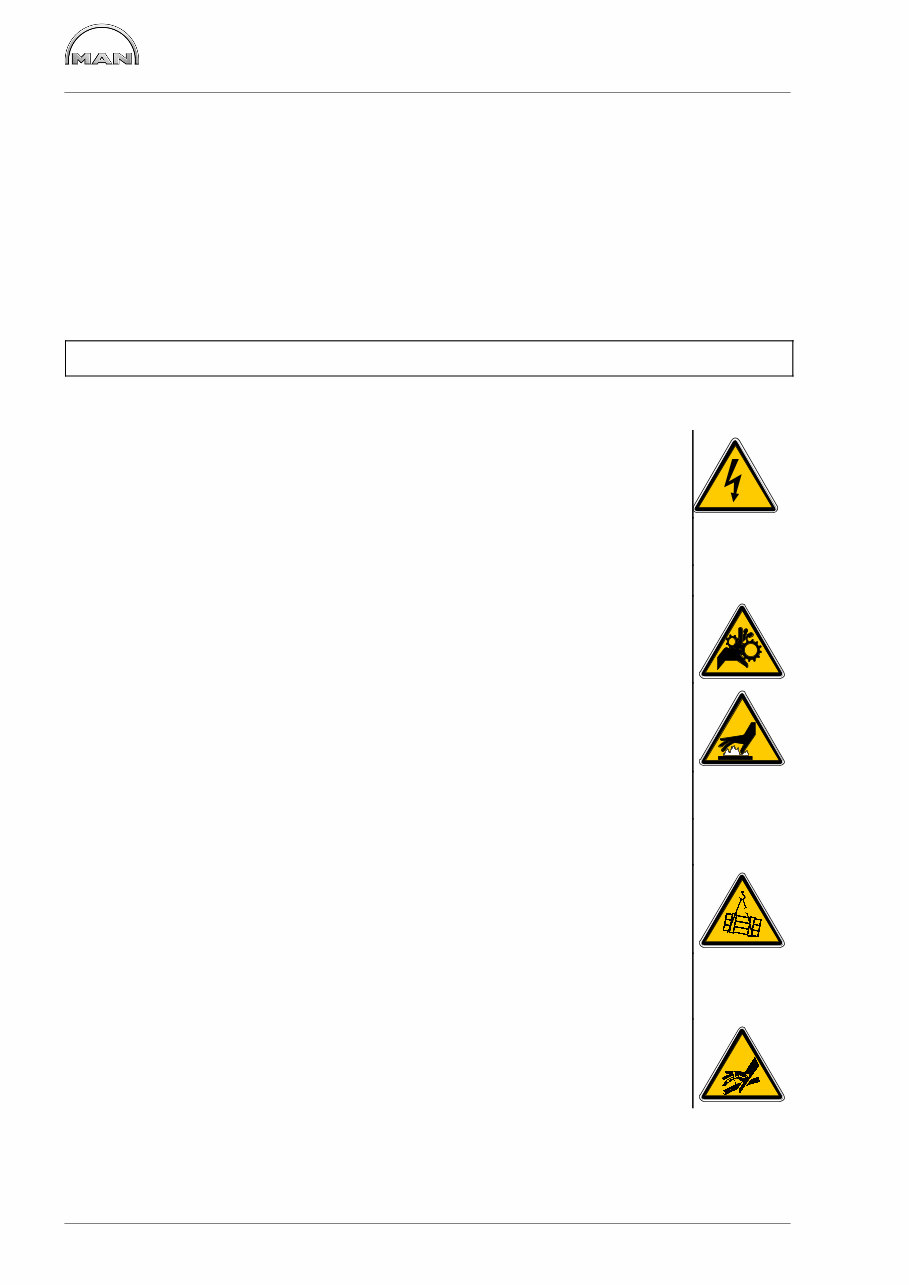
1. Regulations designed to prevent accidents with injury to persons
Checks, setting jobs and repair work must be carried out by authorised skilled personnel only.
D During installation work, switch off the battery master switch.
D When carrying out maintenance and repair work, ensure that the engine cannot be ac-
cidentally started from the bridge by unauthorised persons.
D The engine must be started and operated only by authorized personnel.
D When the engine is running, do not get too close to the rotating parts.
Wear close−fitting working clothes
D Do not touch hot engine with bare hands: Risk of burns.
D Keep area surrounding engine, ladders and stairways free of oil and grease. Accidents
caused by slipping can have serious consequences
D Only work with tools that are in perfect working order. Worn spanners/wrenches slip:
Danger of injury.
D Persons must not stand under an engine suspended on a crane hook. Keep lifting gear
in order.
D Open the coolant circuit only when the engine has cooled down. If opening the coolant
circuit while the engine is hot is unavoidable, observe the instructions in the chapter
”Maintenance and care” in the Operator’s Manual.
D Neither tighten up nor open pipes and hoses (lube oil circuit, coolant circuit and any
additional hydraulic oil circuit) during the operation. The fluids which flow out can cause
injury.
Safety regulations
7
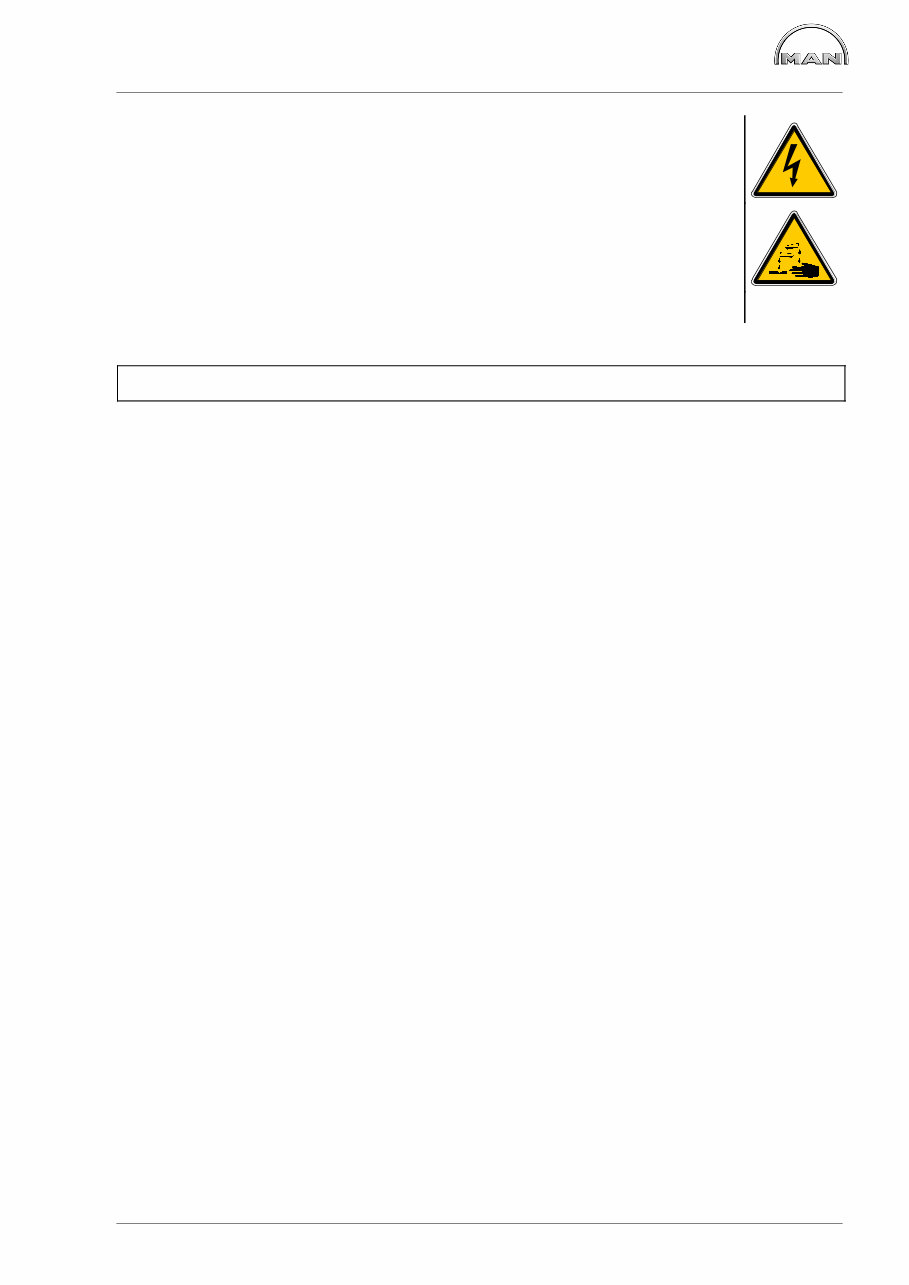
D When working on the electrical system, first disconnect the earth cable of the battery
and reconnect this last to prevent short circuits.
D Comply with the manufacturer’s instructions when handling batteries.
Caution:
Accumulator acid is toxic and caustic. Battery gases are explosive.
D When performing welding work, observe the “Notes for welders”.
2. Regulations designed to prevent damage to engine and premature wear
D Prior to repairing the engine, clean it thoroughly. Ensure that dirt, sand or foreign matter will
not get into the engine during repair work.
D If engine operation is disrupted, immediately determine the cause and have it remedied to prevent addi-
tional damage.
D Always use genuine MAN parts only. Installation of ”equally” good parts from other suppliers may cause
severe damage for which the workshop carrying out the work is responsible.
D Never allow the engine to run dry, i.e. without lubricant or coolant.
Appropriate notices must be attached to engines that are not ready for operation.
D Today modern components of diesel injection consist of high−precision parts which are exposed to ex-
treme stresses. The high−precision technology requires the utmost cleanliness during all work on the
fuel system.
Even a particle of dirt over 0.2 mm can lead to the failure of components.
D Use only MAN−approved service products (fuel, engine oil, anti−freeze and anti−corrosion agent). Pay
attention to cleanliness. Diesel fuel must be free of water.
D Do not add so much engine oil that the oil level rises above the max. marking on the dipstick.
Do not exceed the maximum permissible tilt of the engine.
Serious damage to the engine may result if these instructions are not adhered to.
D Control and monitoring devices (charge control, oil pressure, coolant temperature) must be in perfect
working order.
D Observe the instructions for operating the alternator; see chapter ”Maintenance and care” in the Oper-
ator’s Manual.

Safety regulations
8
3. Regulations designed to prevent pollution
Engine oil and filter elements / cartridges, fuel / fuel filter
D Hand old oil over to old oil disposal companies only.
D Take strict precautions to ensure that no oil or Diesel fuel gets into the drains or the ground.
Caution:
Risk of contamination of potable water.
D Filter elements are classed as dangerous waste and must be treated as such.
Coolants
D Treat undiluted anti−corrosion agent and / or anti−freeze as dangerous waste.
D The regulations of the respective local authorities must be observed when used coolant is disposed of.
4.Notes on safety in handling used engine oil ∗
Prolonged or repeated contact between the skin and any kind of engine oil decreases the skin. Drying, ir-
ritation or inflammation of the skin may therefore occur. Used engine oil also contains dangerous sub-
stances which have caused skin cancer in animal experiments. If the basic rules of hygiene and health and
safety at work are observed, health risks are not to the expected as a result of handling used engine oil.
Health precautions:
D Avoid prolonged or repeated skin contact with used engine oil.
D Protect your skin by means of suitable agents (creams etc.) or wear protective gloves.
D Clean skin which has been in contact with engine oil.
− Wash thoroughly with soap and water. A nailbrush is an effective aid.
− Certain products make it easier to clean your hands.
− Do not use petrol, Diesel fuel, gas oil, thinners or solvents as washing agents.
D After washing apply a fatty skin cream to the skin.
D Change oil-soaked clothing and shoes.
D Do not put oily rags into your pockets.
Ensure that used engine oil is disposed of in the appropriate manner.
− Engine oil can endanger the water supply −
For this reason do not let engine oil get into the ground, waterways, the drains or the sewers. Violations are
punishable.
Collect and dispose of used engine oil carefully. For information on collection points please contact the
seller, the supplier or the local authorities.
∗ Based on “Information sheet for handling used engine oil”.
You're Reading a Preview
What's Included?
Fast Download Speeds
Online & Offline Access
Access PDF Contents & Bookmarks
Full Search Facility
Print one or all pages of your manual
$44.99
$58.99
Viewed 81 Times Today


Secure transaction
What's Included?
Fast Download Speeds
Online & Offline Access
Access PDF Contents & Bookmarks
Full Search Facility
Print one or all pages of your manual
$44.99
$58.99
- Introducing the Man Marine Diesel Engine V8-900 V10-1100 V12-1360 V12-1550 V12-1224 Workshop Service Repair Manual. This comprehensive manual is a valuable resource for anyone looking to service and repair their Man Marine Diesel Engine. It is the ultimate guide, compiled with utmost practicality in mind.
- Inside, you will find high-quality diagrams and step-by-step instructions that will assist you in effectively maintaining and fixing your engine. Whether you are a seasoned DIY enthusiast or a professional, this manual is a must-have.
- The manual covers various models, including the MAN Marine Diesel Engine V8-900 (D 2848 LE 423), V10-1100 (D 2840 LE 423), V12-1360 (D 2842 LE 423), V12-1550 (D 2842 LE 433), and V12-1224 (D 2842 LE 443). Each model is thoroughly addressed, ensuring that you have the specific information you need.
- The content of the manual includes a preface, detailed instructions, engine type classification, safety regulations, a fault table, general notes on engine overhaul, and commissioning after engine overhaul. Additionally, you will find engine views for each model, lubrication schedules, cooling system diagrams, fuel system information, coolant system details, lubrication system insights, and much more.
- This service repair manual is an instant solution, saving you time and money on postage and packaging. It is designed to be compatible with all versions of Windows and Mac, making it accessible to a wide range of users. The language used is English, ensuring clarity and ease of understanding.
- Investing in this manual will not only save you a lot of money but also provide you with a deeper understanding of your Man Marine Diesel Engine. Every page is printable, allowing you to have a physical copy for easy reference.
- Don't miss out on this invaluable resource. Get your hands on the Man Marine Diesel Engine V8-900 V10-1100 V12-1360 V12-1550 V12-1224 Workshop Service Repair Manual today and empower yourself with the knowledge to effectively maintain and repair your engine.


