

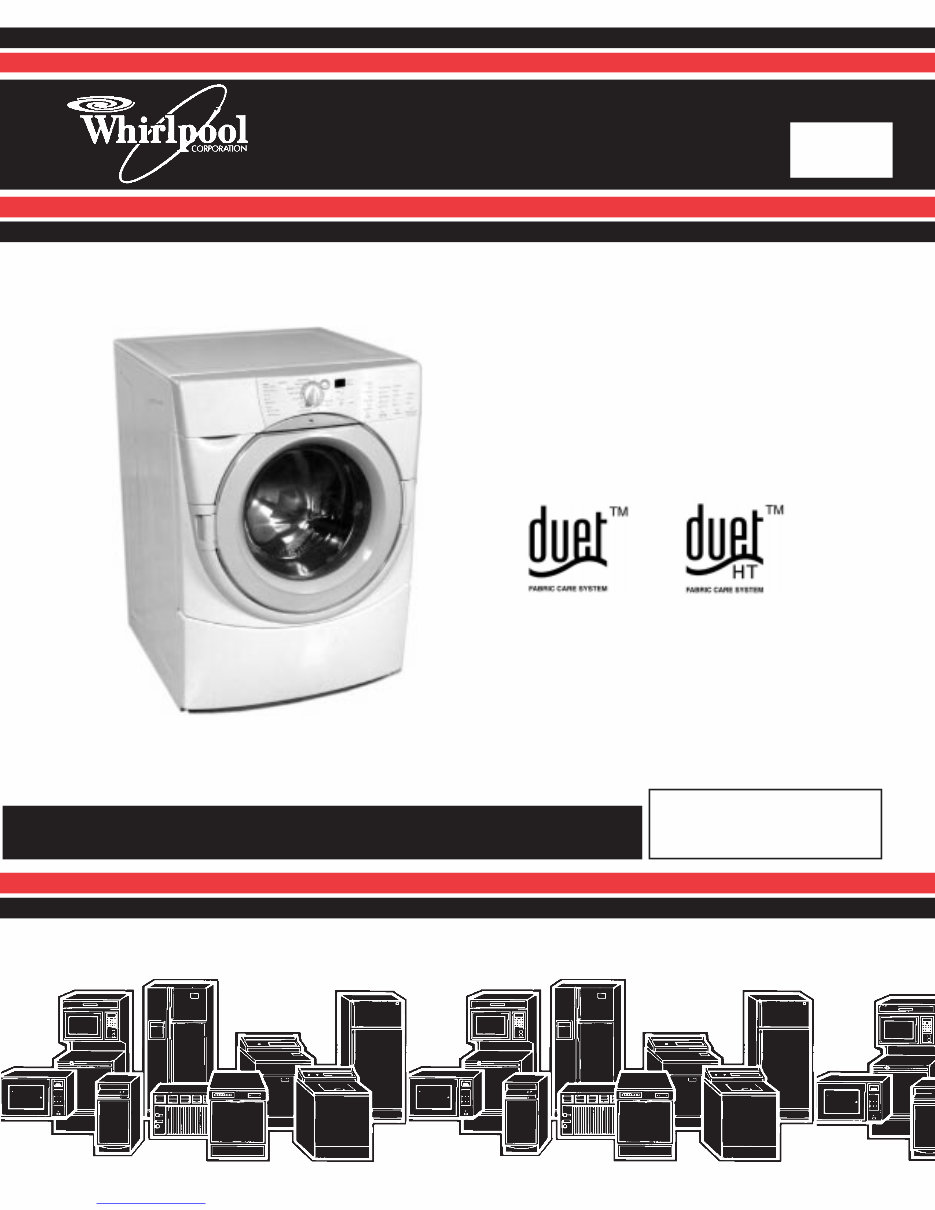
WHIRLPOOL DUET WASHER Repair Service Manual
Have a question?Ask Us
What's Included?
Fast Download Speeds
Online & Offline Access
Access PDF Contents & Bookmarks
Full Search Facility
Print one or all pages of your manual
CONSUMER SERVICES TECHNICAL
EDUCATION GROUP PRESENTS
L-68
JOB AID
Part No. 8178076
Front-Loading
Automatic Washer
Model Numbers:
GHW9100L GHW9200L
Downloaded from www.Manualslib.com manuals search engine

ii
FORWARD
This Whirlpool Job Aid, “Front-Loading Automatic Washer,” (Part No. 8178076), provides the technician
with information on the installation and service of the Front-Loading Automatic Washer. It is to be used
as a training Job Aid and Service Manual. For specific information on the model being serviced, refer to
the “Use and Care Guide” or “Tech Sheet” provided with the washer.
The Wiring Diagram used in this Job Aid is typical and should be used for training purposes only. Always
use the Wiring Diagram supplied with the product when servicing the unit.
GOAL AND OBJECTIVES
The goal of this Job Aid is to provide detailed information that will enable the service technician to prop-
erly diagnose malfunctions and repair the Whirlpool Front-Loading Automatic Washer.
The objectives of this Job Aid are:
• Understand and follow proper safety precautions.
• Successfully troubleshoot and diagnose malfunctions.
• Successfully perform necessary repairs.
• Successfully return the washer to its proper operational status.
WHIRLPOOL CORPORATION assumes no responsibility for any repairs
on our products by anyone other than Authorized Service Technicians.
Copyright 2001, Whirlpool Corporation, Benton Harbor, MI 49022
CO RP O R A T ION
Downloaded from www.Manualslib.com manuals search engine

iii
GENERAL INFORMATION ....................................................................................................... 1-1
Safety First ......................................................................................................................... 1-1
Model/Serial Number Designators ................................................................................... 1-2
Specifications ................................................................................................................. .... 1-3
Pedestal Warranty .............................................................................................................. 1-3
Washer Warranty ............................................................................................................... 1-4
INSTALLATION CONSIDERATIONS ....................................................................................... 2-1
Installation Requirements ................................................................................................. 2-1
Installation Instructions (Washer) .................................................................................... 2-3
Installation Instructions (Pedestal) .................................................................................. 2-6
THEORY OF OPERATION ....................................................................................................... 3-1
COMPONENT ACCESS ............................................................................................................ 4-1
Component Location ......................................................................................................... 4-1
Component Access ........................................................................................................... 4-2
COMPONENT TESTING ........................................................................................................... 5-1
Central Control Unit ........................................................................................................... 5-1
Component Checks ........................................................................................................... 5-2
Motor Control Unit ............................................................................................................. 5-4
Line Filter ............................................................................................................................ 5-5
Dispenser ............................................................................................................................ 5-5
Pressure Switch ................................................................................................................. 5-6
Heating Element and Temperature Sensor ..................................................................... 5-6
DIAGNOSIS AND TROUBLESHOOTING ................................................................................ 6-1
Suds Detection ................................................................................................................... 6-1
Door Locking and Unlocking ............................................................................................ 6-2
Unbalance Detection Routine ........................................................................................... 6-3
Error Codes ........................................................................................................................ 6-4
Diagnostic Test .................................................................................................................. 6-8
Troubleshooting Chart ...................................................................................................... 6-10
Cycle Charts ....................................................................................................................... 6-12
WIRING DIAGRAM ................................................................................................................... 7-1
TECH TIPS ................................................................................................................................ 8-1
TABLE OF CONTENTS
Downloaded from www.Manualslib.com manuals search engine

iv
-- NOTES --
Downloaded from www.Manualslib.com manuals search engine
1 - 1
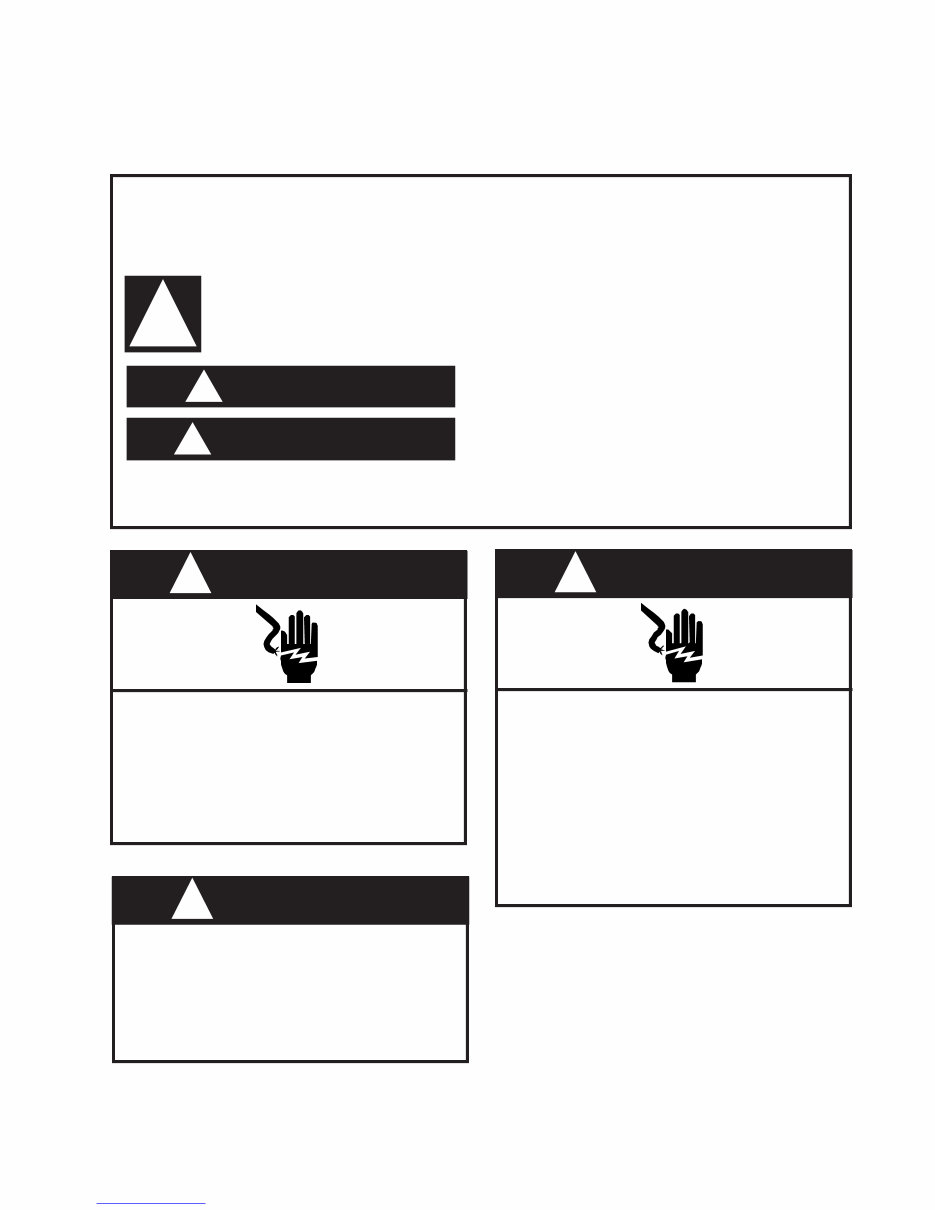
Your safety and the safety of others are very important.
We have provided many important safety messages in this manual and on the appliance. Always read
and obey all safety messages.
This is the safety alert symbol.
This symbol alerts you to potential hazards that can kill or hurt you and others.
All safety messages will follow the safety alert symbol and either the word “DANGER”
or “WARNING.” These words mean:
!
WARNING !
! DANGER
You can be killed or seriously injured if you
don’t immediately follow instructions.
You can be killed or seriously injured if you
don’t follow instructions.
All safety messages will tell you what the potential hazard is, tell you how to reduce the chance of injury,
and tell you what you can happen if the instructions are not followed.
! WARNING
ELECTRICAL SHOCK HAZARD
Disconnect power before servicing.
Replace all panels before operating.
Failure to do so can result in death or
electrical shock.
! WARNING
ELECTRICAL SHOCK HAZARD
Plug into a grounded 3 prong outlet.
Do not remove ground prong.
Do not use adapter.
Do not use an extension cord.
Failure to follow these instructions can
result in death, fire, or electrical shock.
GENERAL
IMPORTANT SAFETY INFORMATION
! WARNING
Excessive Weight Hazard
Use two or more people to move and
install washer.
Failure to do so can result in back or
other injury.
Downloaded from www.Manualslib.com manuals search engine
1 - 2
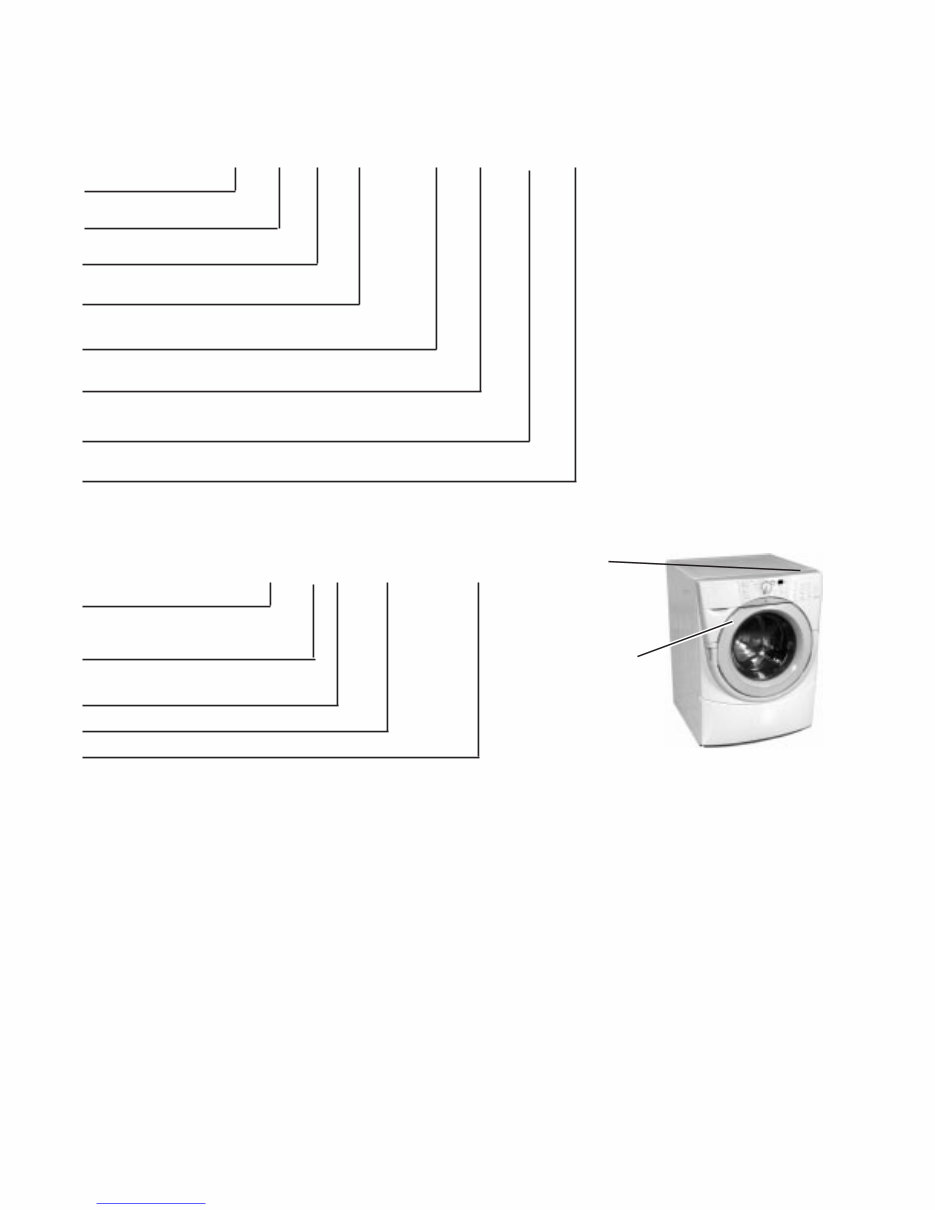
WHIRLPOOL MODEL & SERIAL NUMBER DESIGNATORS
MODEL NUMBER
SERIAL NUMBER
SERIAL NUMBER
MANUFACTURING SITE
CS = Schorndorf, Germany
YEAR OF MANUFACTURE
L = 2001
WEEK OF MANUFACTURE
PRODUCT SEQUENCE NUMBER
CS L 36 50001
Model/Serial
Number Plate
(Left side of
Door Opening)
MODEL NUMBER
PRODUCT GROUP
G = Gold Line Laundry
PRODUCT IDENTIFICATION
H = Horizontal Axis - Domestic
FEATURE CODE
W = Resource Saving
FEATURE CODE
9100 = Non-Heated
9200 = Heated
YEAR OF INTRODUCTION
L = 2002
COLOR CODE
W = White/Grey
Q = White/Blue
ENGINEERING CHANGE
0 = Basic Release; 1 = First Revision; 2 = Second Revision
G W 0 H 9100 W L
Tech Sheet
(Right Side
Panel)
Downloaded from www.Manualslib.com manuals search engine
1 - 3
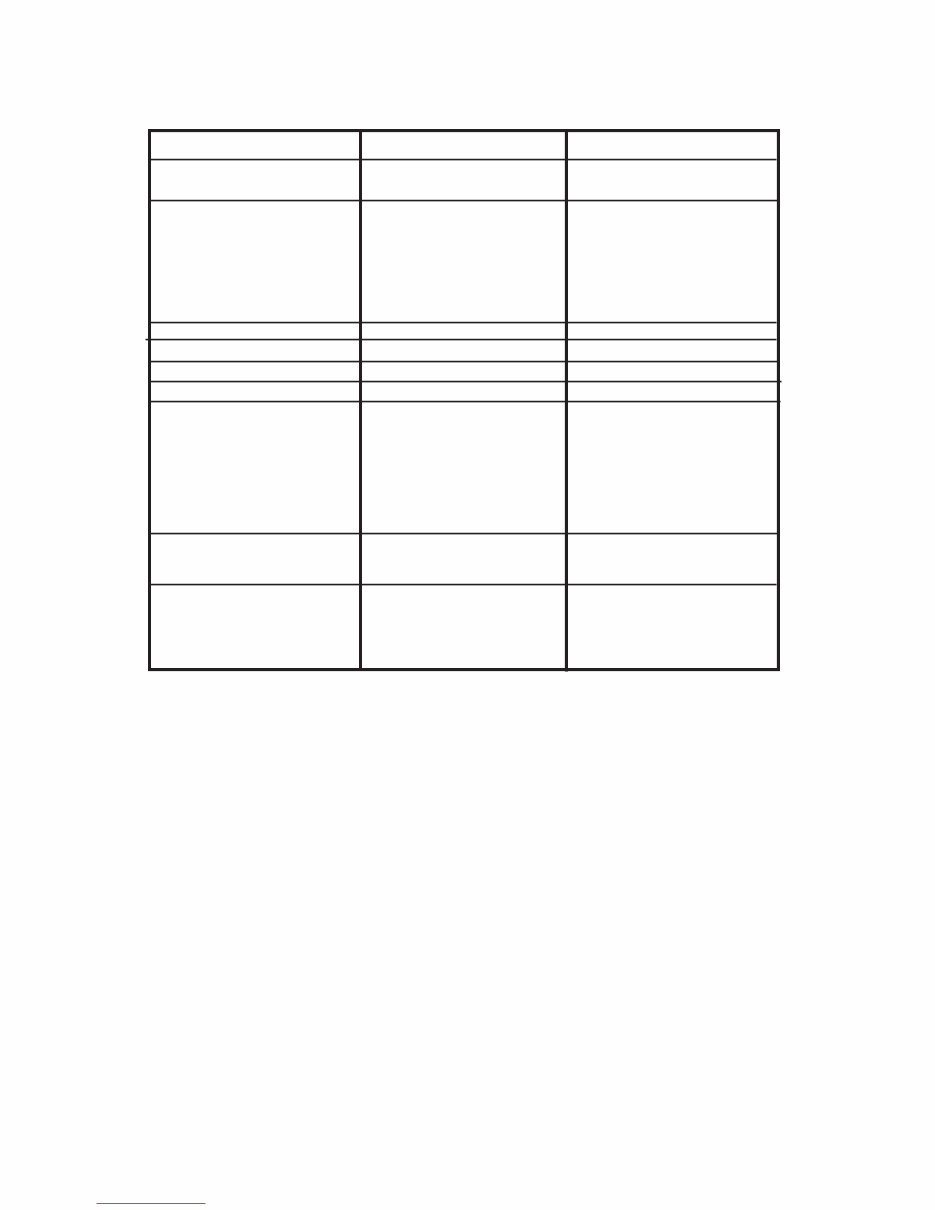
SPECIFICATIONS
Model Number
Color
Electrical Requirements
Heating Power
Max. Current
Rated Current
Voltage
Frequency
Gallons/Normal Cycle
Capacity
Volume
Max. Spin Speeds
Dimensions
Height
Height (Feet Extended)
Width
Depth
Weight
Installation Options
Programs
Program Selector
Temperature Selector
Spin Speed
GHW9100LW/Q
W = White/Grey
Q = White/Blue
No Heating Element
12A
15A
120V
60Hz
15.8 Gal./60 L
19.8 lbs. (9 kg.)
3.7 cu. ft. (IEC equivalent)
900 RPM
37.4” (950mm)
38.2” (970mm)
27” (686mm)
30.3” (770mm)
245 lbs. (111kg.)
Pedestal
Stackable
Rotary 8 Programs
Buttons (3 levels)
Buttons (4 levels)
GHW9200LW/Q
W = White/Grey
Q = White/Blue
1,000W
12A
15A
120V
60 Hz
15.8 Gal./60 L
19.8 lbs. (9 kg.)
3.7 cu. ft. (IEC equivalent)
1100 RPM
37.4” (950mm)
38.2” (970mm)
27” (686mm)
30.3” (770mm)
245 lbs. (111kg.)
Pedestal
Stackable
Rotary 12 Programs
Buttons (5 levels)
Buttons (5 levels)
Full One-Year Warranty on Mechanical parts.
For one year from the date of purchase, when this Pedestal is installed with the listed washer or dryer and
operated according to the instructions provided in the washer or dryer Owner’s Manual or Use and Care Guide,
supplier will repair or replace any of its mechanical parts if defective in material or workmanship.
Warranty Restriction
If the Pedestal is subject to other than private family use and or used with any other product than those listed in
the installation instructions, the warranty is null and void.
WHIRLPOOL PEDESTAL WARRANTY
Downloaded from www.Manualslib.com manuals search engine
1 - 4
WHIRLPOOL WASHER WARRANTY
LENGTH OF
WARRANTY:
FULL ONE-YEAR
WARRANTY
FROM DATE OF
PURCHASE
LIMITED
TWO-YEAR
WARRANTY
FROM DATE OF
PURCHASE
LIMITED
FIVE-YEAR
WARRANTY
FROM DATE OF
PURCHASE
WHIRLPOOL WILL PAY FOR: WHIRLPOOL WILL NOT PAY FOR:
FSP
®
replacement parts and repair
labor costs to correct defects in
materials or workmanship. Service
must be provided by a Whirlpool-
designated service company.
For two years from the date of
purchase, FSP
®
replacement parts
only to correct defects in the elec-
tronic control boards if defective in
material or workmanship.
For five years from the date of
purchase, FSP
®
replacement parts
only to correct defects in the porce-
lain top, (GHW9200), or powder coat
top, (GHW9100), if defective in
material or workmanship.
A: Service calls to:
1.Correct the installation of the washer
2.Instruct you how to use the washer.
3.Replace house fuses or correct
house wiring.
B. Repairs when the washer is used in
other than normal, single-family house
hold use.
C. Pickup and delivery. The washer is
designed to be repaired in the home.
D. Damage to the washer caused by
accident, alterations, misuse, abuse,
fire, flood, acts of God, or use of
products not approved by Whirlpool.
E. Repairs to parts or systems resulting
from unauthorized modifications made
to the washer.
F. Replacement parts or repair labor costs
for units operated outside the United
States.
WARRANTY
LIMITED
FIVE-YEAR
WARRANTY
FROM DATE OF
PURCHASE
For five years from the date of
purchase, FSP
®
replacement parts
only to correct defects in the drive
system belt and pulley if defective in
material or workmanship.
LIMITED
TEN-YEAR
WARRANTY
FROM DATE OF
PURCHASE
For ten years from the date of
purchase, FSP
®
replacement parts
only to correct defects in the plastic
tub if defective in material or work-
manship.
LIMITED
LIFE-TIME
WARRANTY
FROM DATE OF
PURCHASE
For the life of the washer from the
date of purchase, FSP
®
replacement
parts only to correct defects in the
stainless steel basket if defective in
material or workmanship.
Downloaded from www.Manualslib.com manuals search engine
2 - 1
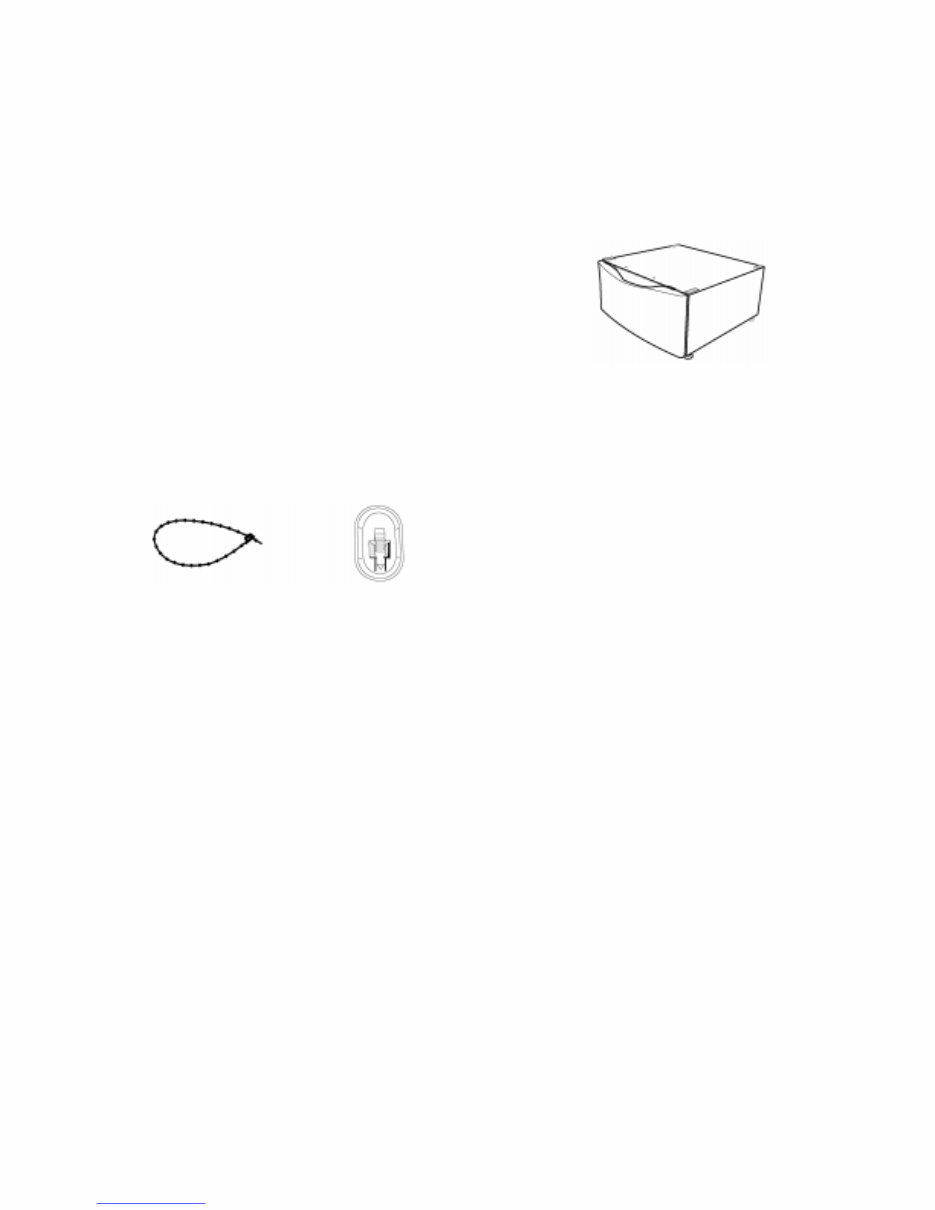
Optional Pedestal
A pedestal may be purchased separately for this
washer. This pedestal will add about 14 inches to the
height of your unit for a total vertical height of approxi-
mately 52 inches (132 cm).
Optional Pedestal
Location Requirements
Selecting the proper location for your washer improves
performance and minimizes noise and possible washer
“walk.”
Your washer can be installed under a custom counter,
or in a basement, laundry room, closet, or recessed
area. (See “Drain System.”)
Companion appliance location requirements should
also be considered. Proper installation is your respon-
sibility.
You will need
• A water heater set to deliver 120°F (49°C) water
to the washer.
• A grounded electrical outlet located within 5 ft.
(1.5 m) of where the power cord is attached to the
back of the washer. (See “Electrical Require-
ments.”)
• Hot and cold water faucets located within 4 ft.
(1.2 m) of the hot and cold water fill valves, and
water pressure of 20-100 psi (137.9-689.6 kPa).
• A level floor with a maximum slope of 1 in.
(2.5 cm) under entire washer. Installing the washer
on carpeting is not recommended.
• A sturdy and solid floor to support the washer with
a total weight (water and load) of 400 lbs. (180
kg).
Do not operate your washer in temperatures below
32°F (0°C). Some water can remain in the washer and
can cause damage in low temperatures.
INSTALLATION INFORMATION
INSTALLATION
REQUIREMENTS
Tools and Parts
Assemble the necessary tools and supplies before be-
ginning the washer installation. The parts supplied are
in the washer basket.
Tools needed for connecting the water inlet hoses
• Pliers (that open to 1 9/16 in.)
• Flashlight (optional)
Tools needed for installation
• Open end wrench 5/8 in. (17 mm) and ½ in. (13
mm)
• Level
• Wood block (2" x 4")
• Ruler or measuring tape
Parts supplied:
If You Have
Laundry tub or
standpipe taller
than 96 in. (2.4 m)
Overhead sewer
Floor drain
Drain hose too short
Water faucets beyond
reach of fill hoses
You Will Need to Buy
Sump pump system (if not al-
ready available)
Standard 20 gal. (76 L), 30 in.
(76.2 cm) tall drain tub or util-
ity sink and sump pump (avail-
able from local plumbing sup-
pliers)
Siphon break, Part Number
285834; additional drain hose
Part Number 8318155; and
connector kit, Part Number
285835
Drain hose extension kit, Part
Number 285863
2 longer water fill hoses:
6 ft. (1.8 m) Part Number
76314, 10 ft. (3.0 m) Part Num-
ber 350008
Alternate Parts You May Need
Beaded strap
Transport Bolt Hole
Plug (4)
Downloaded from www.Manualslib.com manuals search engine
2 - 2
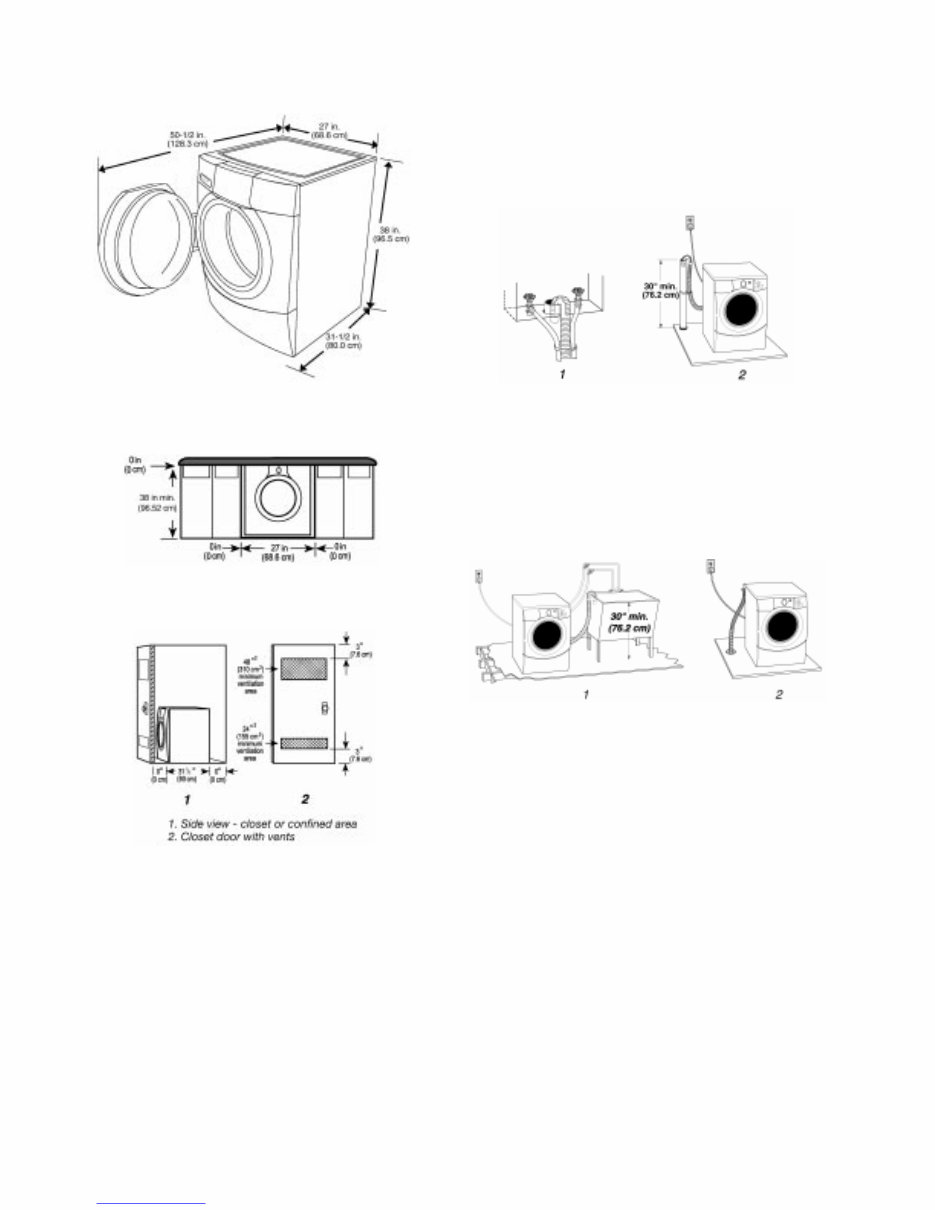
Washer Dimensions
Custom undercounter installation
The dimensions shown are for the minimum spacing
allowed.
Recessed area or closet installation
The dimensions shown are for the minimum spacing
allowed.
• Additional spacing should be considered for ease
of installation and servicing.
• Additional clearances might be required for wall,
door and floor moldings.
• Additional spacing of 1 in. (2.5 cm) on all sides of
the washer is recommended to reduce noise trans-
fer.
• For closet installation, with a door, the minimum
ventilation openings in the top and bottom of the
door are required (view 2). Louvered doors with
equivalent ventilation openings in the top and bot-
tom are acceptable.
Drain System
The washer can be installed using the standpipe drain
system (floor or wall), the laundry tub drain system, or
the floor drain system. Select the drain hose installa-
tion method you need. (See “Alternate Parts You May
Need.”)
Standpipe drain system - wall or floor (view 1 & 2)
The standpipe drain requires a minimum diameter
standpipe of 2 in. (5 cm). The minimum carry-away
capacity can be no less than 17 gal (64 L) per minute.
The top of the standpipe must be at least 30 in. (76.2
cm) high and no higher than 96 in. (2.4 m) from the
bottom of the washer.
Laundry tub drain system (view 1)
The laundry tub needs a minimum 20 gal. (76 L) ca-
pacity. The top of the laundry tub must be at least 30
in. (76.2 cm) above the floor.
Floor drain system (view 2)
The floor drain system requires a siphon break that
may be purchased separately. (See “Alternate Parts
You May Need.”)
The siphon break must be a minimum of 28 in. (71
cm) from the bottom of the washer. Additional hoses
might be needed.
Downloaded from www.Manualslib.com manuals search engine
You're Reading a Preview
What's Included?
Fast Download Speeds
Online & Offline Access
Access PDF Contents & Bookmarks
Full Search Facility
Print one or all pages of your manual
$30.99
Viewed 99 Times Today


Secure transaction
What's Included?
Fast Download Speeds
Online & Offline Access
Access PDF Contents & Bookmarks
Full Search Facility
Print one or all pages of your manual
$30.99
Get the comprehensive Whirlpool Duet washer repair service manual covering models GHW9100L and GHW9200L. This manual equips both professional mechanics and DIY enthusiasts with all the necessary information to perform repairs and maintenance. Whether you're using a Mac or Windows computer, this manual provides fast access to essential servicing details. Securely purchase using PayPal or credit cards to start saving on do-it-yourself repairs today.


