

© 2007 Apple Inc. All rights reserved.
Service Source
iMac (24-inch Mid 2007)
Updated 16 December 2008

ii
Apple Inc.
© 2007 Apple Inc. All rights reserved.
Under the copyright laws, this document may not be copied, in whole or in part, without the
written consent of Apple.
Every effort has been made to ensure that the information in this document is accurate. Apple is
not responsible for printing or clerical errors.
Apple
1 Infinite Loop
Cupertino, CA 95014-2084
USA
+ 1 408 996 1010
www.apple.com
Apple, the Apple logo, Mac, and Macintosh are trademarks of Apple Inc., registered in the U.S. and
other countries.

iii
iMac (24-inch Mid 2007)
Contents
Manual Updates 7
16 December 2008 7
21 March 2008 7
19 December 2007 7
10 December 2007 8
7 November 2007 8
Take Apart
General Information 10
Product View 10
Opening the Computer 10
Note About Images in This Manual 10
Serial Number Location 1 1
General Tools 12
Required Special Tools 12
View of the Main Modules 14
View of the Rear Housing and Cables 14
Back View 15
I/O Ports 16
Cleaning and Handling the Glass Panel 17
Do’s and Don’ts 18
Handling a Broken Glass Panel 18
Safety 19
EMI Shielding 20
Access Door 21
Memory 23
Glass Panel 26
Cleaning and Handling of the Glass Panel 27
Removing the Glass Panel 30
Replacing the Glass Panel 33
Installing a Replacement Glass Panel 38
Front Bezel 43
Camera Board 49

iv
Battery 52
IR (Infrared) Board 55
AirPort Extreme Card 58
Bluetooth Card 62
LCD Temp Sensor and Cable 65
Speaker, Left 71
LCD Display Panel 76
Ambient Temperature Sensor Cable 83
Ambient Temperature Sensor 87
LVDS Cable 91
Inverter Cable 96
Speaker, Right 101
Optical Drive Fan 104
CPU Fan 107
Power Supply, AC/DC 110
Hard Drive 117
Hard Drive Sensor Cable 124
Optical Drive 127
Optical Flex Cable 133
Optical Sensor Cable 135
Logic Board 139
Video Card 148
Hard Drive Fan 153
Audio Board 156
Hard Drive Data Cable 159
Clutch Cover 162
Stand 165

v
Chassis 170
Clutch Mechanism 175
AC Power Inlet 180
Camera Cable 186
Microphone Cable 191
DC Power Cable 197
Rear Cover 202
Troubleshooting
General Information 206
Serial Number 206
Power On Self Test (POST) 207
DDR Memory 208
Diagnostic LEDs 209
Symptom Charts 211
How to Use the Symptom Charts 211
Power Issues 212
Video 213
System Shuts Down 215
Glass Panel 216
Display Panel 217
Hard Drive 218
Optical Drive 220
Fan Sound 225
AirPort 230
Bluetooth 231
IR Remote 232
IR Sensor/Receiver 233
Built-in iSight Camera 234
Speakers 236
Mouse 237
Keyboard 238
Error Beep(s) 240
USB 241
Views
iMac (24-inch, Mid 2007)—Upper Exploded View 244
iMac (24-inch 2007)—Lower Exploded View 245
Screw Chart 246

vi

iMac (24-inch Mid 2007) Take Apart — Manual Updates 7
Manual Updates
16 December 2008
Take Apart
Power Supply-->Replacing the Power Supply--> Added a “Replacement Note” indicating that •
the 240W (661-4422) and 250W (661-4478) power supplies are interchangeable.
21 March 2008
The following chapters have been updated:
Troubleshooting-->Glass Panel-->A new procedure has been added describing how to •
troubleshoot a system that has contamination on the inside surface of the glass panel.
19 December 2007
The following chapters have been updated:
Take Apart
Logic Board-->Removing the Logic Board-->Step 5-->Added a “Note” indicating which •
service parts should be transferred to the replacement logic board prior to removing the
bad logic board.
Troubleshooting--> No Video, Boot Chime Heard-->Step 6 was updated and Step 7 which •
made reference to a front LED was removed. The iMac Mid 2007 models do not have an LED
on the front bezel.

iMac (24-inch Mid 2007) Take Apart — Manual Updates 8
10 December 2007
The following chapters have been updated:
Take Apart
The AC Power Inlet take apart procedure was removed from the service manual. The AC •
Power inlet is not available as a service part. It is part of the rear housing assembly. Order the
rear housing if you require a new AC Power Inlet.
Troubleshooting
Symptom Charts-->Video • -->Added the iMac Graphics Firmware Update 1.0. to the existing
sections mentioning “Make sure all software updates have been applied to the computer.”
Whenever the video card on an iMac (24-inch Mid 2007) or iMac (20-inch Mid 2007)
computer is replaced, ensure that the iMac Graphics Firmware Update 1.0 has been installed
before returning the computer to the customer.
7 November 2007
The Take Apart and Troubleshooting chapters in the iMac (20-inch Mid 2007) and iMac (24-inch
Mid 2007) Service Manuals have been updated in the following manner:
Take Apart
DC Power Supply-->Replacing the AC/DC Power Supply-->Step 1: Added “Note: There are two •
types of power supplies and each requires a specific pressure wall. Each power supply comes
with the correct pressure wall.”
Hard Drive • -->Replacing the Hard Drive-->Step 2: Added “Orient the hard drive with the
circuit board side of the drive facing up.”
Right Speaker-->Removing the Right Speaker: Graphic of screw location corrected.
Troubleshooting
Symptom Charts-->Display-->Added symptom “Black and white splotches on the LCD panel •
after it runs for awhile.”
Symptom Charts-->Video, No Power, Display, System Shuts Down-->Added step to all the •
sections noted mentioning: “Make sure all software updates have been applied to the
computer. Refer to KBase article 303903, “Intel-based iMac: Installing available updates” or
to the Apple Downloads “iMac Software Update 1.2 (Tiger)” or “iMac Software Update 1.3
(Leopard).”
Symptom Charts-->Speakers: Can’t hear sound from the speakers-->Step 4-->Verify that the •
speaker cable connector is securely attached to the “logic board” not the “audio board.”

© 2007 Apple Inc. All rights reserved.
Service Source
Take Apart
iMac (24-inch Mid 2007)
iMac (24-inch Mid 2007) Take Apart — General Information 10
General Information
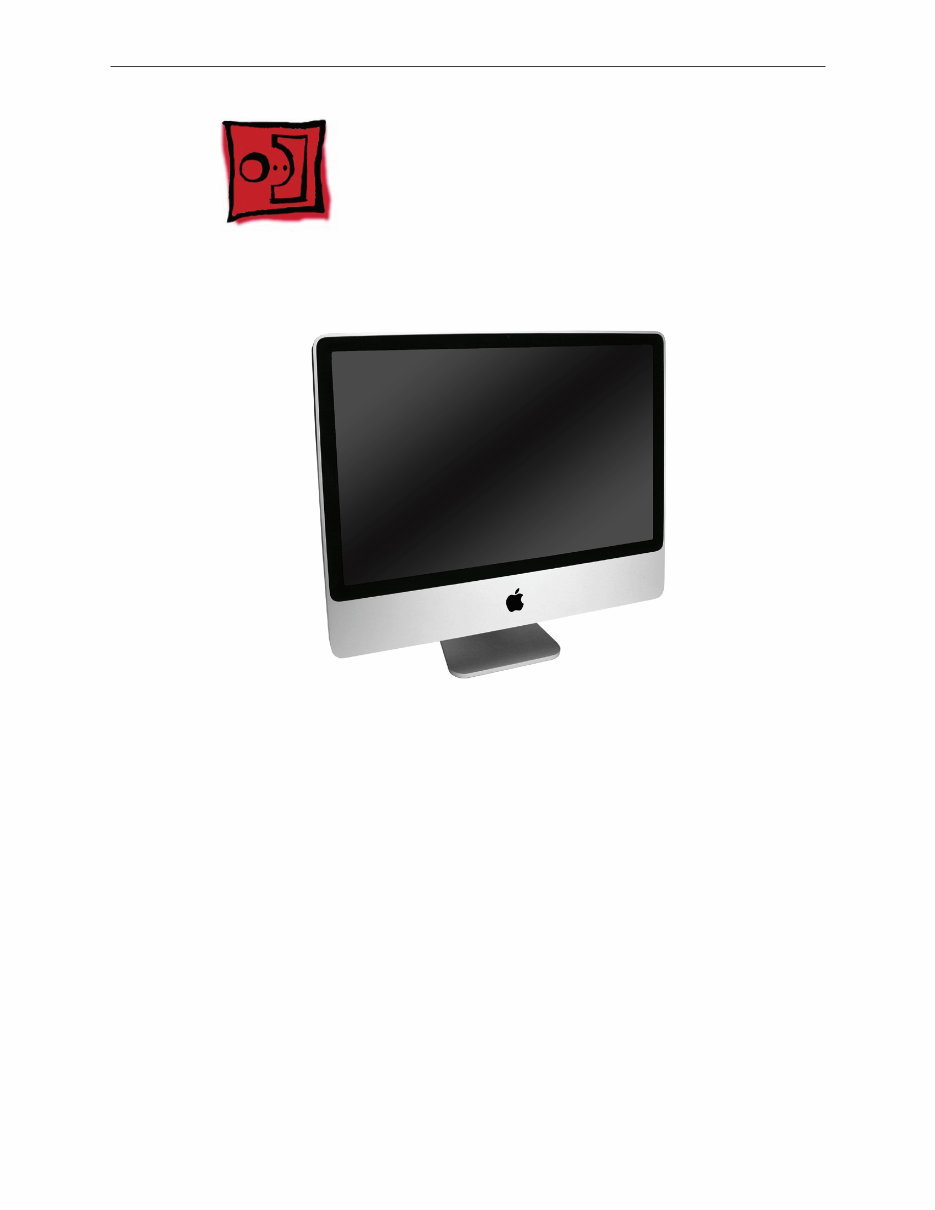
Product View
Opening the Computer
Important: • The glass panel on the iMac should only be removed by Apple authorized
technicians. Removing the glass panel requires special tools and they must be used to
replace any module other than the SO-DIMMs.
Read and follow all of the handling and cleaning recommendations to prevent damaging •
the glass and LCD panel.
Follow ESD precautions when the front bezel and the LCD display are removed. •
Note About Images in This Manual
Small differences in appearance between the images pictured and the actual computer you are
servicing may exist, however the steps and sequence are the same unless otherwise noted.
You're Reading a Preview
What's Included?
 Lifetime Access
Fast Download Speeds
Online & Offline Access
Access PDF Contents & Bookmarks
Full Search Facility
Print one or all pages of your manual
$27.99
Apple iMac 24inch Service Repair Manual
Viewed 58 Times Today

What's Included?
Lifetime Access
Fast Download Speeds
Online & Offline Access
Access PDF Contents & Bookmarks
Full Search Facility
Print one or all pages of your manual
$27.99

Secure transaction
What's Included?
Lifetime Access
Fast Download Speeds
Online & Offline Access
Access PDF Contents & Bookmarks
Full Search Facility
Print one or all pages of your manual
Description
This Apple iMac Service & Repair Manual is an essential resource for both professional technicians and DIY enthusiasts. It provides comprehensive guidance for:
- Disassembly/Reassembly Instructions
- Repair/Upgrade Procedures
- Part Replacement Notices
- Service Information
- Troubleshooting Techniques
- Software Updating
- Adjustments/Corrections
These manuals are highly detailed and fully illustrated with step-by-step instructions and pictures, making it easier to troubleshoot and repair your Apple iMac. All pages are printable, allowing you to have the necessary information at hand in your home, office, or repair shop. By utilizing this manual, you can perform your own repairs and save money.
SPECIFICATIONS: Language: English
Format: PDF (Platform: Windows & MAC)


