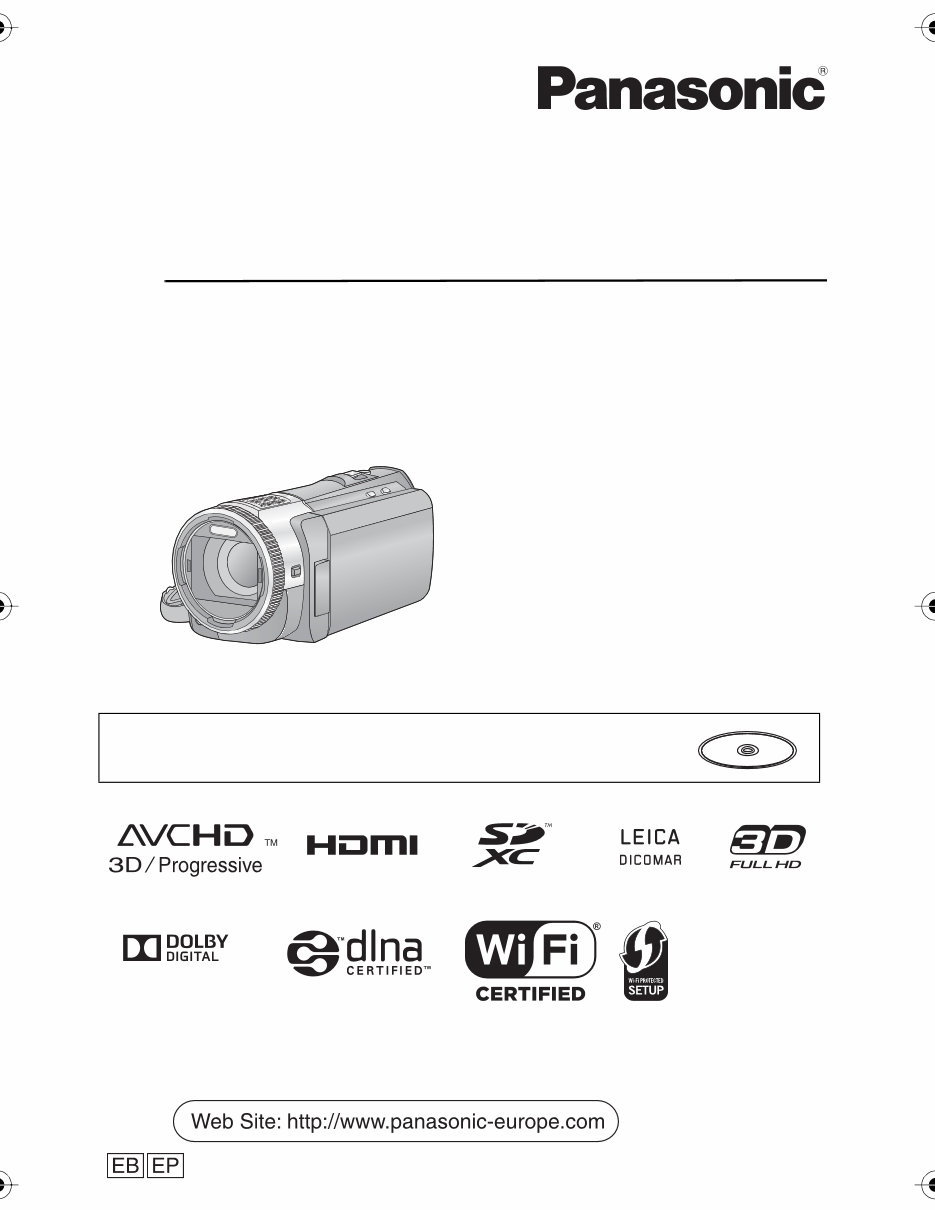
Basic Operating Instructions High Definition Video Camera Model No. HC-X920 HC-X929 HC-X920M HC-X910 Please read these instructions carefully before using this product, and save this manual for future use. This document explains basic operations of the unit. For more detailed explanation, please refer to “Operating Instructions (PDF format)” which is recorded in the enclosed CD-ROM. VQT4R21 Model number suffix “EB” denotes UK model.
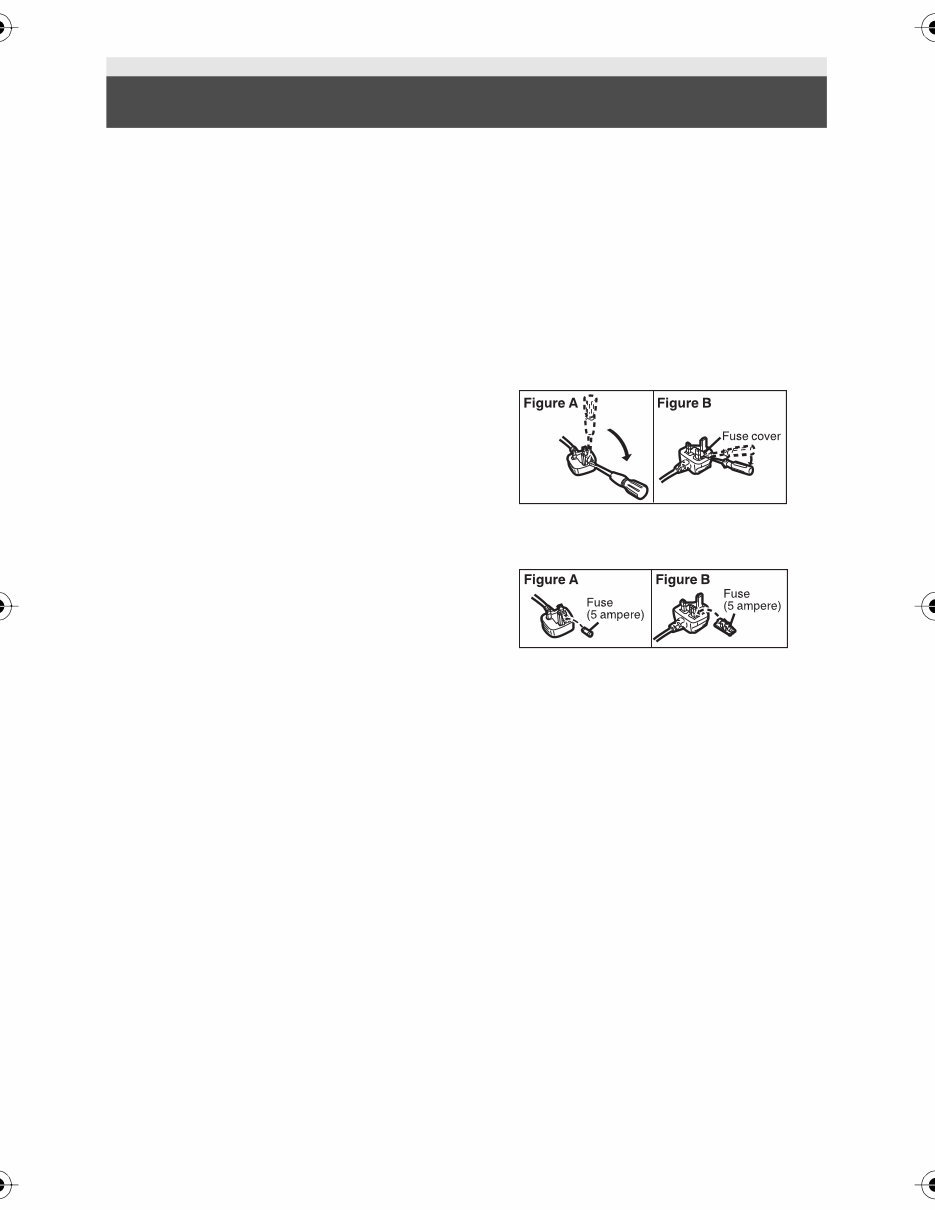
2 VQT4R21 Dear Customer, We would like to take this opportunity to thank you for purchasing this Panasonic High Definition Video Camera. Please read these Operating Instructions carefully and keep them handy for future reference. Please note that the actual controls and components, menu items, etc. of your High Definition Video Camera may look somewhat different from those shown in the illustrations in these Operating Instructions. “EB” area code model only ∫ Caution for AC mains lead For your safety, please read the following text carefully. This appliance is supplied with a moulded three pin mains plug for your safety and convenience. A 5-ampere fuse is fitted in this plug. Should the fuse need to be replaced please ensure that the replacement fuse has a rating of 5-ampere and that it is approved by ASTA or BSI to BS1362. Check for the ASTA mark Ï or the BSI mark Ì on the body of the fuse. If the plug contains a removable fuse cover you must ensure that it is refitted when the fuse is replaced. If you lose the fuse cover the plug must not be used until a replacement cover is obtained. A replacement fuse cover can be purchased from your local dealer. Before use Remove the connector cover. How to replace the fuse The location of the fuse differ according to the type of AC mains plug (figures A and B). Confirm the AC mains plug fitted and follow the instructions below. Illustrations may differ from actual AC mains plug. 1. Open the fuse cover with a screwdriver. 2. Replace the fuse and close or attach the fuse cover. Information for Your Safety
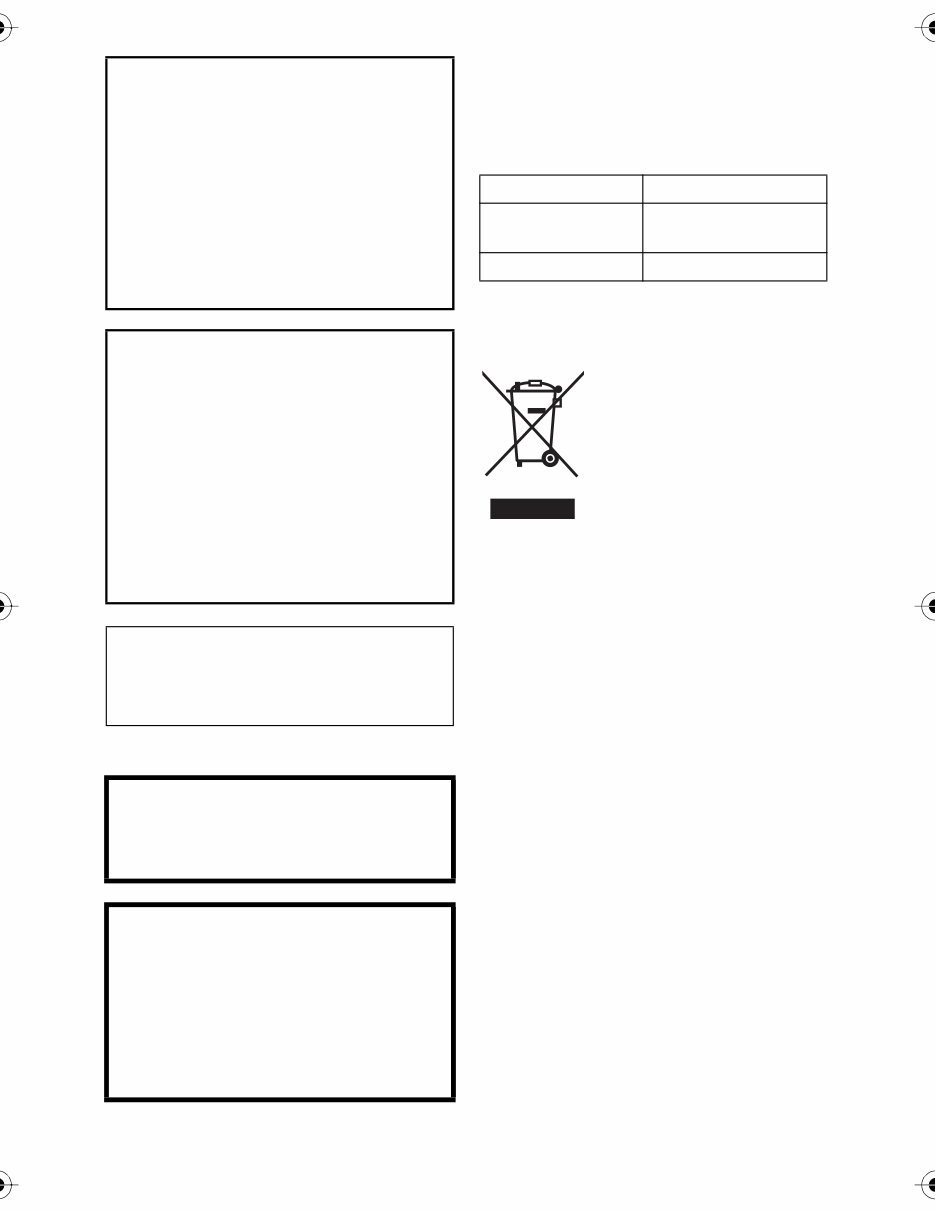
3 VQT4R21 ∫ Concerning the battery ∫ EMC Electric and magnetic compatibility This symbol (CE) is located on the rating plate. ∫ Product identification marking ∫ Information for Users on Collection and Disposal of Old Equipment and used Batteries These symbols on the products, packaging, and/ or accompanying documents mean that used electrical and electronic products and batteries should not be mixed with general household waste. For proper treatment, recovery and recycling of old products and used batteries, please take them to applicable collection points, in accordance with your national legislation and the Directives 2002/96/EC and 2006/66/EC. By disposing of these products and batteries correctly, you will help to save valuable resources and prevent any potential negative effects on human health and the environment which could otherwise arise from inappropriate waste handling. For more information about collection and recycling of old products and batteries, please contact your local municipality, your waste disposal service or the point of sale where you purchased the items. Penalties may be applicable for incorrect disposal of this waste, in accordance with national legislation. WARNING: To reduce the risk of fire, electric shock or product damage, ≥ Do not expose this unit to rain, moisture, dripping or splashing. ≥ Do not place objects filled with liquids, such as vases, on this unit. ≥ Use only the recommended accessories. ≥ Do not remove covers. ≥ Do not repair this unit by yourself. Refer servicing to qualified service personnel. CAUTION! To reduce the risk of fire, electric shock or product damage, ≥ Do not install or place this unit in a bookcase, built-in cabinet or in another confined space. Ensure this unit is well ventilated. ≥ Do not obstruct this unit’s ventilation openings with newspapers, tablecloths, curtains, and similar items. ≥ Do not place sources of naked flames, such as lighted candles, on this unit. The mains plug is the disconnecting device. Install this unit so that the mains plug can be unplugged from the socket outlet immediately. Warning Risk of fire, explosion and burns. Do not disassemble, heat above 60 oC or incinerate. CAUTION ≥ Danger of explosion if battery is incorrectly replaced. Replace only with the type recommended by the manufacturer. ≥ When disposing the batteries, please contact your local authorities or dealer and ask for the correct method of disposal. Product Location High Definition Video Camera Battery holder AC adaptor Bottom
4 VQT4R21 For business users in the European Union If you wish to discard electrical and electronic equipment, please contact your dealer or supplier for further information. [Information on Disposal in other Countries outside the European Union] These symbols are only valid in the European Union. If you wish to discard these items, please contact your local authorities or dealer and ask for the correct method of disposal. Note for the battery symbol (bottom two symbol examples): This symbol might be used in combination with a chemical symbol. In this case it complies with the requirement set by the Directive for the chemical involved. Cd Declaration of Conformity (DoC) Hereby, “Panasonic Corporation” declares that this product is in compliance with the essential requirements and other relevant provisions of Directive 1999/5/EC. Customers can download a copy of the original DoC to our R&TTE products from our DoC server: http://www.doc.panasonic.de Contact to Authorized Representative: Panasonic Marketing Europe GmbH, Panasonic Testing Centre, Winsbergring 15, 22525 Hamburg, Germany This product is intended for general consumer. (Category 3) This product on purpose to connect to access point of 2.4 GHz WLAN.
5 VQT4R21 ∫ Cautions for use Keep this unit as far away as possible from electromagnetic equipment (such as microwave ovens, TVs, video games etc.). ≥ If you use this unit on top of or near a TV, the pictures and/or sound on this unit may be disrupted by electromagnetic wave radiation. ≥ Do not use this unit near cell phones because doing so may result in noise adversely affecting the pictures and/or sound. ≥ Recorded data may be damaged, or pictures may be distorted, by strong magnetic fields created by speakers or large motors. ≥ Electromagnetic wave radiation generated by microprocessors may adversely affect this unit, disturbing the pictures and/or sound. ≥ If this unit is adversely affected by electromagnetic equipment and stops functioning properly, turn this unit off and remove the battery or disconnect AC adaptor. Then reinsert the battery or reconnect AC adaptor and turn this unit on. Do not use this unit near radio transmitters or high-voltage lines. ≥ If you record near radio transmitters or high-voltage lines, the recorded pictures and/ or sound may be adversely affected. About connecting to a PC ≥ Do not use any other USB cables except the supplied one. About connecting to a TV ≥ Always use the supplied HDMI mini cable or a genuine Panasonic HDMI mini cable (RP-CDHM15, RP-CDHM30: optional). ≥ Do not use any other AV cables except the supplied one. About using a headphone ≥ Excessive sound pressure from earphones and headphones can cause hearing loss. ≥ Listening at full volume for long periods may damage the user’s ears. ∫ About the recording format for recording motion pictures You can select from AVCHD* or iFrame recording formats to record motion pictures using this unit. * It is compatible with AVCHD 3D or AVCHD Progressive (1080/50p). AVCHD 3D: It is possible to record powerful, lifelike 3D full high-definition images. A 3D compatible television compatible to the frame sequential format is required to view the 3D full high definition images. AVCHD Progressive: It is possible to record 2D image in the highest quality (1080/50p) for this unit. iFrame: This is a recording format suitable for viewing or editing on Mac (iMovie’11). ≥ It is not compatible with motion pictures recorded in AVCHD format. ∫ Indemnity about recorded content Panasonic does not accept any responsibility for damages directly or indirectly due to any type of problems that result in loss of recording or edited content, and does not guarantee any content if recording or editing does not work properly. Likewise, the above also applies in a case where any type of repair is made to the unit (including any other non-built-in memory related component).
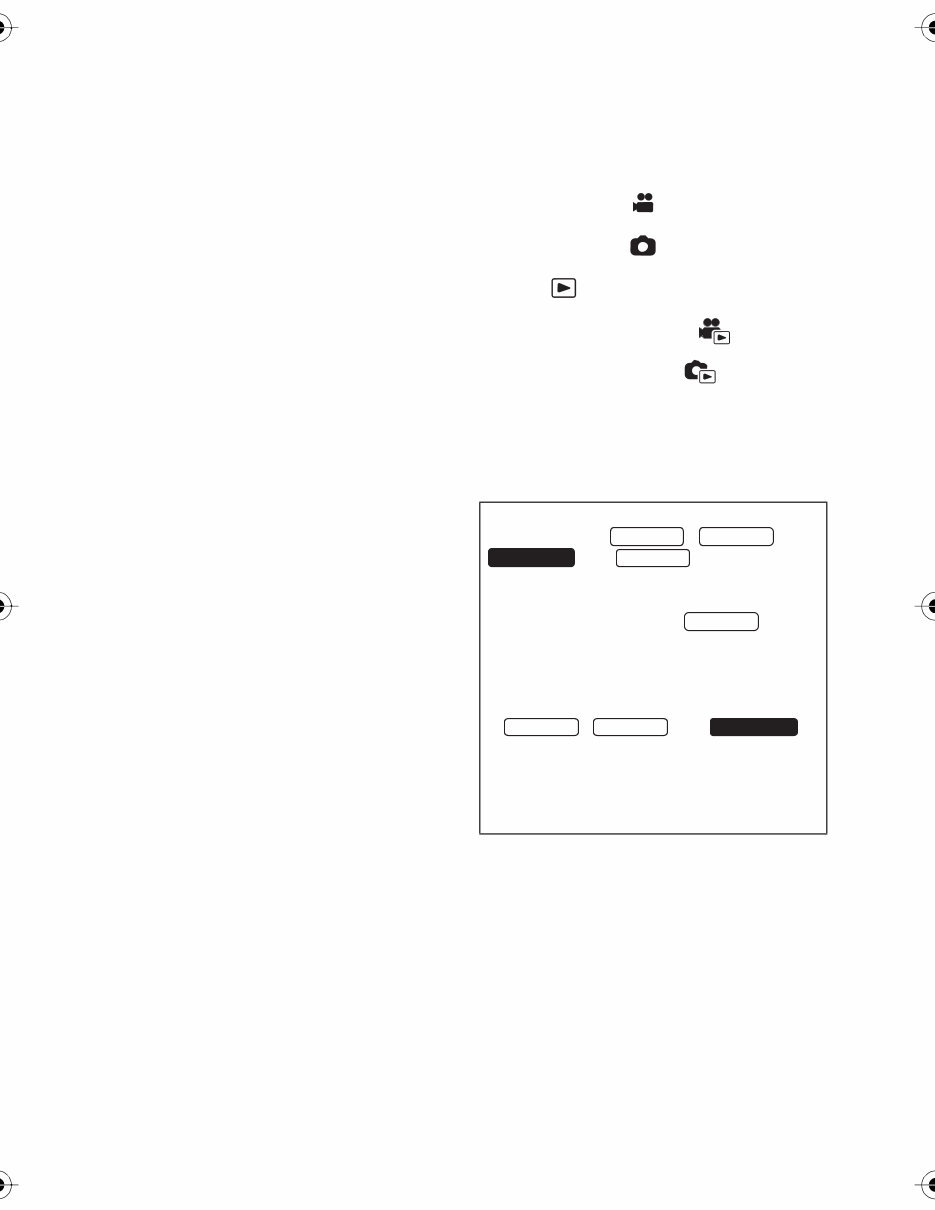
6 VQT4R21 ∫ About Condensation (When the lens, the viewfinder or LCD Monitor is fogged up) Condensation occurs when there is a change in temperature or humidity, such as when the unit is taken from outside or a cold room to a warm room. Please be careful, as it may cause the lens, the viewfinder or LCD monitor to become soiled, moldy, or damaged. When taking the unit to a place which has a different temperature, if the unit is accustomed to the room temperature of the destination for about one hour, condensation can be prevented. (When the difference in temperature is severe, place the unit in a plastic bag or the like, remove air from the bag, and seal the bag.) When condensation has occurred, remove the battery and/or the AC adapter and leave the unit like that for about one hour. When the unit becomes accustomed to the surrounding temperature, fogginess will disappear naturally. ∫ Cards that you can use with this unit SD Memory Card, SDHC Memory Card and SDXC Memory Card ≥ 4 GB or more Memory Cards that do not have the SDHC logo or 48 GB or more Memory Cards that do not have the SDXC logo are not based on SD Memory Card Specifications. ≥ Refer to page 13 for more details on SD cards. ∫ For the purposes of these operating instructions ≥ SD Memory Card, SDHC Memory Card and SDXC Memory Card are referred to as the “SD card”. ≥ Functions that can be used for Motion Picture Recording Mode: Functions that can be used for Still Picture Recording Mode: ≥ Function that can be used for the Playback Mode: Function that can be used for the Playback Mode (motion picture only): Function that can be used for the Playback Mode (still pictures only): ≥ Scene(s) recorded in 1080/50p, 1080/50i, AVCHD 3D or side-by-side ([SbS 3D]): AVCHD scene(s) ≥ Pages for reference are indicated by an arrow, for example: l 00 These operating instructions are designed for use with models , , and . Pictures may be slightly different from the original. ≥ The illustrations used in these operating instructions show model , however, parts of the explanation refer to different models. ≥ Depending on the model, some functions are not available. ≥ , and correspond to Wi-Fi ® functions. ≥ Features may vary, so please read carefully. ≥ Not all models may be available depending on the region of purchase. HC-X920 HC-X929 HC-X920M HC-X910 HC-X920 HC-X920 HC-X929 HC-X920M
7 VQT4R21 Information for Your Safety........................... 2 Accessories .................................................... 9 Preparation Power supply................................................ 10 Inserting/removing the battery ................ 10 Charging the battery ............................... 11 Charging and recording time .................. 12 Recording to a card ..................................... 13 Cards that you can use with this unit ...... 13 Inserting/removing an SD card ............... 13 Turning the unit on/off ................................. 14 How to use the touch screen ...................... 14 About the Touch Menu............................ 15 Setting date and time................................... 16 Basic Selecting a media to record [HC-X920M]... 16 Changing the Recording Mode ................... 17 Recording motion pictures ......................... 18 Recording still pictures ............................... 18 Using the zoom ............................................ 19 Motion picture/Still picture playback ......... 19 Watching Video/Pictures on your TV ...... 20 Using the menu screen ............................... 21 Language selection ................................ 21 Formatting .............................................. 21 Wi-Fi [HC-X920]/[HC-X929]/[HC-X920M] What you can do with the Wi-Fi ® function ......................................................... 22 If the Wi-Fi connection cannot be established .............................................. 23 Others Specifications ............................................... 25 About copyright ........................................... 27 Contents ∫ How to open the Operating Instructions (PDF format) When you insert the CD-ROM and open the [INDEX.pdf] in the CD-ROM, the Operating Instructions list will be displayed. Click the document name of the Operating Instructions you would like to open. ≥ Adobe Reader is required to view the PDF file. Please download it from the homepage of Adobe Systems Incorporated.
8 VQT4R21 For United Kingdom and Ireland customers ∫ Sales and Support Information Customer Communications Centre ≥ For customers within the UK: 0844 844 3899 ≥ For customers within lreland: 01 289 8333 ≥ Monday–Friday 9:00 am – 5:00 pm (Excluding public holidays). ≥ For further support on your product, please visit our website: www.panasonic.co.uk Direct Sales at Panasonic UK ≥ Order accessory and consumable items for your product with ease and confidence by phoning our Customer Communications Centre Monday–Friday 9:00 am – 5:00 pm (Excluding public holidays). ≥ Or go on line through our Internet Accessory ordering application at www.pas-europe.com . ≥ Most major credit and debit cards accepted. ≥ All enquiries transactions and distribution facilities are provided directly by Panasonic UK. ≥ It couldn’t be simpler! ≥ Also available through our Internet is direct shopping for a wide range of finished products. Take a browse on our website for further details.
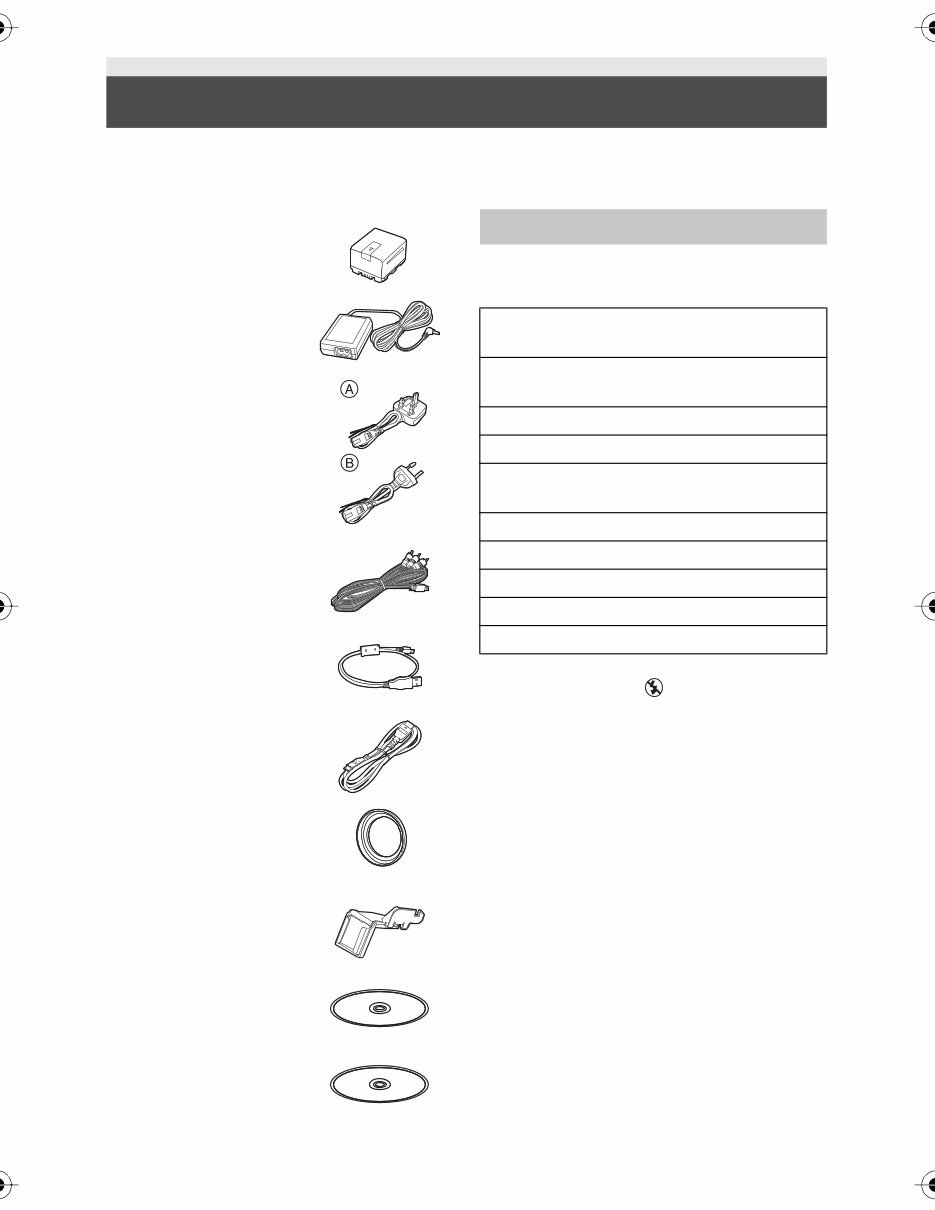
9 VQT4R21 Check the accessories before using this unit. Keep the accessories out of reach of children to prevent swallowing. Product numbers correct as of Dec. 2012. These may be subject to change. Some optional accessories may not be available in some countries. Accessories Battery pack VW-VBN130 AC adaptor VSK0733 AC cable (EB) A K2CT2YY00095 (EP) B K2CQ2YY00117 AV cable K1HY12YY0018 USB cable K2KYYYY00201 HDMI mini cable K1HY19YY0021 Lens hood VDW2412 Shoe adaptor VYC0996 CD-ROM Software CD-ROM Operating Instructions VFF1127 Optional accessories (EB) Battery charger (VW-BC20EB) (EP) Battery charger (VW-BC20E) Battery pack (lithium/VW-VBN130) Battery pack (lithium/VW-VBN260) HDMI mini cable (RP-CDHM15, RP-CDHM30) Wide conversion lens (VW-W4907H) * 3D Conversion Lens (VW-CLT2) * Filter kit (VW-LF49N) * Stereo microphone (VW-VMS10E) Shoe adaptor (VW-SK12E) * Remove the lens hood (supplied) and set to the flash setting to ([OFF]).
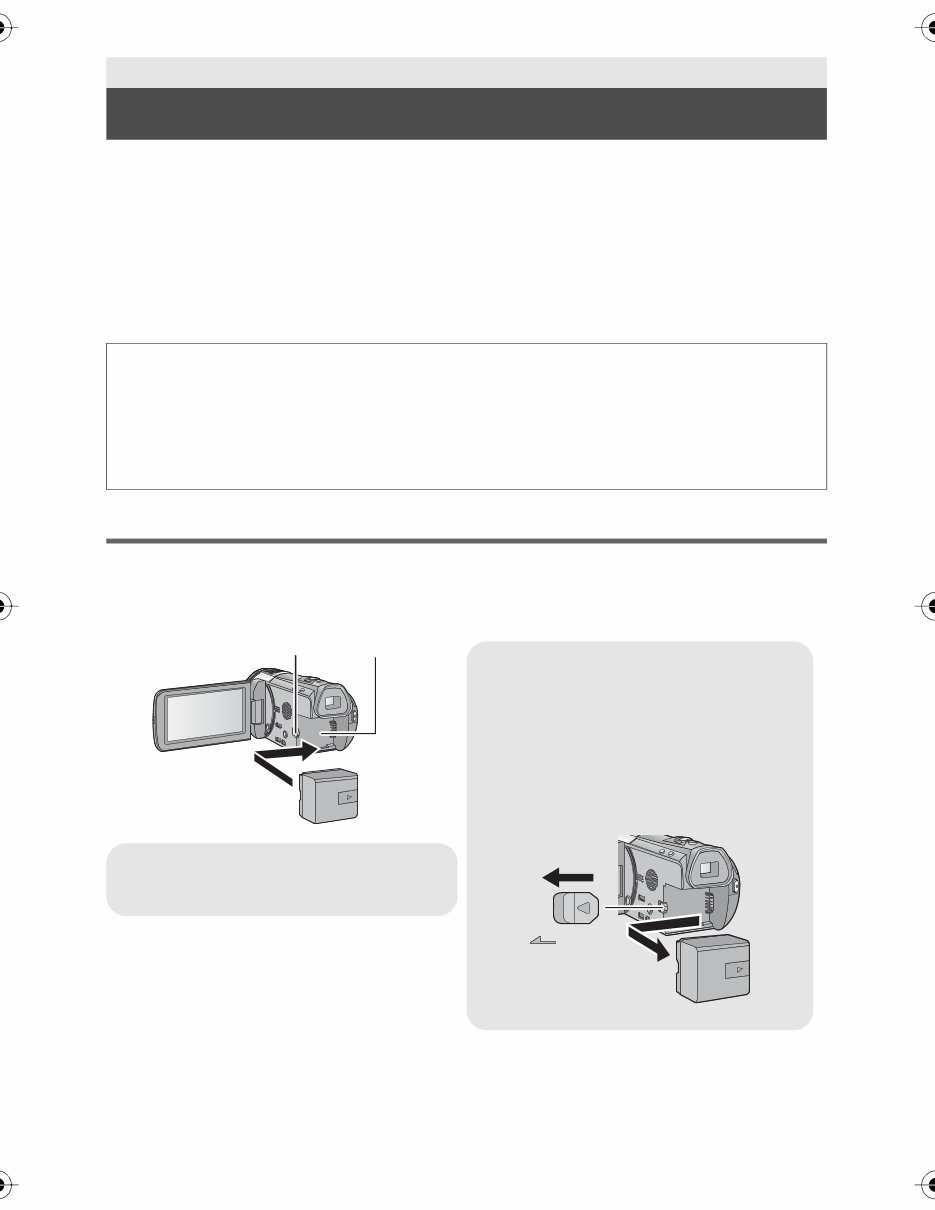
10 VQT4R21 ∫ About batteries that you can use with this unit The battery that can be used with this unit is VW-VBN130/VW-VBN260. ≥ The unit has a function for distinguishing batteries which can be used safely. The dedicated battery (VW-VBN130/VW-VBN260) supports this function. The only batteries suitable for use with this unit are genuine Panasonic products and batteries manufactured by other companies and certified by Panasonic. (Batteries which do not support this function cannot be used). Panasonic cannot in any way guarantee the quality, performance or safety of batteries which have been manufactured by other companies and are not genuine Panasonic products. Inserting/removing the battery ≥ Press the power button to turn off the unit. (l 14) Open the LCD monitor and install the battery by inserting it in the direction shown in the figure. Preparation Power supply It has been found that counterfeit battery packs which look very similar to the genuine product are made available to purchase in some markets. Some of these battery packs are not adequately protected with internal protection to meet the requirements of appropriate safety standards. There is a possibility that these battery packs may lead to fire or explosion. Please be advised that we are not liable for any accident or failure occurring as a result of use of a counterfeit battery pack. To ensure that safe products are used we would recommend that a genuine Panasonic battery pack is used. Removing the battery Be sure to hold down the power button until the status indicator goes off. Then remove the battery while supporting the unit to prevent it from dropping. Move the battery release lever in the direction indicated by the arrow and remove the battery when unlocked. BATT A Insert the battery until it clicks and locks. B Battery holder
You're Reading a Preview
What's Included?
Lifetime Access
Fast Download Speeds
Online & Offline Access
Access PDF Contents & Bookmarks
Full Search Facility
Print one or all pages of your manual
$39.99
Panasonic HC X920 X929 X920M X910 Service Manual & Repair Guide
This official and complete service manual for the Panasonic HC-X920 X929 X920M X910 3MOS Ultrafine Full HD Camcorder is an essential resource for troubleshooting and repairing your video camera. It is utilized by certified Panasonic technicians and contains comprehensive information to assist both professional mechanics and DIY enthusiasts.
Safety Precautions
Warning
Service Navigation
Specifications
Location of Controls and Components
Service Mode
Service Fixture & Tools
Disassembly and Assembly Instructions
Measurements and Adjustments
Maintenance
Block Diagram
Wiring Connection Diagram
Additionally, the manual includes schematics, circuit boards, exploded views, and a full parts catalog, providing detailed insights not typically found in standard service manuals. It covers all HC-X920/X929/X920M/X910 models, such as HC-X920P, HC-X920PC, HC-X920EB, HC-X920EE, HC-X920EF, HC-X920EG, HC-X920EP, HC-X929EG, HC-X920MGC, HC-X920MGK, HC-X920MGN, HC-X910PU, and HC-X910GC.
This service manual is rich in visual aids and step-by-step instructions, ensuring the best approach to device repair and servicing. It is an official manual in PDF format, offering high-resolution pages for quality printing. With instant access, there are no shipping fees or waiting for postal delivery, enabling prompt initiation of repairs.
Specifications:
Language: English
Format: PDF
Pages: 140
Reviews
Q&A
Recently Viewed
5,521,897Happy Clients
2,594,462eManuals
1,120,453Trusted Sellers
15Years in Business
Price:
Actual Price:
Panasonic HC X920 X929 X920M X910 Service Manual & Repair Guide





 Lifetime Access




