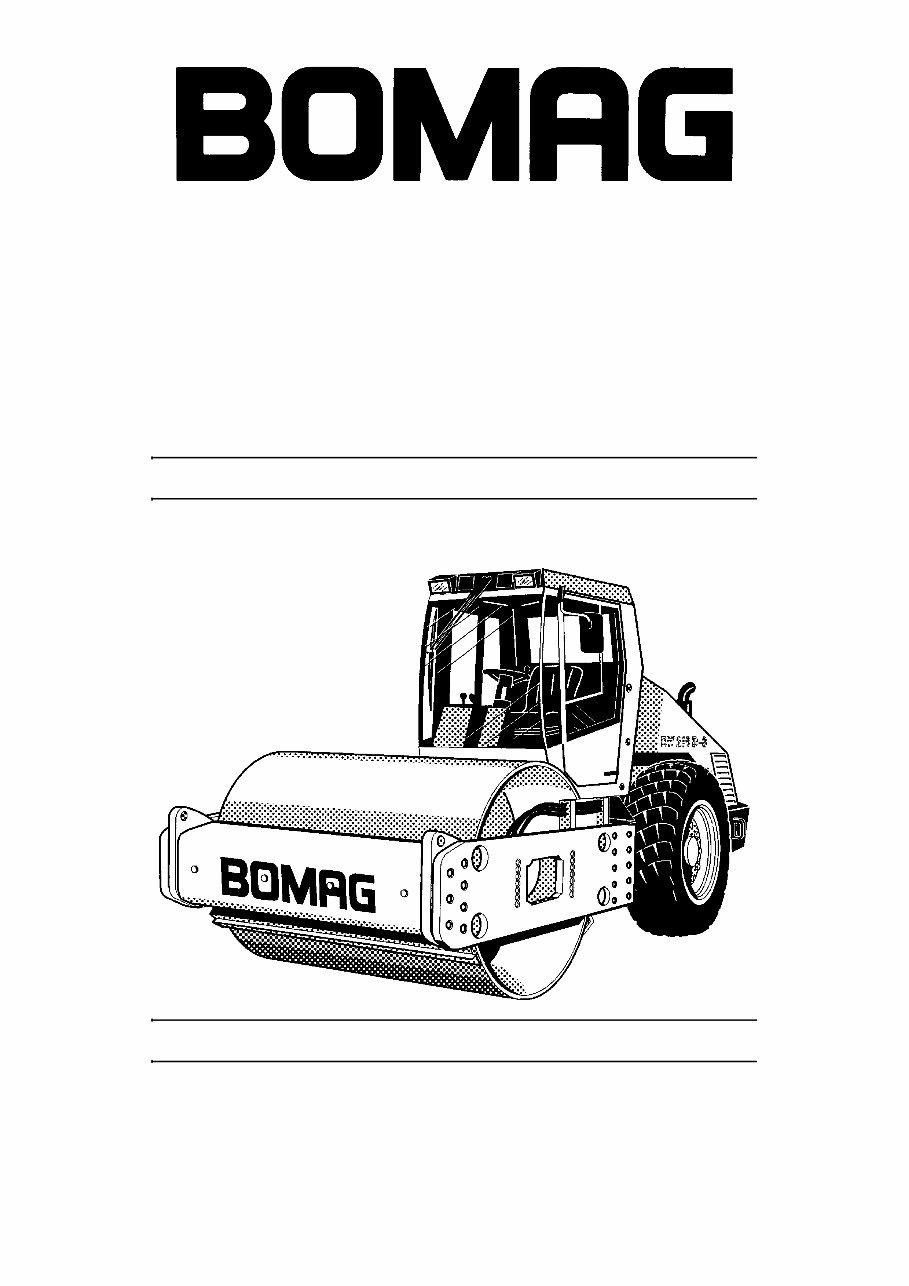
Instructions for repair Catalogue number 008 193 60 04/2003 BW 211 D-3 Single drum wheel drive vibratory roller
Table of Contents BOMAG 3 008 193 60 General 5 1.1 Foreword 6 1.2 Safety regulations 7 1.3 General repair instructions 9 1.4 Tightening torques 11 1.5 Connecting plan 12 Tests and adjustments 15 2.1 Technical Data 16 2.2 Special tools 19 2.3 Checking the rotary speeds 20 2.4 Checking / adjusting the neutral positions of the travel pump 22 2.5 Pressure tests in the travel circuit 24 2.6 Adjusting the high pressure relief valves in the travel system 26 2.7 Adjusting the vibrator shaft speed 28 2.8 Pressure tests in the vibration circuit 30 2.9 Adjusting the high pressure relief valves in the vibration system 31 2.10 Checking the leak oil rate of the vibration motor 33 2.11 Pressure tests in the steering circuit 35 Flushing 37 3.1 Special tools for flushing 38 3.2 Spülschema Fahrantrieb 42 3.3 Flushing the travel circuit 44 3.4 Flushing diagram vibration circuit 50 3.5 Flushing the vibration circuit 52 Trouble shooting 59 4.1 General 60 4.2 Trouble shooting diagram 61 Drum 89 5.1 Special tools 90 5.2 Drum repair overview 92 5.3 Removing and installing the drum 94 5.4 Repairing the drum 98 5.5 Disassembling and assembling the change-over weight 131 5.6 Changing the rubber buffers 134 Oscillating articulated joint 135 6.1 Special tools 136 6.2 Oscillating articulated joint repair 138 6.3 Removing and installing the oscillating articulated joint 139 6.4 Dismantling the oscillating articulated joint 141 6.5 Assembling the oscillating articulated joint 146 Suppliers documentation 155 7.1 Travel drive series 51 157 7.2 MS/MSE 02 to 18 239 7.3 A4VG 289 7.4 A10VG 335
Table of Contents BOMAG 4 008 193 60
008 193 60 1 General
008 193 60 1.1 Foreword Introduction These repair instructions contain all necessary infor- mation for training and repair work. Notes on maintenance, care and trouble shooting can be found in the operating and maintenance instruc- tions. 1 General 2 Tests and adjustments 3 Flushing 4 Trouble shooting 5 Drum 6 Oscillating articulated joint 7 Suppliers documentation This instruction manual contains only assembly groups needed for this type of machine. The repair instructions describe the removal or dis- mantling and assembly of components and assembly groups. The repair of disassembled assembly groups is de- scribed as far as this makes sense with respect to available tools and spare parts supply and as far as it can be understood by a skilled mechanic. Danger Danger of injury Please observe strictly the safety regulations in these operating instructions and the applicable accident prevention regulations. Spare parts needed for repairs can be taken from the spare parts catalogue for the machine. You should only use genuine BOMAG spare parts. These repair instructions are not subject of an updat- ing service; for this reason we would like to draw your attention to our additional technical service bulletins. In case of a new release all necessary changes will be included. In the course of technical development we reserve the right for technical modifications without prior notifica- tion. Information and illustrations in this repair manual must not be reproduced and distributed, nor must they be used for the purpose of competition. All rights accord- ing to the copyright law remain expressly reserved. BOMAG GmbH Printed in Germany Copyright by BOMAG
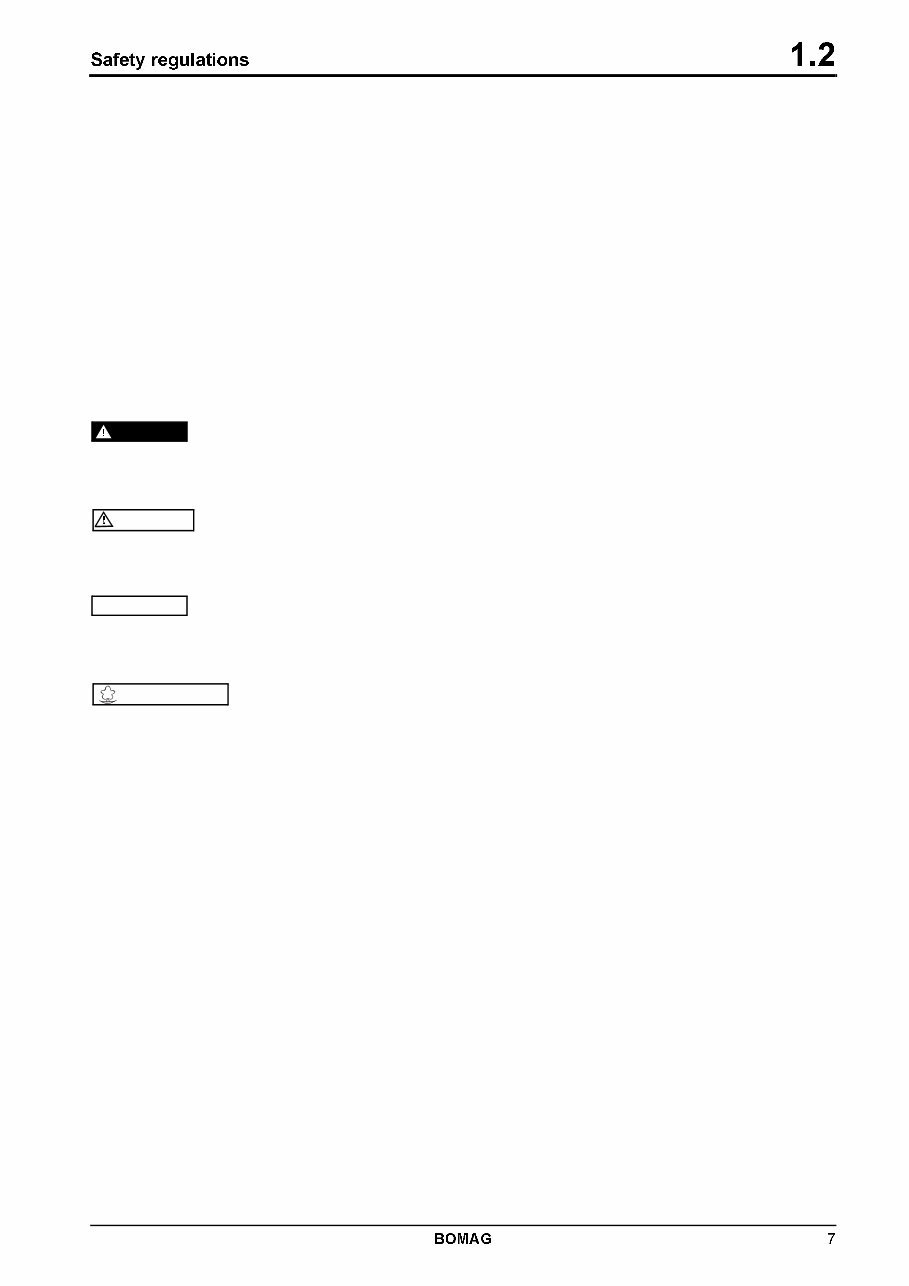
008 193 60 1. 2 Safety regulations Important notes These safety regulations must be read and ap- plied by every person involved in the repair of this machine. The applicable accident prevention in- structions and the safety regulations in the oper- ating and maintenance instructions must be additionally observed. Repair work shall only performed by appropriately trained personnel or by the after sales service of BOMAG. These repair instructions contain headers like „Note“, „Attention“, „Danger“ and „Environment“, which must be strictly complied with in order to avoid dangers for health and for the environment. Danger Paragraphs marked like this highlight possible dangers for persons. Caution Paragraphs marked like this highlight possible dangers for machines or parts of the machine. i Note Paragraphs marked like this contain technical infor- mation for the optimal economical use of the machine. Environment Paragraphs marked like this point out practices for safe and environmental disposal of fuels and lubricants as well as replacement parts. Observe the regulations for the protection of the environment. General l Before starting repair work stand the machine on level and solid ground. l Always secure the machine against unintended roll- ing. l Secure the engine reliably against unintentional starting. l Mark a machine that is defective or being repaired by attaching a clearly visible warning tag to the steering wheel. l On machines with articulated joint keep the articu- lated joint locked during work. l Use protective clothes like hard hat, safety boots and gloves. l Keep unauthorized persons away from the machine during repair work. l Tools, lifting gear, lifting tackle, supports and other auxiliary equipment must be fully functional and in safe condition. l Use only safe and approved lifting gear of sifficient load bearing capacity to remove and install parts or components from and to the machine. l Be careful with cleansing agents. Do not use easily inflammable or harmful substances, such as gaso- line or paint thinners for cleaning. l Cleaning or repair work on the fuel tank is very dan- gerous. Do not smoke or allow any ignitable sparks or open fire in the vicinity when cleaning or repairing a tank. . l When performing welding work strictly comply with the respective welding instructions. Special safety regulations l Use only genuine BOMAG spare parts for repair purposes. Original parts and accessories have been specially designed for this machine. l We wish to make explicitly clear that we have not tested or approved any parts or accessories not supplied by us. The installation and/or use of such products may therefore have an adverse effect on the specific characteristics of the machine and thereby impair the active and/or passive driving safety. The manufacturer explicitly excludes any li- ability for damage caused by the use of non-original parts or accessories. l Unauthorized changes to the machine are prohibit- ed for safety reasons. l If tests on the articulated joint need to be performed with the engine running, do not stand in the articu- lation area of the machine, danger of injury! l Do not perform cleaning work while the engine is running. l If tests must be performed with the engine running do not touch rotating parts of the engine, danger of injury. l Exhaust gases are highly dangerous. Always en- sure an adequate supply of fresh air when starting the engine in closed rooms. l Refuel only with the engine shut down. Ensure strict cleanliness and do not spill any fuel. l Keep used filters in a separate waste container and dispose of environmentally. l Dispose of oils and fuel environmentally when per- forming repair or maintenance work. l Do not refuel in closed rooms. l Do not heat up oil higher than 160 °C because it may ignite. l Wipe off spilled oil and fuel.
008 193 60 l Do not smoke when refuelling or when checking the acid level in the battery. l Do not check the acid level of the battery with a na- ked flame, danger of explosion! l Old batteries contain lead and must be properly dis- posed of. l There is a danger of scalding when draining off en- gine or hydraulic oil at operating temperature. l on machines with rubber tires a tire may busr if in- correctly assembled. This can cause severe injury. l Do not exceed the specified highest permissible tire pressure. Hydraulics l Hydraulic oil escaping under pressure can pene- trate the skin and cause severe injury. You should therefore relieve the pressure in the system before disconnecting any lines. l Before applying pressure to the system make sure that all line connections and ports have been prop- erly tightened and are in perfect condition. l Hydraulic oil leaking out of a small opening can hardly be noticed, therefore please use a piece of cardboard or wood when checking for leaks. When being injured by hydraulic oil consult a physician im- mediately, as otherwise this may cause severe in- fections. l Do not step in front of or behind the drums/wheels when performing adjustment work in the hydraulic system while the engine is running. Block drums and/or wheels with wedges. Reattach all guards and safety installations after all work has been completed.
008 193 60 1. 3 General repair instructions General l Before removing or disassembling and parts, hoses or components mark these parts for easier assem- bly. l Before assembly oil or grease all parts, as far as this is necessary. Hydraulic system Caution Do not open any hydraulic components if you have not been properly trained and without exact knowledge. Please note Cleanliness is of utmost importance. Make sure that no dirt or other contaminating substances can enter into the system. l Clean fittings, filler covers and the area around such parts before disassembly to avoid entering of dirt. l Before disconnecting hoses, pipes or similar relieve the system pressure with the engine shut down. l During repair work keep all openings closed with clean plastic plugs and caps. l Do not run pumps and motors without oil. l When cleaning hydraulic components take care not to damage any fine machine surfaces. l Chemical and rubber soluble cleansing agents may only be used to clean metal parts. Do not use such substances to clean seals and gaskets. l Rinse of cleaned parts thoroughly, dry them with compressed air and apply anti-corrosion oil immedi- ately. Do not install parts that show traces of corro- sion. l Avoid the formation of rust on fine machined caused by hand sweat. l Grease must not used as a sliding agent for assem- bly work. Use hydraulic oil. l Do not start the engine after the hydraulic oil has been drained off. l Use only the specified pressure gauges. Risk of damaging the pressure gauges under too high pres- sure. l Clean ports and fittings before removal so that no dirt can enter into the hydraulic system. l Check the hydraulic oil level before and after the work. l Use only clean oil according to specification. l Check the hydraulic system for leaks, find and rec- tify the cause. l Fill new hydraulic units with hydraulic oil before starting operation. l After changing a component thoroughly flush and bleed the entire hydraulic system. l Perform measurements at operating temperature of the hydraulic oil (approx. 40 °C). l After changing a component perform a high and charge pressure test, if necessary check the speed of the exciter shaft. l The operating pressure of the exciter shaft to a great extent depends on the base under the vibrat- ing drum. If the soil is too hard place the drums on old rubber tires. Do not activate the vibration on a hard, concreted base, danger of bearing damage. l After the completion of all tests perform a test run and then check all connections and fittings for leaks with the engine still stopped and the hydraulic sys- tem depressurized. Before commissioning l After changing a component clean the hydraulic oil tank thoroughly. l Fill the housings of hydraulic pumps and motors with hydraulic oil. l Use only hydraulic oils according to the specifica- tion in the maintenance instructions. l After changing a component clean the hydraulic system as described in the flushing instructions in order to prevent all other components from being damaged by abrasion and metal chips remaining in the system. l Change the hydraulic oil filter. Commissioning l Bleed the hydraulic circuits. l Start up the system without load. l Check the hydraulic oil level in the tank, fill up oil if necessary. After commissioning l Check system pressures and speeds. l Check fittings and flanges for leaks. l After each repair check all adjustment data, rota- tional speeds and nominal values in the hydraulic system, adjust if necessary. l Do not adjust pressure relief valves and control valves to values above their specified values. Electrical system l Always disconnect the battery before starting work in the electrical system. l Ensure correct polarity when connecting the bat- tery.
008 193 60 l Do not check voltage by tapping against ground. l When performing welding work always fasten the earth clamp of the welding unit in the immediate vi- cinity of the welding location. Strictly disconnect the cables from the generator before starting work. Seals and gaskets l Generally use new seals and gaskets when per- forming assembly work. The required seal kits are available as spare parts.
You're Reading a Preview
What's Included?
Lifetime Access
Fast Download Speeds
Online & Offline Access
Access PDF Contents & Bookmarks
Full Search Facility
Print one or all pages of your manual
$33.99
BOMAG Single drum wheel drive vibratory roller BW 211 D-3 Service Repair Manual
This is a comprehensive Service Repair Manual for the BOMAG Single drum wheel drive vibratory roller BW 211 D-3. The manual provides in-depth information on maintenance, assembly, disassembly, and servicing of the BOMAG Single drum wheel drive vibratory roller BW 211 D-3.
Table of Contents:
General
1.1 Foreword
1.2 Safety regulations
1.3 General repair instructions
1.4 Tightening torques
1.5 Connecting plan
Tests and adjustments
2.1 Technical Data
2.2 Special tools
2.3 Checking the rotary speeds
2.4 Checking / adjusting the neutral positions of the travel pump
2.5 Pressure tests in the travel circuit
2.6 Adjusting the high pressure relief valves in the travel system
2.7 Adjusting the vibrator shaft speed
2.8 Pressure tests in the vibration circuit
2.9 Adjusting the high pressure relief valves in the vibration system
2.10 Checking the leak oil rate of the vibration motor
2.11 Pressure tests in the steering circuit
Flushing
3.1 Special tools for flushing
3.2 Spülschema Fahrantrieb
3.3 Flushing the travel circuit
3.4 Flushing diagram vibration circuit
3.5 Flushing the vibration circuit
Troubleshooting
4.1 General
4.2 Troubleshooting diagram
Drum
5.1 Special tools
5.2 Drum repair overview
5.3 Removing and installing the drum
5.4 Repairing the drum
5.5 Disassembling and assembling the change-over weight
5.6 Changing the rubber buffers
Oscillating articulated joint
6.1 Special tools
6.2 Oscillating articulated joint repair
6.3 Removing and installing the oscillating articulated joint
6.4 Dismantling the oscillating articulated joint
6.5 Assembling the oscillating articulated joint
Suppliers documentation
7.1 Travel drive series 51
7.2 MS/MSE 02 to 18
7.3 A4VG
7.4 A10VG
Model Specification: BOMAG Single drum wheel drive vibratory roller BW 211 D-3
Language: English
File Format: PDF
Total Pages: 390
Requirements: Adobe Reader
ZOOM IN/OUT: YES
Printable: YES
Compatible: All Versions of Windows & Mac
This manual contains information, data, specs, diagrams, actual real photo illustrations, and schemes, providing complete step-by-step operations on repair, servicing, technical maintenance, and troubleshooting procedures for your machine. It offers full information needed for repairing the machine, enabling you to find trouble and understand how to repair and maintain your machine without going into service.
This PDF file is bookmarked and searchable to make it easy to find what you need.
All manuals are compatible with Windows Vista 32 and 64, XP, ME, 98, NT, 2000, and work with Mac. Instant delivery upon receipt of your payment.
These manuals include tons of pictures and diagrams, making it easy for any skill level with very easy to follow, step-by-step instructions. All pages are printable, so you can run off what you need and take it with you into the garage or workshop, saving money by doing your own repairs!
Reviews
Q&A
Recently Viewed
5,521,897Happy Clients
2,594,462eManuals
1,120,453Trusted Sellers
15Years in Business
Price:
Actual Price:
BOMAG Single drum wheel drive vibratory roller BW 211 D-3 Service Repair Manual







 Lifetime Access




