Repair manual HM 720/720V Version 04/98 Contents 1 Contents Chapter Title Version Page 1. General.........................................................................................04/98............... 1 1.1 Explanation of the symbols used in this repair manual.................................. 2 2. Operational safety.......................................................................04/98............... 1 2.1 General................................................................................................................. 1 2.2 Accident prevention regulations............................................................................ 1 2.3 Tools, measuring and testing equipment.............................................................. 2 2.4 Operating media/consumables.............................................................................. 2 3. Tools.............................................................................................04/98............... 1 3.1 General tools......................................................................................................... 1 3.2 Service Box 3........................................................................................................ 2 3.3 Special accessories............................................................................................... 3 3.3.1 Accumulator filling device...................................................................................... 3 3.3.2 Power wrench........................................................................................................ 4 3.3.3 Heli Coil tools........................................................................................................ 4 3.3.4 Fitting aid for percussion piston............................................................................. 5 3.3.5 Press-out aid for wear bushes............................................................................... 5 4. Dismantling the hydraulic hammer............................................04/98............... 1 4.1 Removing the HM 720/V percussion mechanism from the hammer box.............. 1 4.2 Removing the high-pressure accumulator............................................................ 2 4.3 Removing the control slide valve........................................................................... 3 4.4 Removing the frequency switching system........................................................... 3 4.5 Removing the cylinder cover................................................................................. 5 4.6 Removing the percussion piston........................................................................... 6 4.7 Removing the tie rods........................................................................................... 7 4.8 Removing the cylinder.......................................................................................... 7 5. Checking the hammer box.........................................................04/98............... 1 5.1 Checking for cracks and indentations................................................................... 1 5.2 Wear to the bottom plate....................................................................................... 1 5.3 Checking the elastic pad....................................................................................... 2 5.4 Checking the damping elements........................................................................... 2 5.5 Checking the guide plates and the dust collar....................................................... 3 5.5.1 Checking the guide plates..................................................................................... 3 5.5.2 Checking the dust collar........................................................................................ 4 chodina@live.co.uk chodina@live.co.uk
Repair manual HM 720/720V Version 04/98 Contents 2 Contents Chapter Title Version Page 6. Assembling the hydraulic hammer........................................................04/98... 1 6.1 Tightening torques for screws and screw couplings on the HM 720/V.................. 1 6.2 Fitting the cylinder................................................................................................. 2 6.3 Fitting the percussion piston................................................................................. 2 6.4 Fitting the tie rods.................................................................................................. 3 6.5 Fitting the cylinder cover....................................................................................... 3 6.6 Fitting the frequency switching system.................................................................. 5 6.7 Fitting the control slide valve................................................................................. 6 6.8 Fitting the high pressure accumulator................................................................... 6 6.9 Fitting the piston accumulator............................................................................... 7 6.10 Fitting the HM 720/V percussin mechanism in the hammer box........................... 9 7. Changing the seals.................................................................................04/98... 1 7.1 Changing the cylinder seals.................................................................................. 1 7.2 Changing the seals between cylinder and cylinder cover..................................... 3 7.3 Changing the seal on the control system.............................................................. 3 7.4 Changing the seals on the high pressure accumulator......................................... 3 7.5 Changing the seals on the sealing bush............................................................... 4 8. Repair work..............................................................................................04/98... 1 8.1 Changing the screws on the high pressure accumulator...................................... 1 8.2 Changing the high pressure accumulator.............................................................. 1 8.3 Changing the tie rods............................................................................................ 2 8.4 Removing scores from control slide valve and bore.............................................. 2 8.5 Removing scores on percussion piston and cylinder bore.................................... 3 8.6 Replacing retainer bar and working tool................................................................ 3 8.7 Changing the wear bushes................................................................................... 4 8.8 Replacing the complete hammer box.................................................................... 6 8.9 Replacing guide plates and damping elements in hammer box............................ 6 8.10 Replacing the dust collar in the hammer box........................................................ 6 8.11 Repairing cracked welds....................................................................................... 7 8.12 Replacing the bottom plate on the hammer box.................................................... 7 8.13 Reworking the retainer pins for the damping elements......................................... 8 8.14 Weld seam preparation......................................................................................... 8 8.15 Preheating temperature........................................................................................ 8 8.16 Fillers.................................................................................................................... 8 8.17 Post-treatment of welds........................................................................................ 8 Authorised dealers and regional service centres chodina@live.co.uk chodina@live.co.uk
Repair manual HM 720/720V Version 04/98 Chapter 1 1 1. General In order to maintain the operational safety and reliability of the HM 720/V hydraulic hammer, repair work should only be carried out by Krupp-trained specialists using genuine Krupp spare parts. Krupp-trained spe- cialists know which parts need replacing and when. Although this repair manual applies to the HM 720-1/V and HM 720-2/V hydraulic hammer models, the man- ual refers only to HM 720/V by way of simplification. Any specific differences between the two models are however highlighted. chodina@live.co.uk chodina@live.co.uk
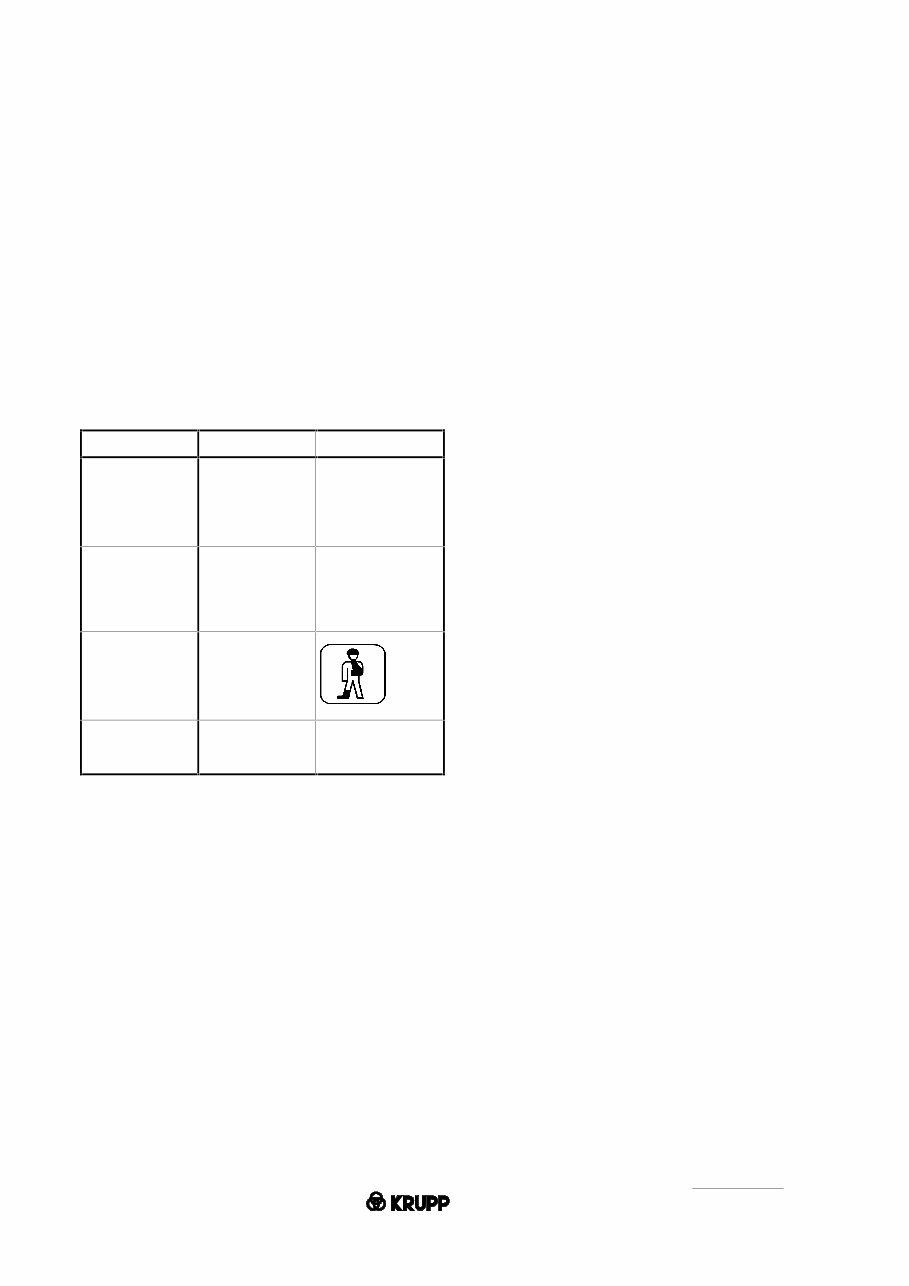
Repair manual HM 720/720V Version 04/98 Chapter 1 2 1.1 Explanation of the symbols used in this repair manual To emphasise their importance, certain points in the repair manual are marked with symbols, which are de- scribed below: These passages contain information on the correct use of the hydraulic tool and are aimed at avoiding mistakes during operation. Passages marked in this way contain safety infor- mation and instructions aimed at avoiding dam- age. Passages marked in this way contain safety infor- mation and instructions aimed at preventing acci- dents and avoiding injury. Warning! Please note! Caution! chodina@live.co.uk chodina@live.co.uk
Repair manual HM 720/720V Version 04/98 Chapter 2 1 2. Operational safety 2.1 General In order to maintain the operational safety and reli- ability of the hydraulic hammer, repair work should only be carried out by trained specialists using genuine Krupp spare parts. For this reason, repair work should only be entrusted to Krupp-trained specialists who know which spare parts need re- placing and when. 2.2 Accident prevention regula- tions To avoid the risk of injury, please observe the following instructions. Before starting work: Familiarise yourself with the repair manual and the appropriate regulations before starting work on the hydraulic hammer. When using or working on hydraulic hammers in the countries of the European Union, the regula- tions contained in the EC machinery directive 89/392/EEC must be observed and followed, as must national regulations governing pressurised vessels. In countries outside the European Union, the valid local statutes and regulations shall apply. The hydraulic hammer should only be repaired by specialists. When lifting/transporting the hydraulic hammer, use only the lug provided and hoisting equipment with sufficient capacity. Clear hand signals must be agreed on with the hoist operator beforehand. Never stand beneath hoisted loads. Stand the hydraulic hammer in a suitable device and secure it against falling over. The repair area must be clear and easily accessi- ble. Always wear protective glasses when fitting or re- moving the working tool as metal splinters may fly off when hammering out the locking pins. Working tools should only be fitted in the way de- scribed in the operating manual. The hydraulic hammer’s integrated piston accu- mulator is pressurised. Before dismantling the hydraulic hammer and be- fore removing filling valve "G", the piston accu- mulator must be fully depressurised. Never use nails, screwdrivers or similar objects to bleed off the gas since this would damage the fill- ing valve. The gas should only be bled off using the nozzle of the filling/test hose. Never use your fingers to check the alignment of the working tool recesses with the oblong holes for the locking bars. Never dismantle a hydraulic hammer which is still hot from running. Risk of burns! Wait until the hy- draulic hammer has cooled down before disman- tling it. Collect any oil which runs out and dispose of it correctly. The piston accumulator must only be filled with ni- trogen from the green cylinder. Make sure that no other gas (e.g. air or oxygen) is allowed into the piston accumulator. When attaching the adapter use only Allen screws with a material quality of s = 640 N/mm² (material quality 8.8). Caution! Caution! Caution! Risk of explosion! chodina@live.co.uk chodina@live.co.uk
Repair manual HM 720/720V Version 04/98 Chapter 2 2 2.3 Tools, measuring and testing equipment The tools required for dismantling and re-assem- bling the HM 720/V are to be provided by the user (see Chapter 3.1). The special accessories used in this section are listed in Chapter 3.3. 2.4 Operating media/ consumables Use Comments HD oil HLP 32 Running the HM 720/V In warmer cli- mates, oils with a higher viscos- ity class should be used High-perform- ance bearing grease with solids content Lubricating the working tool Krupp chisel paste (see oper- ating manual) Nitrogen N 2 Filling the - high pressure accumulator - piston accumulator Abrasive pol- ishing paper, grain 600 Removing scores Caution! chodina@live.co.uk chodina@live.co.uk
The Krupp Hydraulic Hammers HM 720, HM 720V Service Repair Manual is a comprehensive informational resource suitable for both professional mechanics and DIY enthusiasts. It contains easy-to-understand text sections accompanied by high-quality diagrams and instructions, making it an essential tool for anyone undertaking repair work on these hydraulic hammers.
This manual covers a wide range of topics including general information, operational safety, required tools, dismantling and assembling procedures, hammer box inspection, seal replacement, and repair work instructions.
The manual is available in PDF format, compatible with all versions of Windows and Mac, and is presented in the English language. It can be accessed using Adobe Reader, ensuring ease of use for a wide range of users.
Investing in the Krupp Hydraulic Hammers HM 720, HM 720V Service Repair Manual will not only save time and money but also provide the confidence and knowledge required to effectively carry out repair and maintenance tasks. This manual is a valuable resource for gaining in-depth understanding and proficiency in handling the Krupp Hydraulic Hammers HM 720, HM 720V.
With its printable pages, this manual offers convenience and accessibility, making it an indispensable asset for anyone working with these hydraulic hammers.