

0103I−12
N17080
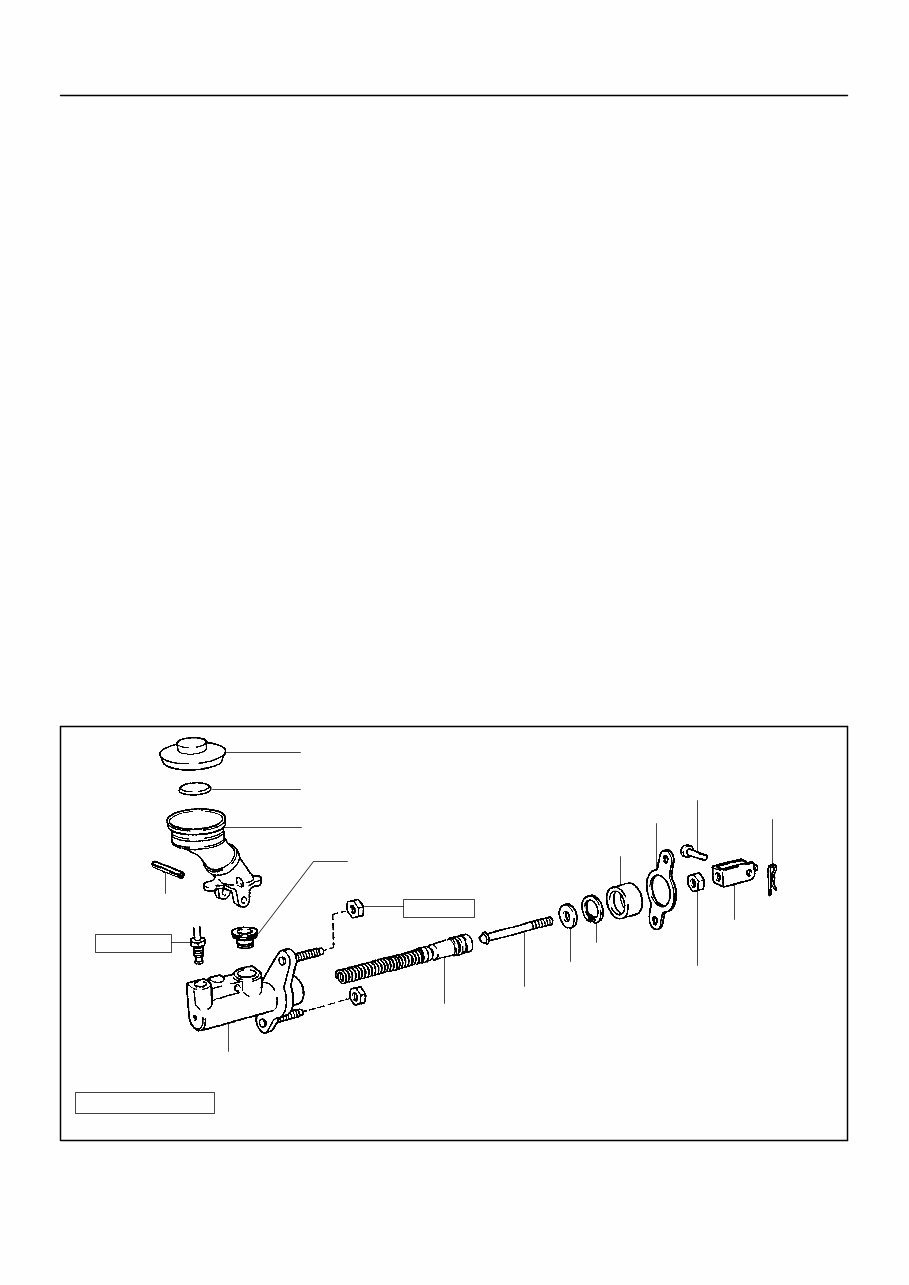
Filler Cap
Float
Reservoir Tank
z Grommet
Clip
Slotted Spring Pin
: Specified torque
z Non−reusable part
Cylinder
Piston
Push Rod
Washer
Snap Ring
Boot
z Gasket
Lock Nut
Clevis Pin
Clevis
N·m (kgf·cm, ft·lbf)
12 (120, 9)
15 (155, 11)
− INTRODUCTION HOW TO USE THIS MANUAL
01−1
1 Author: Date:
2005 COROLLA REPAIR MANUAL (RM1105U)
HOW TO USE THIS MANUAL
GENERAL INFORMATION
1. GENERAL DESCRIPTION
(a) This manual is written in accordance with SAE J2008.
(b) Repair operations can be separated into 3 main processes:
1. Diagnosis
2. Removing/Installing, Replacing, Disassembling/Reassembling, Checking and Adjusting
3. Final Inspection
(c) This manual explains the ”Diagnosis” (found in the ”Diagnostics” section) and ”Removing and Instal-
ling, Replacing, Disassembling, Installing and Checking, and Adjusting”. ”Final Inspection” is omitted.
(d) The following essential operations are not written in this manual. However, these operations must be
performed in actual situations.
(1) Operations with a jack or lift
(2) Cleaning of a removed part when necessary
(3) Visual check
2. INDEX
(a) An alphabetical INDEX section is provided at the end of the book as a reference to help you find the
item to be repaired.
3. PREPARATION
(a) Use of Special Service Tools (SST) and Special Service Materials (SSM) may be required, depending
on the repair situation. Be sure to use SST and SSM when they are required and follow the working
procedure properly. A list of SST and SSM is in the Preparation section of this manual.
4. REPAIR PROCEDURES
(a) A component illustration is placed under the title where necessary.
(b) Non−reusable parts, grease application areas, precoated parts and torque specifications are noted
in the component illustrations.
Example:
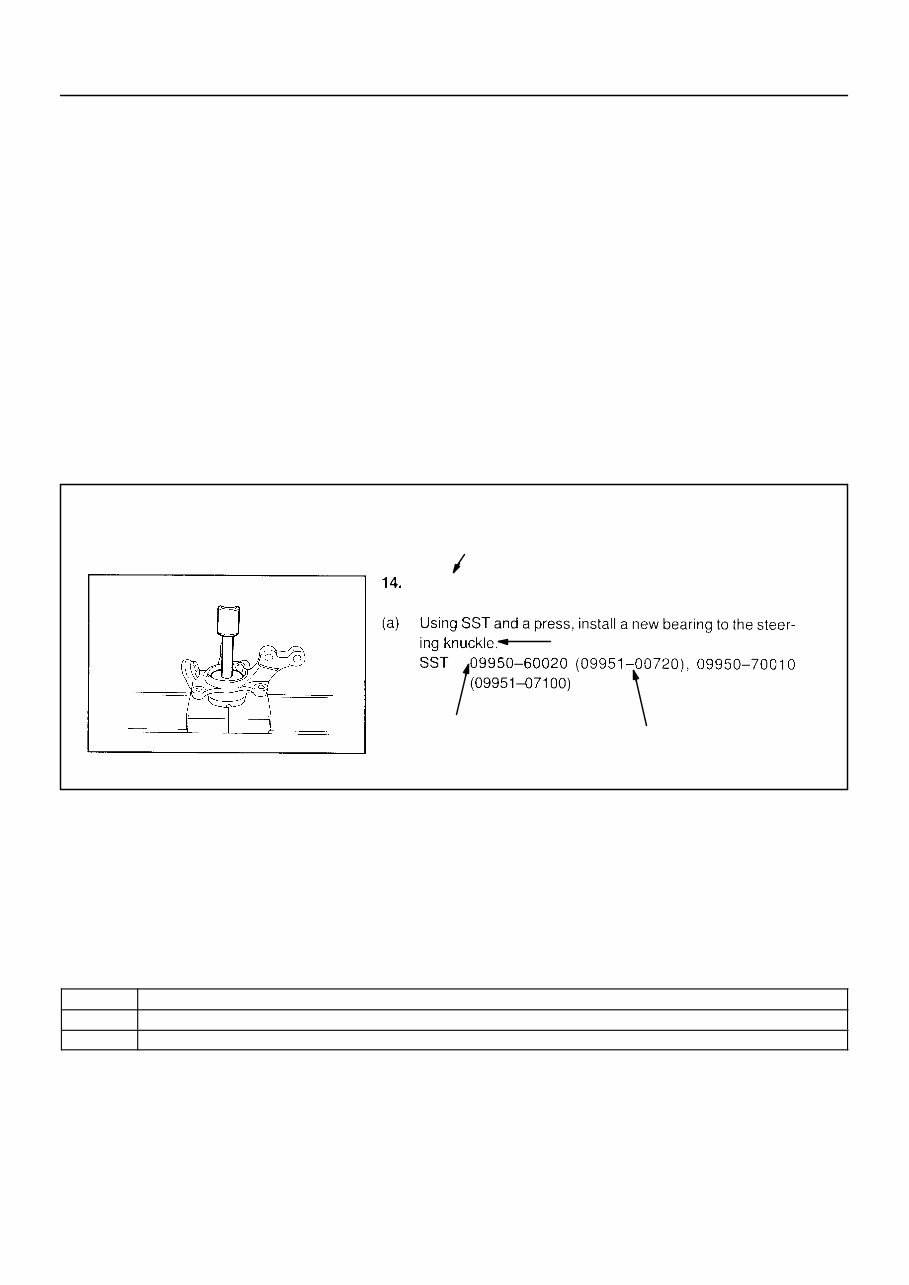
Illustration:
what to do and where
Component part No.
Detailed text: how to perform task
Task heading: what you will be doing
Set part No.
INSTALL FRONT AXLE HUB BEARING
D32545
01−2
− INTRODUCTION HOW TO USE THIS MANUAL
2 Author: Date:
2005 COROLLA REPAIR MANUAL (RM1105U)
(c) Torque specifications, grease application areas, and non−reusable parts are emphasized in the proce-
dures.
NOTICE:
There are cases where such information can only be explained by using an illustration. In these
cases, all the information such as torque, oil, etc. are described in the illustration.
(d) The installation procedures are the removal procedures in reverse order. However, only installation
procedures requiring additional information are included.
(e) Only items with key points are described in the text. What to do and other details are placed in illustra-
tions next to the text. Both the text and illustrations are accompanied by standard values and notices.
(f) Illustrations of similar vehicle models are sometimes used. In those cases, specific details may be dif-
ferent from the actual vehicle.
(g) Procedures are presented in a step−by−step format:
(1) The illustration shows what to do and where to do it.
(2) The task heading tells what to do.
(3) The explanation text tells how to perform the task. It also has information such as specifications
and warnings.
Example:
HINT:
This format provides an experienced technician with a FAST TRACK to the necessary information. The task
headings are easy to read and the text below the task heading provides detailed information. Important spec-
ifications and warnings are always written in bold type.
5. SERVICE SPECIFICATIONS
(a) SPECIFICATIONS are presented in bold−faced text throughout the manual. The specifications are
also found in the Service Specifications section for quick reference.
6. TERMS DEFINITION
CAUTION Possibility of injury to you or other people.
NOTICE Possibility of damage to the components being repaired.
HINT Provides additional information to help you perform repairs.
7. SI UNIT
(a) The units used in this manual comply with the SI UNIT (International System of Units) standard. Units
from the metric system and the English system are also provided.
Example:
Torque: 30 N⋅m (310 kgf⋅cm, 22 ft⋅lbf)
021CN−02
− PREPARATION THEFT DETERRENT & DOOR LOCK
02−61
104 Author: Date:
2005 COROLLA REPAIR MANUAL (RM1105U)
THEFT DETERRENT & DOOR LOCK
PREPARATION
Recommended Tools
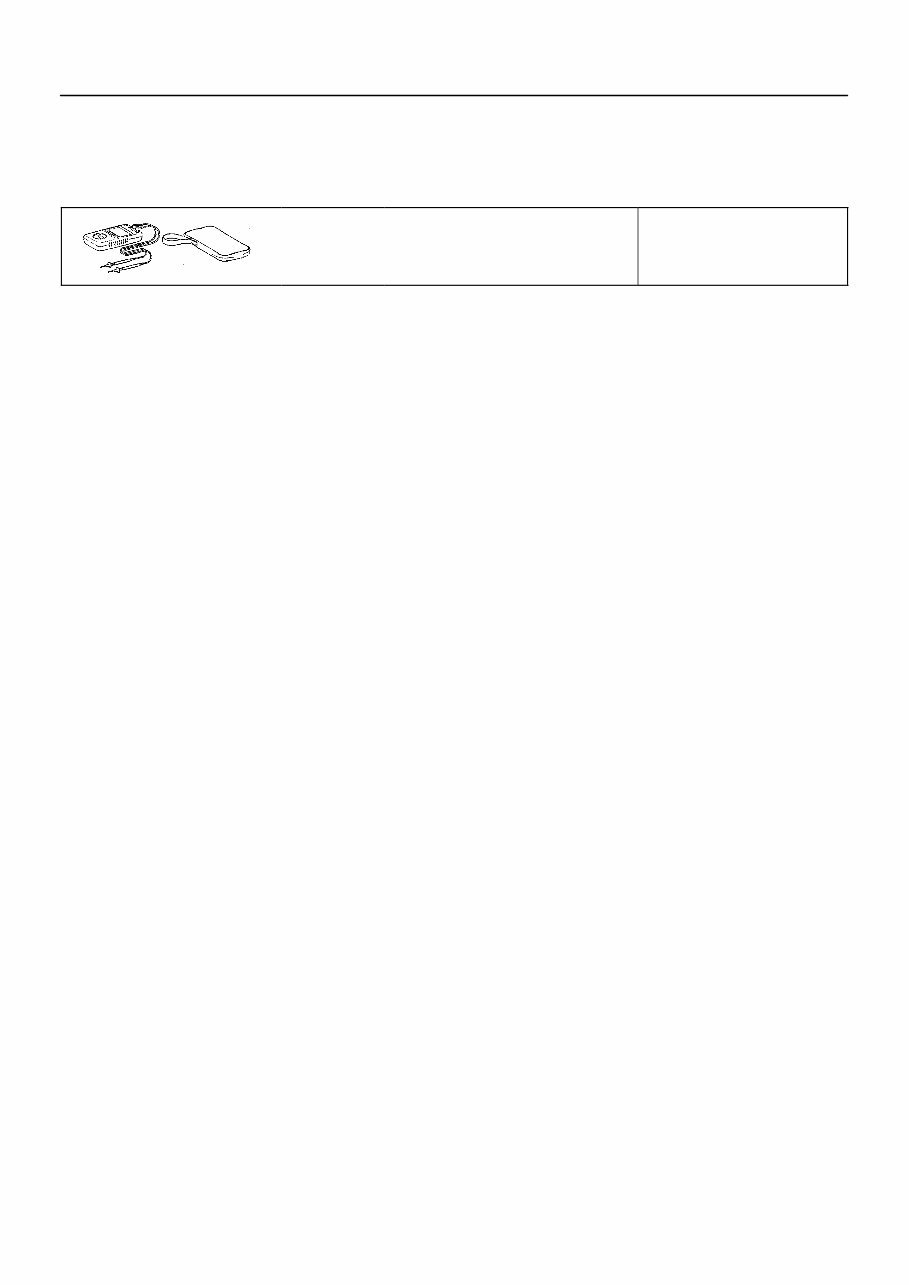
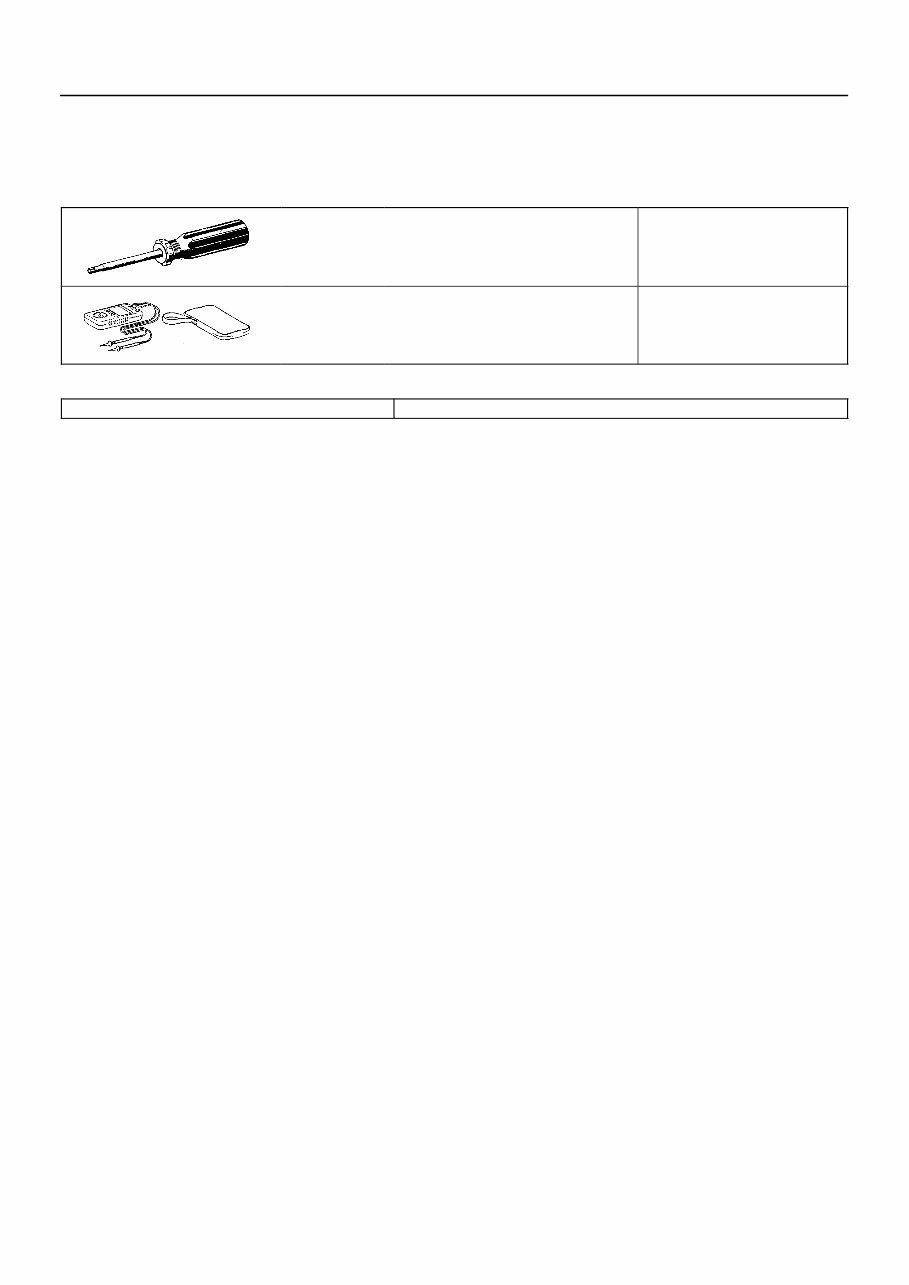
09082−00040 TOYOTA Electrical Tester POWER DOOR LOCK CONTROL
SYSTEM
021C9−03
02−62
− PREPARATION SLIDING ROOF/CONVERTIBLE
105 Author: Date:
2005 COROLLA REPAIR MANUAL (RM1105U)
SLIDING ROOF/CONVERTIBLE
PREPARATION
Recommended Tools
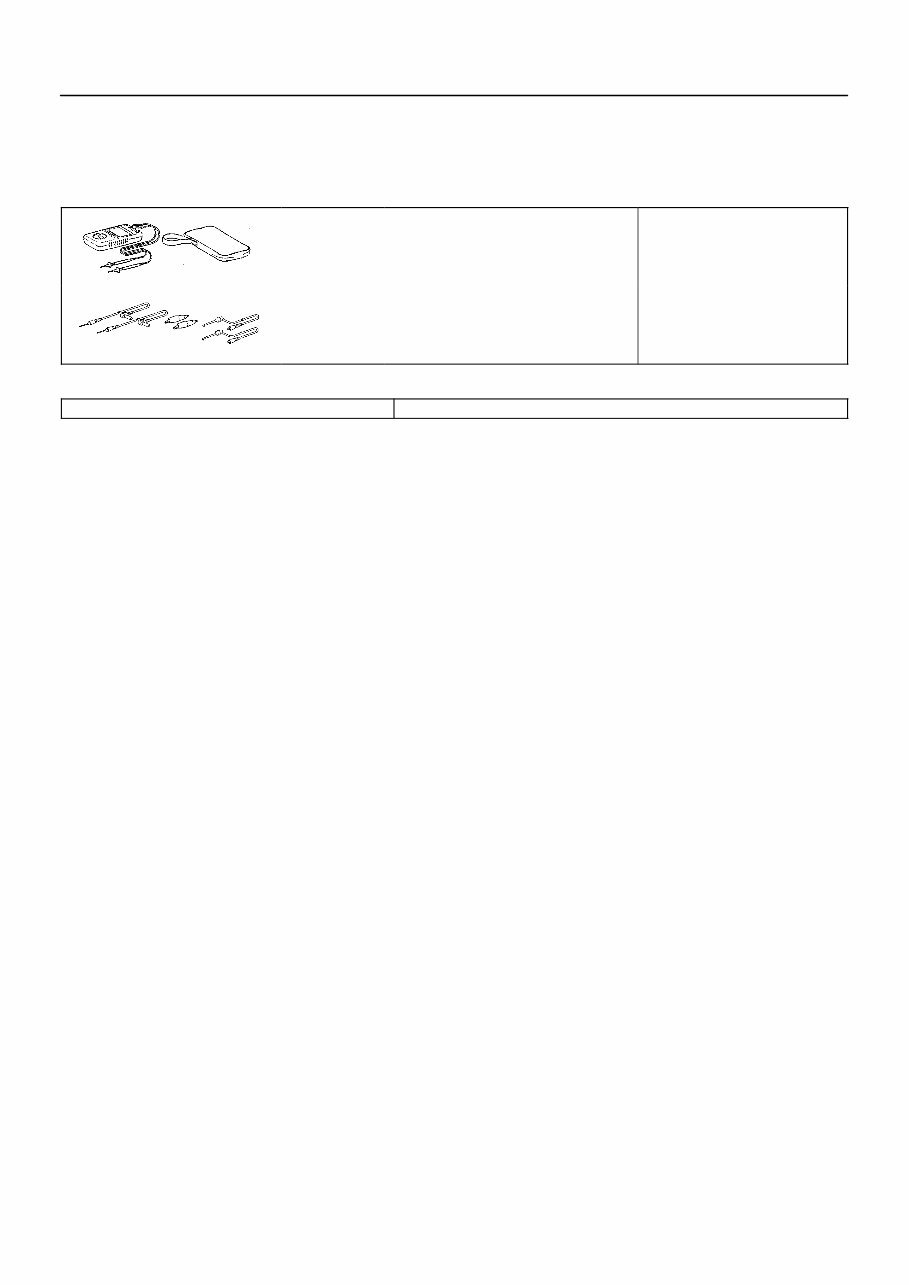
09041−00020 Torx Driver T25 SLIDING ROOF HOUSING
SUB−ASSY
09082−00040 TOYOTA Electrical Tester SLIDING ROOF SYSTEM
Equipment
Torque wrench
0240D−01
− PREPARATION HORN
02−65
108 Author: Date:
2005 COROLLA REPAIR MANUAL (RM1105U)
HORN
PREPARATION
Recommended Tools
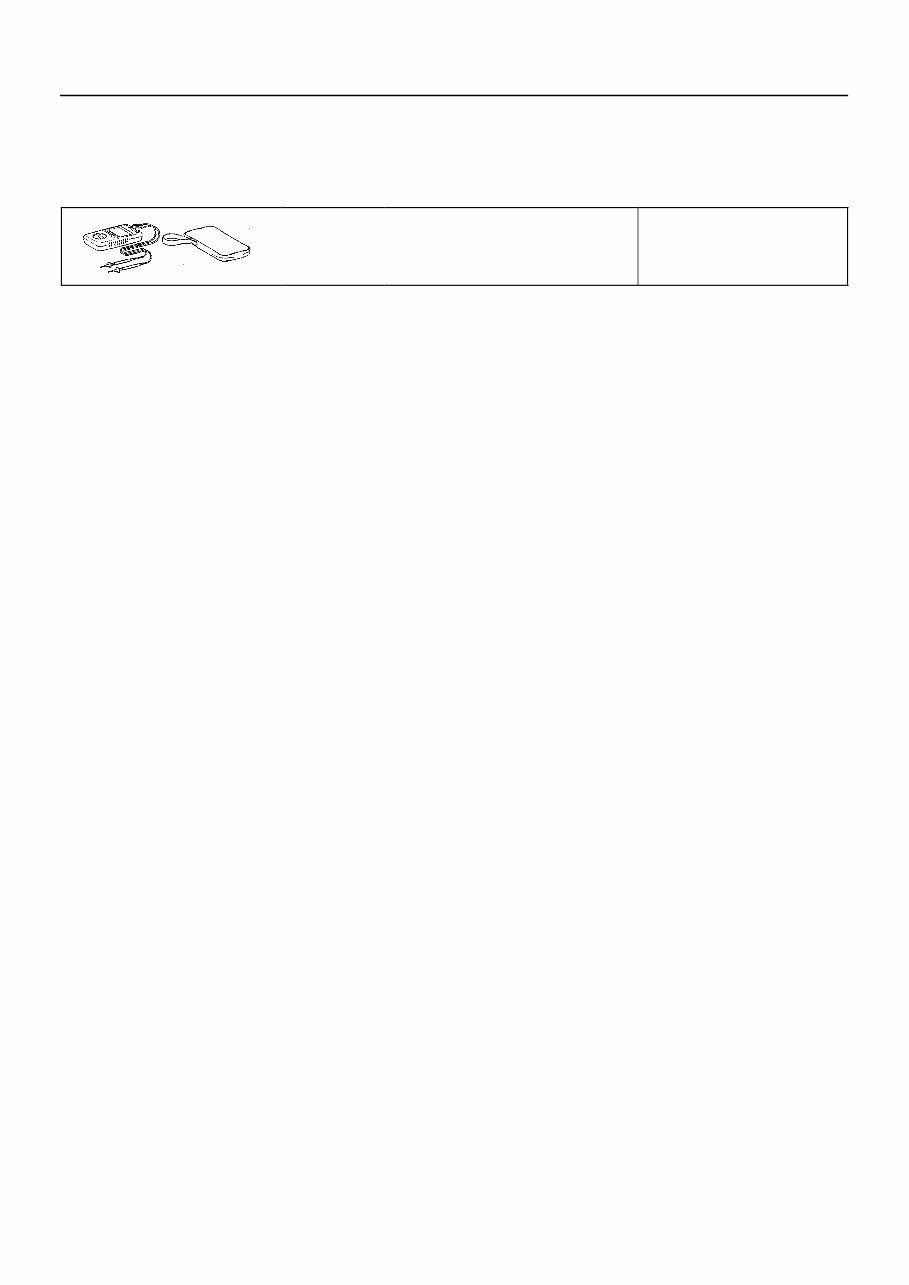
09082−00040 TOYOTA Electrical Tester HORN SYSTEM
(09083−00150) Test Lead Set HORN SYSTEM
Equipment
Torque wrench
021CP−02
02−66
− PREPARATION VEHICLE CONTROL SYSTEM
109 Author: Date:
2005 COROLLA REPAIR MANUAL (RM1105U)
VEHICLE CONTROL SYSTEM
PREPARATION
Recommended Tools
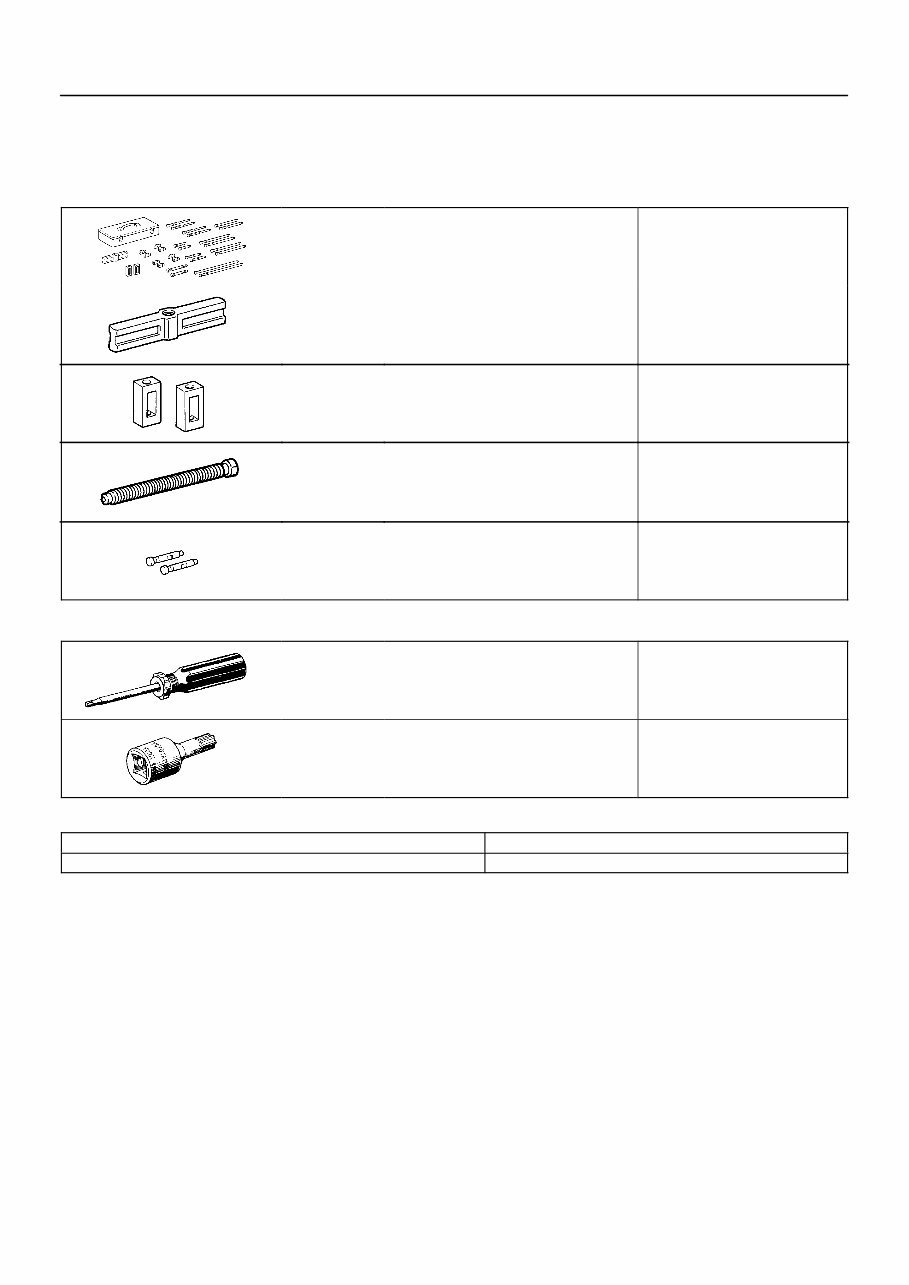
09082−00040 TOYOTA Electrical Tester IGNITION OR STARTER SWITCH
ASSY
021BI−02
− PREPARATION CRUISE CONTROL
02−67
110 Author: Date:
2005 COROLLA REPAIR MANUAL (RM1105U)
CRUISE CONTROL
PREPARATION
SST
09950−50013 Puller C Set CRUISE CONTROL MAIN SWITCH
ASSY
(09951−05010) Hanger 150 CRUISE CONTROL MAIN SWITCH
ASSY
(09952−05010) Slide Arm CRUISE CONTROL MAIN SWITCH
ASSY
(09953−05020) Center Bolt 150 CRUISE CONTROL MAIN SWITCH
ASSY
(09954−05021) Claw No.2 CRUISE CONTROL MAIN SWITCH
ASSY
Recommended Tools
09041−00030 Torx Driver T30 INSTRUMENT PANEL SAFETY PAD
SUB−ASSY
09042−00010 Torx Socket T30 CRUISE CONTROL MAIN SWITCH
ASSY
Equipment
Torque wrench
Adhesive Tape
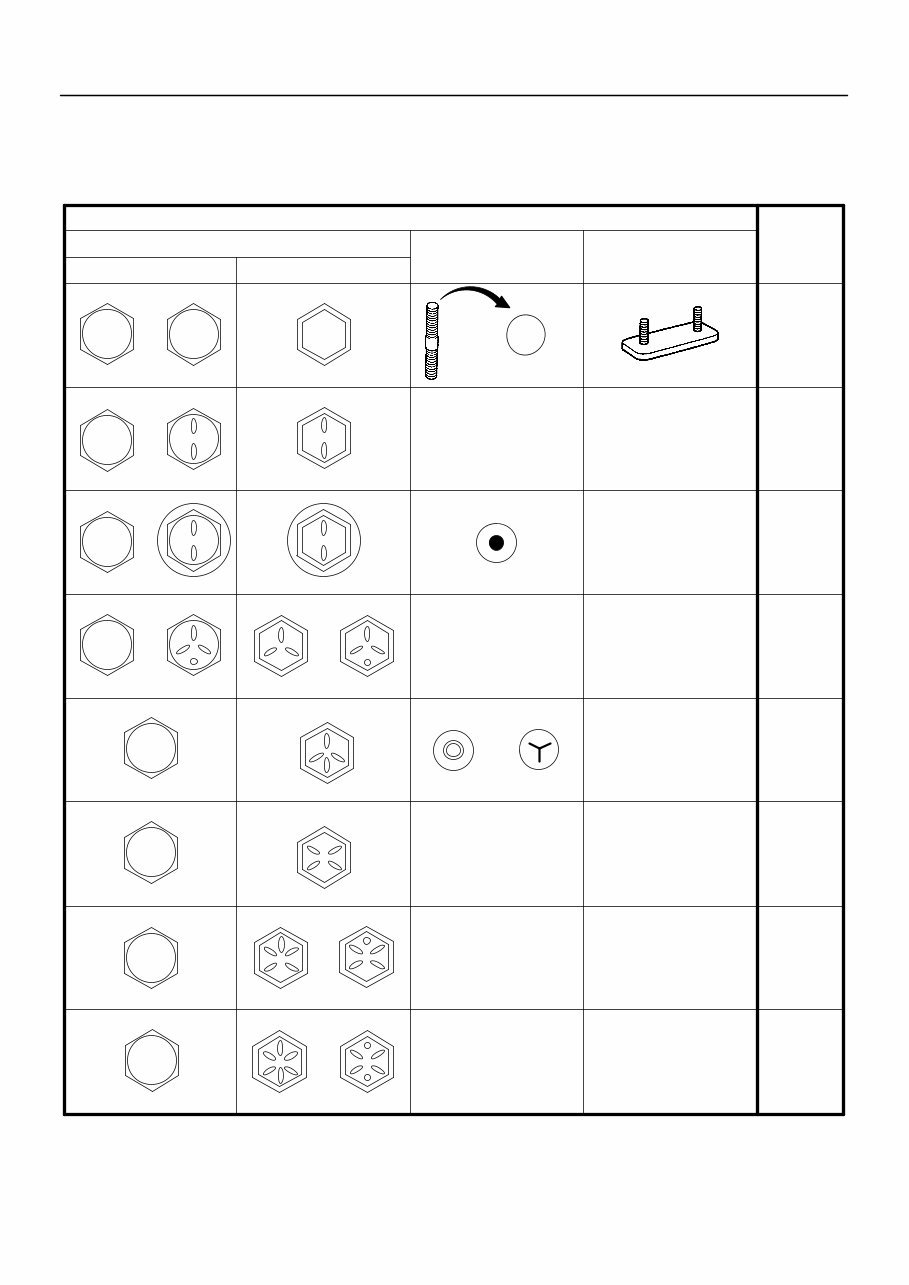
0307K−05
4
5
6
7
8
9
10
11
B06431
Bolt Type
Hexagon Head Bolt
Normal Recess Bolt Deep Recess Bolt
Stud Bolt Weld Bolt
Class
No Mark
No Mark No Mark
w/ Washer w/ Washer
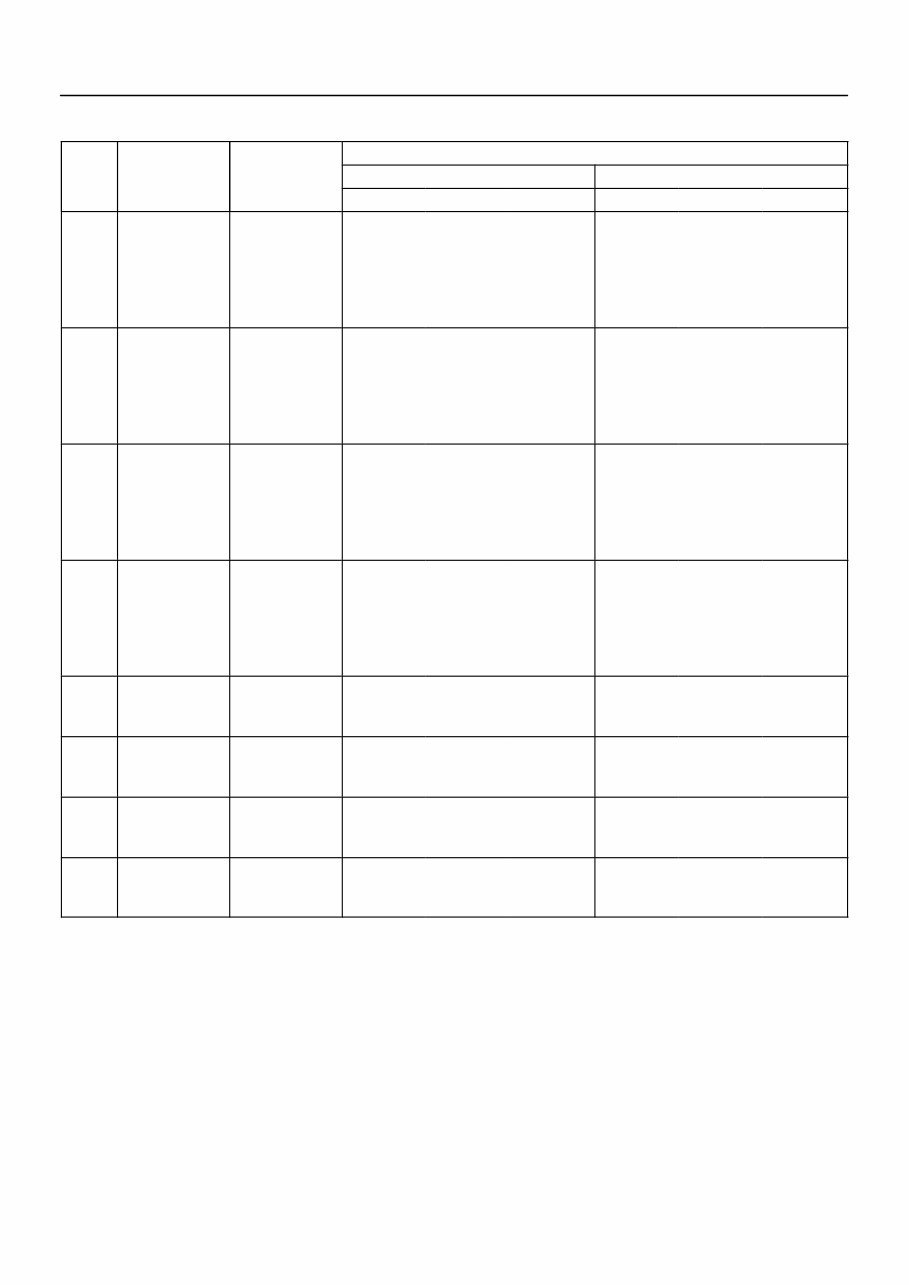
4T
5T
6T
7T
8T
9T
10T
11T
− SERVICE SPECIFICATIONS STANDARD BOLT
03−1
111 Author: Date:
2005 COROLLA REPAIR MANUAL (RM1105U)
STANDARD BOLT
HOW TO DETERMINE BOLT STRENGTH
0307L−06
03−2
− SERVICE SPECIFICATIONS STANDARD BOLT
112 Author: Date:
2005 COROLLA REPAIR MANUAL (RM1105U)
SPECIFIED TORQUE FOR STANDARD BOLTS
Class
Diameter
mm
Pitch
mm
Specified torque
Hexagon head bolt Hexagon flange bolt
N·m kgf·cm ft·lbf N·m kgf·cm ft·lbf
4T
6
8
10
12
14
16
1
1.25
1.25
1.25
1.5
1.5
5
12.5
26
47
74
115
55
130
260
480
760
1,150
48 in.·lbf
9
19
35
55
83
6
14
29
53
84
−
60
145
290
540
850
−
52 in.·lbf
10
21
39
61
−
5T
6
8
10
12
14
16
1
1.25
1.25
1.25
1.5
1.5
6.5
15.5
32
59
91
140
65
160
330
600
930
1,400
56 in.·lbf
12
24
43
67
101
7.5
17.5
36
65
100
−
75
175
360
670
1,050
−
65 in.·lbf
13
26
48
76
−
6T
6
8
10
12
14
16
1
1.25
1.25
1.25
1.5
1.5
8
19
39
71
110
170
80
195
400
730
1,100
1,750
69 in.·lbf
14
29
53
80
127
9
21
44
80
125
−
90
210
440
810
1,250
−
78 in.·lbf
15
32
59
90
−
7T
6
8
10
12
14
16
1
1.25
1.25
1.25
1.5
1.5
10.5
25
52
95
145
230
110
260
530
970
1,500
2,300
8
19
38
70
108
166
12
28
58
105
165
−
120
290
590
1,050
1,700
−
9
21
43
76
123
−
8T
8
10
12
1.25
1.25
1.25
29
61
110
300
620
1,100
22
45
80
33
68
120
330
690
1,250
24
50
90
9T
8
10
12
1.25
1.25
1.25
34
70
125
340
710
1,300
25
51
94
37
78
140
380
790
1,450
27
57
105
10T
8
10
12
1.25
1.25
1.25
38
78
140
390
800
1,450
28
58
105
42
88
155
430
890
1,600
31
64
116
11T
8
10
12
1.25
1.25
1.25
42
87
155
430
890
1,600
31
64
116
47
97
175
480
990
1,800
35
72
130
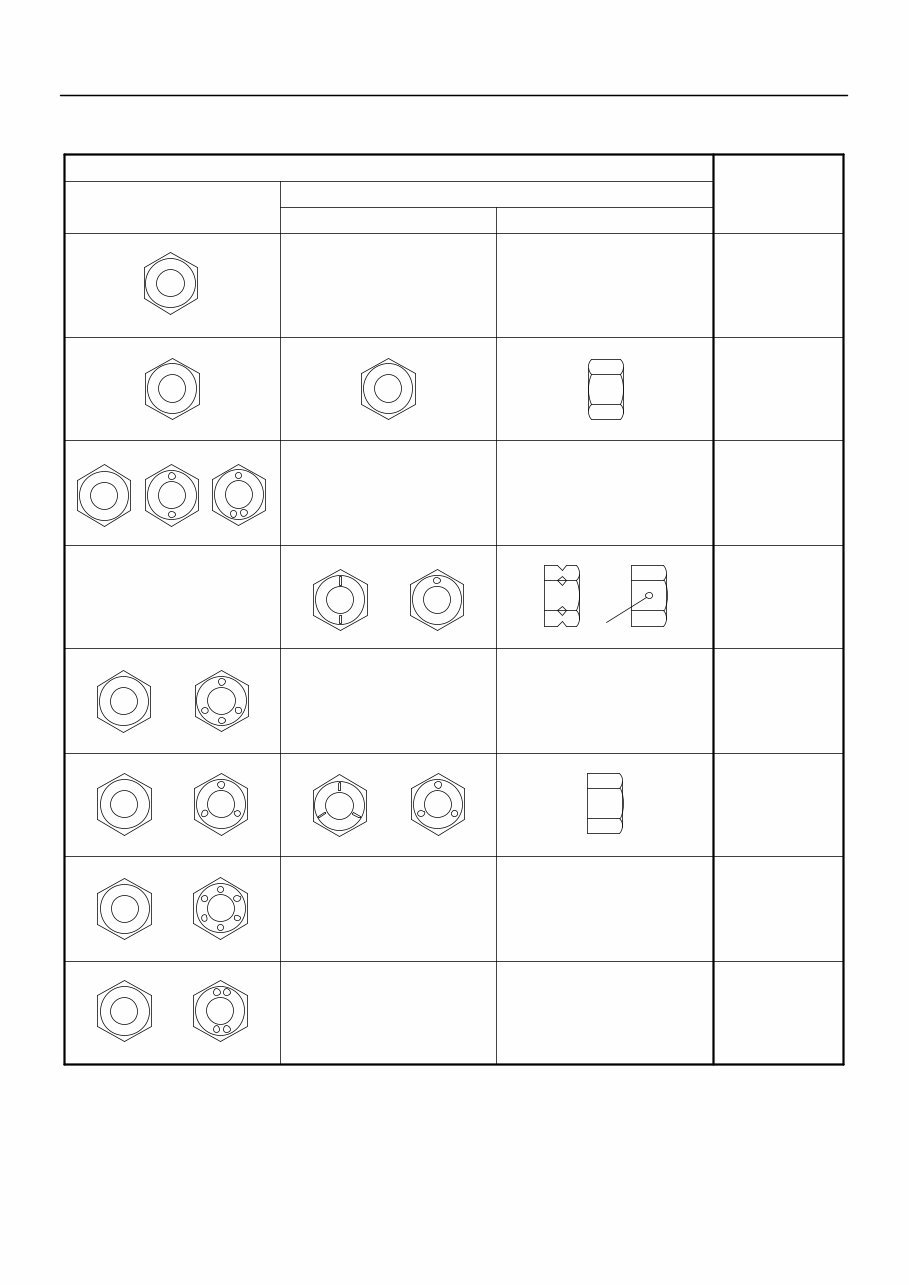
0307M−05
6N
8N
10N
11N
12N
B06432
Nut Type
Present Standard
Hexagon Nut
Old Standard Hexagon Nut
Cold Forged Nut Cutting Processed Nut
Class
4N
5N (4T)
6N
7N (5T)
8N
10N (7T)
11N
12N
No Mark
No Mark (w/Washer) No Mark (w/Washer) No Mark
No Mark
*
*: Nut with 1 or more marks on one side surface of the nut.
− SERVICE SPECIFICATIONS STANDARD BOLT
03−3
113 Author: Date:
2005 COROLLA REPAIR MANUAL (RM1105U)
HOW TO DETERMINE NUT STRENGTH
HINT:
Use the nut with the same number of the nut strength classification or greater than the bolt strength classifi-
cation number when tightening parts with a bolt and nut.
Example: Bolt = 4T
Nut = 4N or more
You're Reading a Preview
What's Included?
 Lifetime Access
Fast Download Speeds
Online & Offline Access
Access PDF Contents & Bookmarks
Full Search Facility
Print one or all pages of your manual
$31.99
2005 Toyota Corolla Rapair Manual (RM1105U) Service & Repair Manual
Viewed 36 Times Today

What's Included?
Lifetime Access
Fast Download Speeds
Online & Offline Access
Access PDF Contents & Bookmarks
Full Search Facility
Print one or all pages of your manual
$31.99

Secure transaction
What's Included?
Lifetime Access
Fast Download Speeds
Online & Offline Access
Access PDF Contents & Bookmarks
Full Search Facility
Print one or all pages of your manual
Description
The 2005 Toyota Corolla Repair Manual provides comprehensive guidance for professionals and DIY enthusiasts to service and repair their vehicle. This technical manual includes detailed instructions, diagrams, and specifications to help you troubleshoot and maintain your Corolla.
Containing information on the mechanical, electrical, and electronic systems of the vehicle, this manual covers topics such as:
- Engine maintenance and repair
- Transmission and drivetrain
- Brakes and suspension
- Electrical and electronic systems
- Body and interior
Suitable for both professional mechanics and DIY enthusiasts, this manual ensures that your Toyota Corolla receives the best possible care and maintenance, helping to prolong its lifespan and reduce the risk of costly repairs.


