

2010-2012 Renault Wind Service & Repair Manual
What's Included?
Fast Download Speeds
Online & Offline Access
Access PDF Contents & Bookmarks
Full Search Facility
Print one or all pages of your manual

2010-2012 RENAULT WIND
SERVICE AND REPAIR MANUAL
- 1 -
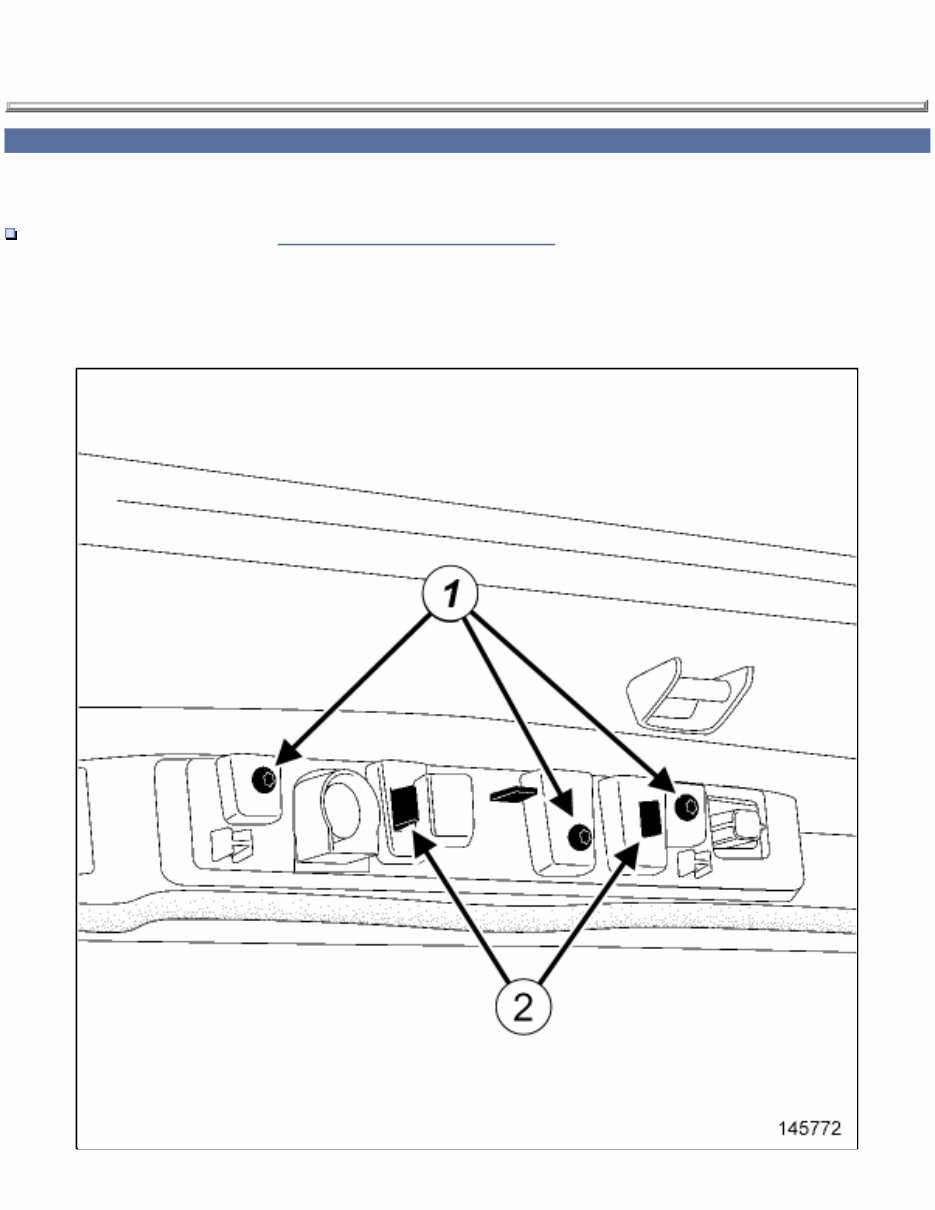
3RD BRAKE LIGHT: REMOVAL - REFITTING
REMOVAL
1. REMOVAL PREPARATION OPERATION
Remove the rear screen trim Rear screen trim: Removal - Refitting (54A, Windows).
2. REMOVAL OPERATION
- 2 -
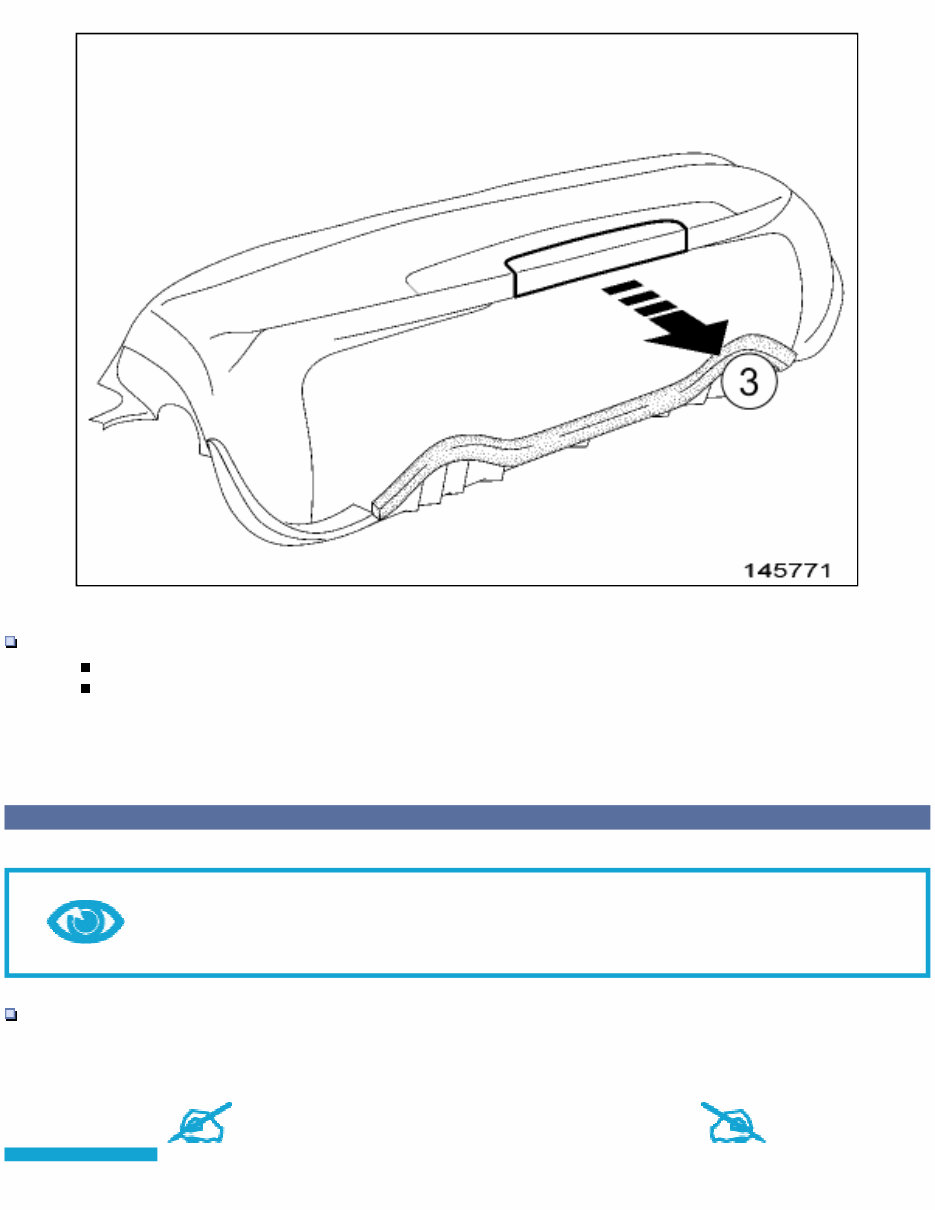
Remove:
the high level brake light screws( 1) ,
the high level brake light at( 3) by pressing on the clips( 2) .
REFITTING
Note:
If the LEDs are faulty, replace the complete high level brake light.
Proceed in the reverse order to removal.
Repair-80x02x06x08-01x37-1-36-1.xml
XSL version : 3.02 du 22/07/11
- 1 -
ABS BODYWORK COMPONENT: PREPARATION AND PAINT RANGE
Note, one or more warnings are present in this procedure
WARNING
Always wear protective gear (gloves, goggles and breathing masks).
Use extra ventilation source.
Note:
Before using the products, consult the manufacturer's technical sheet.
Note:
Never apply pre-treatment primer or primer filler on this type of material.
1. PRE PRIMED PARTS

- 2 -
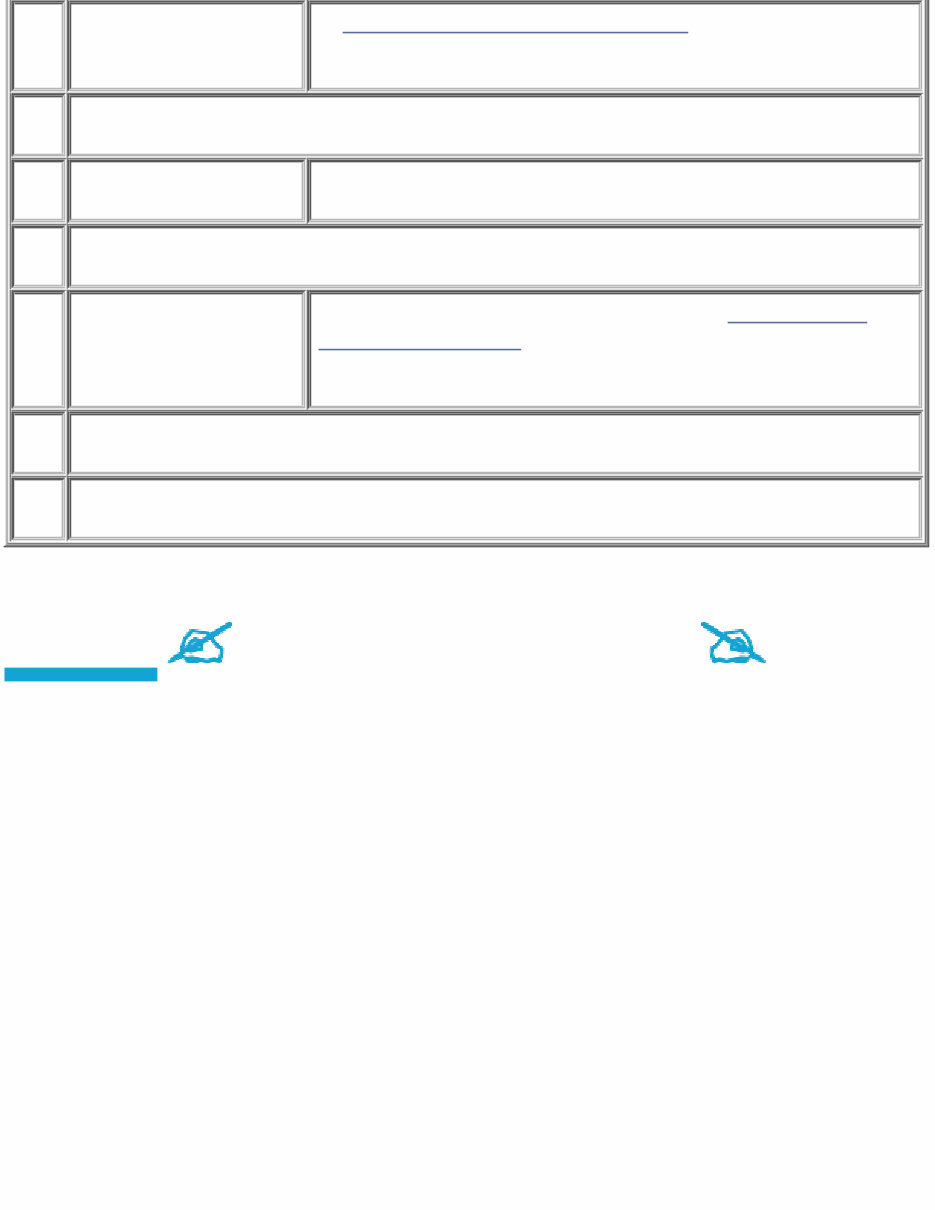
Steps
Description Special notes
1
Wipe / blow
2
Degrease
Lint-free cloth soaked in antistatic thinner Vehicle: Parts and consumables for the repair
(04B, Consumables - Products). Wipe with a dry lint-free cloth
3
Sand P400 - P500 dry / P400 - P800 with water
4
Wipe / blow
5
Degrease
Lint-free cloth soaked in antistatic thinner Vehicle: Parts and consumables for the repair
(04B, Consumables - Products). Wipe with a dry lint-free cloth
6
Blow / rub with the abrasive finishing pad
7
Apply the finishing paint
2. REPAIRED PARTS

- 3 -
Steps
Description Special notes
1
Wipe / blow
2
Degrease
Lint-free cloth soaked in antistatic thinner Vehicle: Parts and
consumables for the repair (04B, Consumables - Products). Wipe with
a dry lint-free cloth
3
Sand the defect P240 dry / orbital sander (mid speed)
4
Wipe / blow
5
Degrease
Lint-free cloth soaked in antistatic thinner Vehicle: Parts and
consumables for the repair (04B, Consumables - Products). Wipe with
a dry lint-free cloth
6
Apply and sand
polyester mastic if
necessary
Plastic material bodywork component: Repair (50A, General information)
7
Wipe / blow
8
Degrease
Lint-free cloth soaked in antistatic thinner Vehicle: Parts and
consumables for the repair (04B, Consumables - Products). Wipe with
a dry lint-free cloth
9
Smooth
Grey adhesive pad soaked in antistatic thinner Vehicle: Parts and
consumables for the repair (04B, Consumables - Products)
10
Wipe / blow
11
Degrease
Lint-free cloth soaked in antistatic thinner Vehicle: Parts and
consumables for the repair (04B, Consumables - Products). Wipe with
a dry lint-free cloth
- 4 -
12
Apply a bi component
primer
Vehicle: Parts and consumables for the repair (04B, Consumables -
Products)
13
Remove solvent / dry
14
Sand P400 - P500 dry / P400 - P800 with water
15
Wipe / blow
16
Degrease
Lint-free cloth soaked in antistatic thinner Vehicle: Parts and
consumables for the repair (04B, Consumables - Products). Wipe with
a dry lint-free cloth
17
Blow / rub with an adhesive pad
18
Apply the finishing paint
Repair-40x01x45x09-02x65-1-1-1.xml
XSL version : 3.02 du 22/07/11

- 1 -
ABS: PRECAUTIONS FOR THE REPAIR
Note, one or more warnings are present in this procedure
Equipment required
Diagnostic tool
pedal press
1. SAFETY
If a lift must be used for an operation, respect the safety instructions Vehicle: Towing and lifting .
Protect any bodywork components which could be damaged by brake fluid with covers.
To ensure there is no risk of sparks, do not place any metallic objects on the battery.
Brake fluid is highly corrosive. Carefully clean any brake fluid spilt on parts of the vehicle.
2. CLEANLINESS
Clean around the braking system with brake cleaner Vehicle: Parts and consumables for the repair .
If a component is being replaced by a new one, do not remove the new component from its packaging
until its is ready to be fitted onto the vehicle.
CAUTION
Prepare for the flow of fluid, and protect the surrounding components.
3. GENERAL RECOMMENDATIONS
During an operation which requires the braking circuit to be opened, position a pedal press on the brake
pedal to limit the outflow of brake fluid.
After any operation on the ABS, it is essential to confirm the repair with a road test and a check using
the Diagnostic tool .
- 2 -
1- YAW SPEED AND LATERAL ACCELERATION SENSOR
The sensor must be fitted facing the vehicle's direction of travel (as shown by the arrow).
Be sure to replace any sensor which has sustained an impact.
2- HYDRAULIC UNIT
CAUTION
Switch off the vehicle ignition so as not to activate the hydraulic unit solenoid valves
when bleeding the brake circuit.
3- WHEEL SPEED SENSOR
CAUTION
To ensure that the wheel speed sensor works properly, do not mark the sensor target
on the bearing.
CAUTION
In order to prevent irreversible damage to the front hub bearing:
Do not loosen or tighten the driveshaft nut when the wheels are on the ground.
Do not place the vehicle with its wheels on the ground when the driveshaft has been
loosened or removed.
4- BRAKE SERVO
WARNING
To avoid breaking the connection between the brake servo pushrod and the brake
pedal, check that the safety clevis pin is locked onto the brake servo pushrod by
tilting it from the top downwards.

- 3 -
Repair-13x03x10-02x60-1-4-1.xml
XSL version : 3.02 du 22/07/11
You're Reading a Preview
What's Included?
Fast Download Speeds
Online & Offline Access
Access PDF Contents & Bookmarks
Full Search Facility
Print one or all pages of your manual
$37.99
Viewed 76 Times Today


Secure transaction
What's Included?
Fast Download Speeds
Online & Offline Access
Access PDF Contents & Bookmarks
Full Search Facility
Print one or all pages of your manual
$37.99
Discover the 2010-2012 Renault Wind Service & Repair Manual – your comprehensive resource for effectively addressing vehicle issues. Designed for both professional mechanics and DIY enthusiasts, this manual provides detailed procedures and instructions for tackling a variety of auto repair tasks.
This manual features:
- Comprehensive repair procedures and technical data
- Detailed diagrams and images
- A complete list of car parts and specifications
- Coverage of maintenance, engine, control systems, mechanical work, fuel services, emission controls, and more
- Available in .PDF format, ensuring compatibility with Windows and Mac operating systems
Upgrade your car repair skills and save valuable time with this essential resource, perfectly suited for both novices and experienced car mechanics. Keep your manual secure on your PC and stay updated with the latest service specifications for the 2010-2012 Renault models.


