

BRAKES
Anti-Lock Brake System (ABS)
45 01 01 PSM/ABS CHECK USING THE PIWIS TESTER - AS OF MY 2005
(ALL MODELS)
TOOLS
TEST OVERVIEW
Test overview
The ABS/PSM test includes:
Reading out fault memory.
Static test.
Swap testing hydraulics in the Checks/Tests menu. The swap test is menu-driven. Once you start the test,
follow the instructions on the PIWIS Tester.
Checking function and correct allocation of speed sensor in the Actual values menu. Turn all four wheels
individually during the test. The speed assigned to the wheel in question must be displayed when you turn
the wheel. The non-tested wheel must be held (by a second person) when the test is performed on the
driven axle.
Fig. 1: Hydraulic unit
Courtesy of PORSCHE OF NORTH AMERICA, INC.
Procedure: If work has been done on the hydraulic unit -D- , the speed sensors and the wire harness or if the
hydraulic unit -D- is replaced, an ABS/PSM test (system check) must be performed using the PIWIS Tester!
This is the case, for example, after accident repairs! This prevents any confusion of electrical or hydraulic lines
and ensures faultless operation of the system! See Fig. 1 .
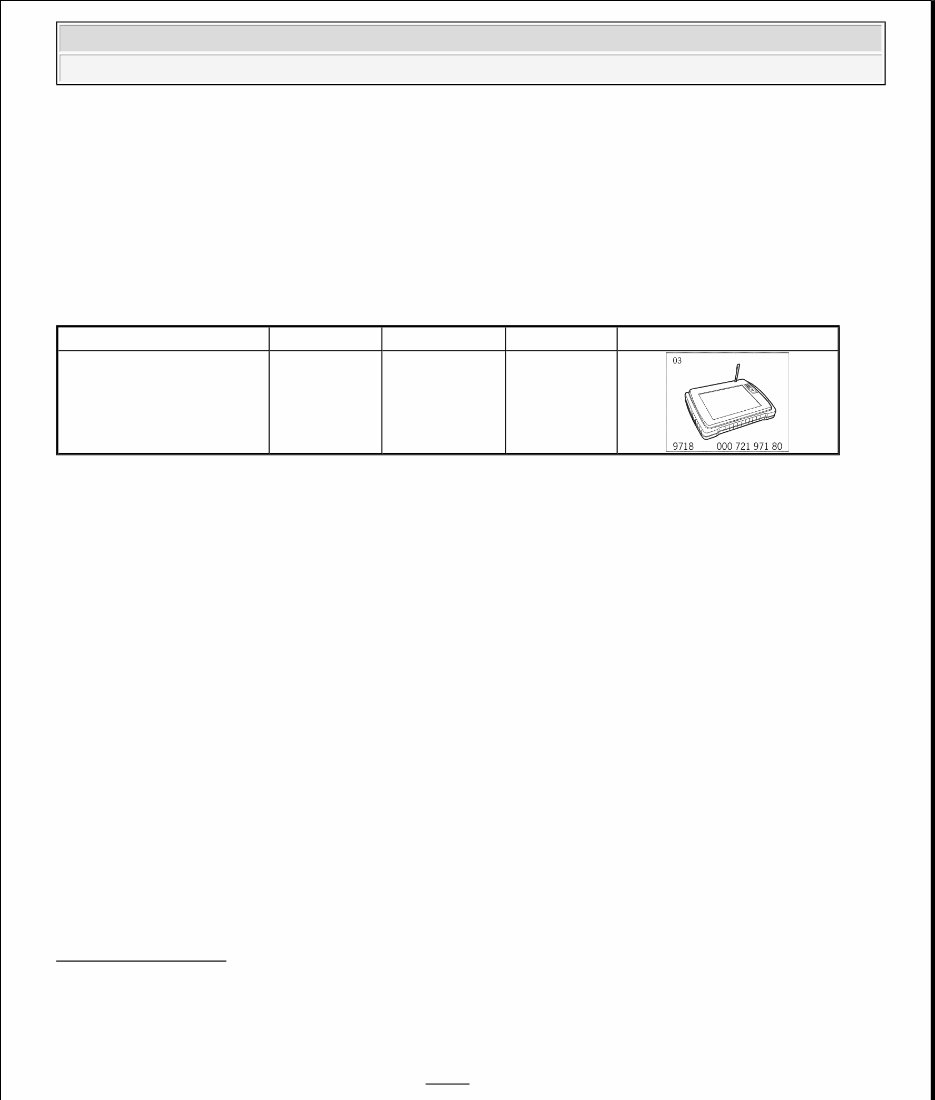
Designation Type Number Explanation
PIWIS Tester special tool P 9718
NOTE:
PSM is installed as standard.
PSM comprises the functions ABS (anti-lock braking system), ABD
(automatic brake differential), ASR (anti-slip regulation), EDTC (engine
drag torque control), EBD (electronic brake-force distribution) and vehicle
dynamic control.
2007 Porsche Cayman S
BRAKES Anti-Lock Brake System (ABS)
2007 Porsche Cayman S
BRAKES Anti-Lock Brake System (ABS)

If certain brake lines are replaced, e. g. at the intermediate piece in the front left wheel housing -E- , a swap test
must also be performed (in the Checks/Tests menu)! Unintentional bending of the brake lines could lead to
incorrect hydraulic allocation despite the markings (FL = front left, FR = front right, RL = rear left, RR = rear
right)! See Fig. 1 .
If a fault is displayed during operation (when no assembly work was carried out beforehand), diagnosis and
fault finding are also carried out using the PIWIS Tester! To do this, select the PSM system and read out the
fault memory there! The fault can then be located using the appropriate menus (Drive links, Actual values,
Checks/Tests)!
PSM check using the PIWIS Tester
1. PIWIS Tester P 9718 must be connected to the vehicle, then start it. Switch on ignition and press >> to
continue.
Fig. 2: Diagnostic socket
Courtesy of PORSCHE OF NORTH AMERICA, INC.
The PIWIS Tester 9718 is connected to the vehicle via a diagnostic socket. The diagnosis socket is located
inside the vehicle in the vicinity of the driver's A-pillar below the instrument panel.
2. Select the vehicle type and call up the PSM system.
3. Carry out ABS/PSM test (see Test overview).
45 30 19 REMOVING AND INSTALLING HYDRAULIC UNIT - AS OF MY 2005
(ALL MODELS)
INFORMATION
Information
Fig. 3: Luggage compartment cover
Courtesy of PORSCHE OF NORTH AMERICA, INC.
The brake components (brake booster, brake master cylinder, hydraulic unit) are installed under the luggage
compartment cover -2- . See Fig. 3 .
Fig. 4: Brake components
Courtesy of PORSCHE OF NORTH AMERICA, INC.
Remove hydraulic unit -D- together with the support and the four brake lines, which are fitted on the
intermediate piece -E- . See Fig. 4 .
A - Brake fluid reservoir
B - Brake master cylinder
2007 Porsche Cayman S
BRAKES Anti-Lock Brake System (ABS)

C - Brake booster
D - Hydraulic unit
E - Intermediate piece
PRELIMINARY WORK
Preliminary work
1. Remove cover over hydraulic unit (front luggage compartment cover) Refer to 70 30 19 Removing and
installing front luggage compartment cover - as of MY 2005 (All Models) . Refer to 70 30 19 Removing
and installing rear luggage compartment cover - as of MY 2006 (Cayman S, Cayman S RHD) .
Fig. 5: Removing luggage compartment cover
Courtesy of PORSCHE OF NORTH AMERICA, INC.
There are two types of luggage compartment covers -1- (drawings below). See Fig. 5 .
Fig. 6: Removing luggage compartment cover
Courtesy of PORSCHE OF NORTH AMERICA, INC.
REMOVING HYDRAULIC UNIT
Removing hydraulic unit
Fig. 7: Hydraulic unit
Courtesy of PORSCHE OF NORTH AMERICA, INC.
1. Remove hydraulic unit -D- . See Fig. 7 .
1.1. Hold down brake pedal with pedal holder so that the brake fluid (in the reservoir) does not drain
completely.
1.2. Loosen the brake lines -1- on the brake master cylinder. See Fig. 7 .
1.3. Loosen the brake lines -2- from the hydraulic unit -D- on the intermediate piece -E- . See Fig. 7 .
1.4. Close the brake lines and connections with suitable plugs.
1.5. Release control unit connector on the hydraulic unit and pull it off. Cover the plug connection and
connector (to shield them from brake fluid or water).
1.6. Loosen support on hydraulic unit -Arrows- (3-point mount). See Fig. 7 .
1.7. Remove support/hydraulic unit assembly.
2007 Porsche Cayman S
BRAKES Anti-Lock Brake System (ABS)

INSTALLING HYDRAULIC UNIT
Installing hydraulic unit
Fig. 8: Hydraulic unit
Courtesy of PORSCHE OF NORTH AMERICA, INC.
1. Install hydraulic unit -D- . Observe tightening torques Refer to 47 Tightening torques for brake hydraulics
- as of MY 2005 (All Models) . See Fig. 8 .
1.1. Insert hydraulic unit with support and tighten fastening nuts -Arrows- (3-point mount). See Fig. 8 .
1.2. Connect control unit connector to hydraulic unit and lock it.
1.3. Fit the brake lines -1- in the correct position on the brake master cylinder. HZ 1 = Brake master cylinder
push-rod circuit (close to fastening flange). HZ 2 = Intermediate piston circuit. See Fig. 8 .
1.4. Fit brake lines -2- in correct position. Observe marking on the hydraulic unit -D- and intermediate piece -E-
. RL = rear left/RR = rear right/FR = front right/FL = front left. See Fig. 8 .
2. Bleed the brake system and adjust the brake-fluid level. Refer to 47 01 07 Bleeding the brake system - as of
MY 2005 (All Models) .
NOTE: First connect the electric plug connections on the hydraulic unit. This will
protect the plug connections from brake fluid or water.
After bleeding, check the assignment of the brake lines to the correct brake
callipers. Carry out a swap test using the PIWIS Tester.
NOTE: First bleed the brake system in the normal way - with the bleeding device at the
reservoir and approx. 2.0 bar pressure (primary circuit).
Then, use the PIWIS Tester to bleed the brakes as well (secondary circuit). Only
necessary if the hydraulic unit was replaced and if brake pedal travel is
excessive after bleeding in the normal way (primary circuit). The process is
menu-driven. Always observe the specified sequence rear left, front left, front
right, rear right.
To bleed the secondary circuit, the bleeding device remains connected to the
brake fluid reservoir. Bleeding pressure is approx. 2.0 bar.
Throughout the entire bleeding process, the brake pedal must be operated
cyclically (keep depressed for 2 to 3 seconds, then release slowly). After
operating the pedal for the last time, hold the brake pedal down and close the
bleeder valve.
2007 Porsche Cayman S
BRAKES Anti-Lock Brake System (ABS)

3. When replacing the hydraulic unit, code the control unit (manual transmission/Tiptronic).
4. Carry out the following tests:
Check the system for leaks.
Read out and erase the fault memory of the ABS/PSM control unit using the PIWIS Tester. Carry out a
static test as well.
Check electric and hydraulic lines for incorrect assignment using the PIWIS Tester. This test checks that
the brake lines/solenoid valves are assigned to the corresponding brake callipers.
Then start the engine. The ABS/PSM-related lights in the instrument cluster must go out when the engine
is running.
Carry out a function check on the brakes. Then take a short test drive and perform at least one ABS
control operation, taking the road conditions into consideration. Read out the ABS/PSM fault memory
again. There must not be any stored faults.
SUBSEQUENT WORK
Subsequent work
Fig. 9: Installing luggage compartment cover
Courtesy of PORSCHE OF NORTH AMERICA, INC.
Install cover over hydraulic unit (luggage compartment cover) -1- , Refer to 70 30 19 Removing and installing
front luggage compartment cover - as of MY 2005 (All Models) . Refer to 70 30 19 Removing and
installing rear luggage compartment cover - as of MY 2006 (Cayman S, Cayman S RHD) . See Fig. 9 .
Fig. 10: Installing luggage compartment cover
Courtesy of PORSCHE OF NORTH AMERICA, INC.
45 59 19 REMOVING AND INSTALLING ROTATION-RATE SENSOR FOR
PSM - AS OF MY 2005 (ALL MODELS)
INFORMATION
Information
The lateral-acceleration sensor is integrated in the rotation-rate sensor.
Fig. 11: Rotation - rate sensor
Courtesy of PORSCHE OF NORTH AMERICA, INC.
REMOVING ROTATION-RATE SENSOR
Removing
1. Move the left seat back and adjust the steering wheel upwards.
2007 Porsche Cayman S
BRAKES Anti-Lock Brake System (ABS)
You're Reading a Preview
What's Included?
 Lifetime Access
Fast Download Speeds
Offline Viewing
Access Contents & Bookmarks
Full Search Facility
Print one or all pages of your manual
$46.99
2006-2011 Porsche Cayman S Service & Repair Manual
Viewed 11 Times Today

What's Included?
Lifetime Access
Fast Download Speeds
Offline Viewing
Access Contents & Bookmarks
Full Search Facility
Print one or all pages of your manual
$46.99

Secure transaction
What's Included?
Lifetime Access
Fast Download Speeds
Offline Viewing
Access Contents & Bookmarks
Full Search Facility
Print one or all pages of your manual
Description
Get your hands on the comprehensive service and repair manual for the 2006-2011 Porsche Cayman S. This manual provides detailed, high-definition instructions for servicing, maintaining, and repairing the Cayman S Model. It is an invaluable resource for both professional mechanics and DIY enthusiasts. The manual is fully indexed with bookmarks and keywords for easy navigation and includes helpful diagrams and photographs to assist you at every stage of the repair process. Additionally, it features diagnostic trouble codes along with their respective procedures.


