Precautions for Work GUID-3AE11A4B-E007-4C10-B790-51B31493F824 When removing or disassembling each component, be careful not to damage or deform it. If a component may be subject to interference, be sure to protect it with a shop cloth. When removing (disengaging) components with a screwdriver or similar tool, be sure to wrap the component with a shop cloth or vinyl tape to protect it. Protect the removed parts with a shop cloth and prevent them from being dropped. Replace a deformed or damaged clip. If a part is specified as a non-reusable part, always replace it with a new one. Be sure to tighten bolts and nuts securely to the specified torque. After installation is complete, be sure to check that each part works properly. Follow the steps below to clean components: Water soluble dirt: 1. Dip a soft cloth into lukewarm water, wring the water out of the cloth and wipe the dirty area. 2. Then rub with a soft, dry cloth. Oily dirt: 1. Dip a soft cloth into lukewarm water with mild detergent (concentration: within 2 to 3%) and wipe the dirty area. 2. Then dip a cloth into fresh water, wring the water out of the cloth and wipe the detergent off. 3. Then rub with a soft, dry cloth. Do not use organic solvent such as thinner, benzene, alcohol or gasoline. For genuine leather seats, use a genuine leather seat cleaner.
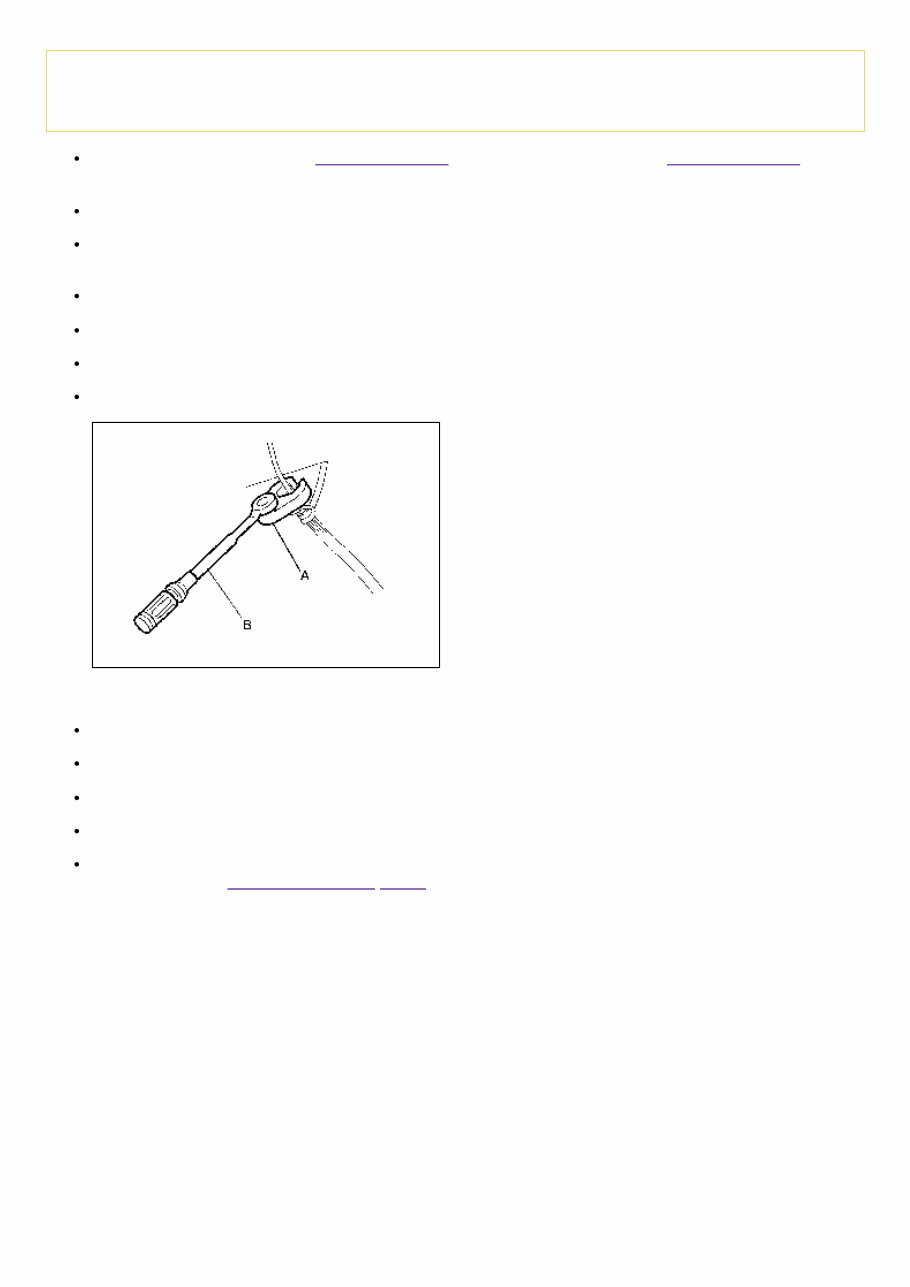
Precaution for Brake System GUID-0D7D0261-CC81-48C8-AD40-8B75D5C716F7 Warning: Clean any dust from the front brake and the rear brake using a vacuum dust collector. Do not blow by compressed air. Use the correct brake fluid. Refer to Fluids and Lubricants (FOR USA AND CANADA) or to Fluids and Lubricants (FOR MEXICO). Do not reuse drained brake fluid. Do not spill or splash brake fluid on painted surfaces. Brake fluid may seriously damage paint. Wipe it off immediately and wash with water if it gets on a painted surface. Always clean with new brake fluid when cleaning the master cylinder, brake caliper, and other components. Do not use mineral oils such as gasoline or light oil to clean. They may damage rubber parts and cause improper operation. Always loosen the brake tube flare nut using a flare nut wrench. Tighten the brake tube flare nut to the specified torque using a flare nut crowfoot (A) and torque wrench (B). GUID-NISJPFIA0001ZZ Always confirm the specified tightening torque when installing the brake pipes. Always connect the battery terminal when moving the vehicle. Check that no brake fluid leakage is present after replacing the parts. Check for bends, cracks, and damage to the brake pedal. Adjust the brake pedal if it is outside the standard value. Burnish the brake contact surfaces after refinishing or replacing rotors, after replacing pads, or if a soft pedal occurs at very low mileage. Refer to Periodic Maintenance Operation.
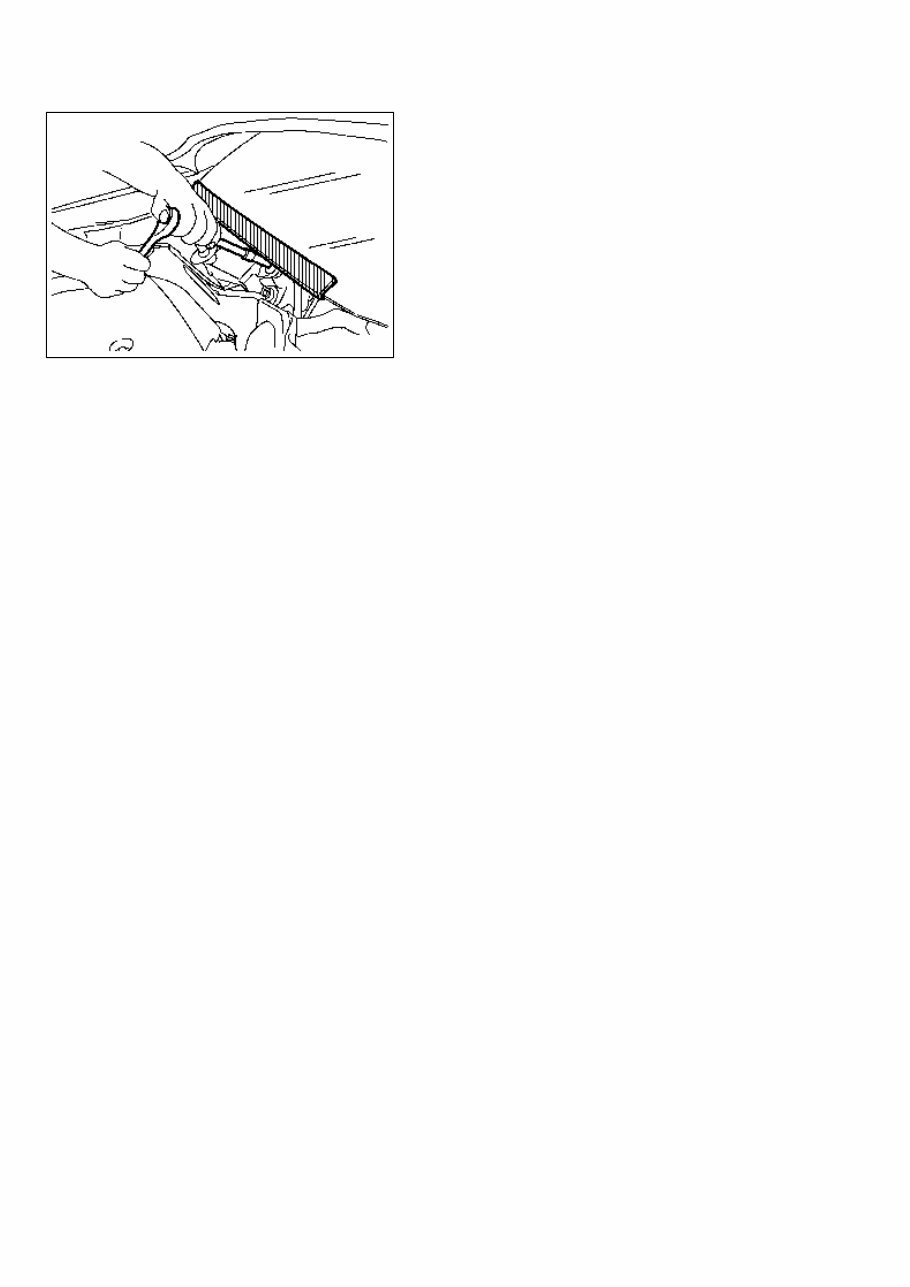
Precaution for Procedure without Cowl Top Cover GUID-3484387C-D23F-471A-83B4-24D9C1477DBA When performing the procedure after removing cowl top cover, cover the lower end of windshield with urethane, etc. to prevent damage to windshield. GUID-NISPIIB3706J
Precaution for Supplemental Restraint System (SRS) "AIR BAG" and "SEAT BELT PRE-TENSIONER" GUID-B0E04ADC-DE7E-42E1-84DD-7F79A84B122F The Supplemental Restraint System such as “AIR BAG” and “SEAT BELT PRE-TENSIONER”, used along with a front seat belt, helps to reduce the risk or severity of injury to the driver and front passenger for certain types of collisions. Information necessary to service the system safely is included in the “SRS AIR BAG” and “SEAT BELT” sections of this Service Manual. Warning: Always observe the following items for preventing accidental activation: To avoid rendering the SRS inoperative, which could increase the risk of personal injury or death in the event of a collision that would result in air bag inflation, it is recommended that all maintenance and repair be performed by an authorized NISSAN/INFINITI dealer. Improper repair, including incorrect removal and installation of the SRS, can lead to personal injury caused by unintentional activation of the system. For removal of Spiral Cable and Air Bag Module, see “SRS AIR BAG”. Never use electrical test equipment on any circuit related to the SRS unless instructed to in this Service Manual. SRS wiring harnesses can be identified by yellow and/or orange harnesses or harness connectors. PRECAUTIONS WHEN USING POWER TOOLS (AIR OR ELECTRIC) AND HAMMERS Warning: Always observe the following items for preventing accidental activation: When working near the Air Bag Diagnosis Sensor Unit or other Air Bag System sensors with the ignition/power switch ON or engine running, never use air or electric power tools or strike near the sensor(s) with a hammer. Heavy vibration could activate the sensor(s) and deploy the air bag(s), possibly causing serious injury. When using air or electric power tools or hammers, always switch the ignition/power switch OFF, disconnect the 12V battery or batteries, and wait at least 3 minutes before performing any service.
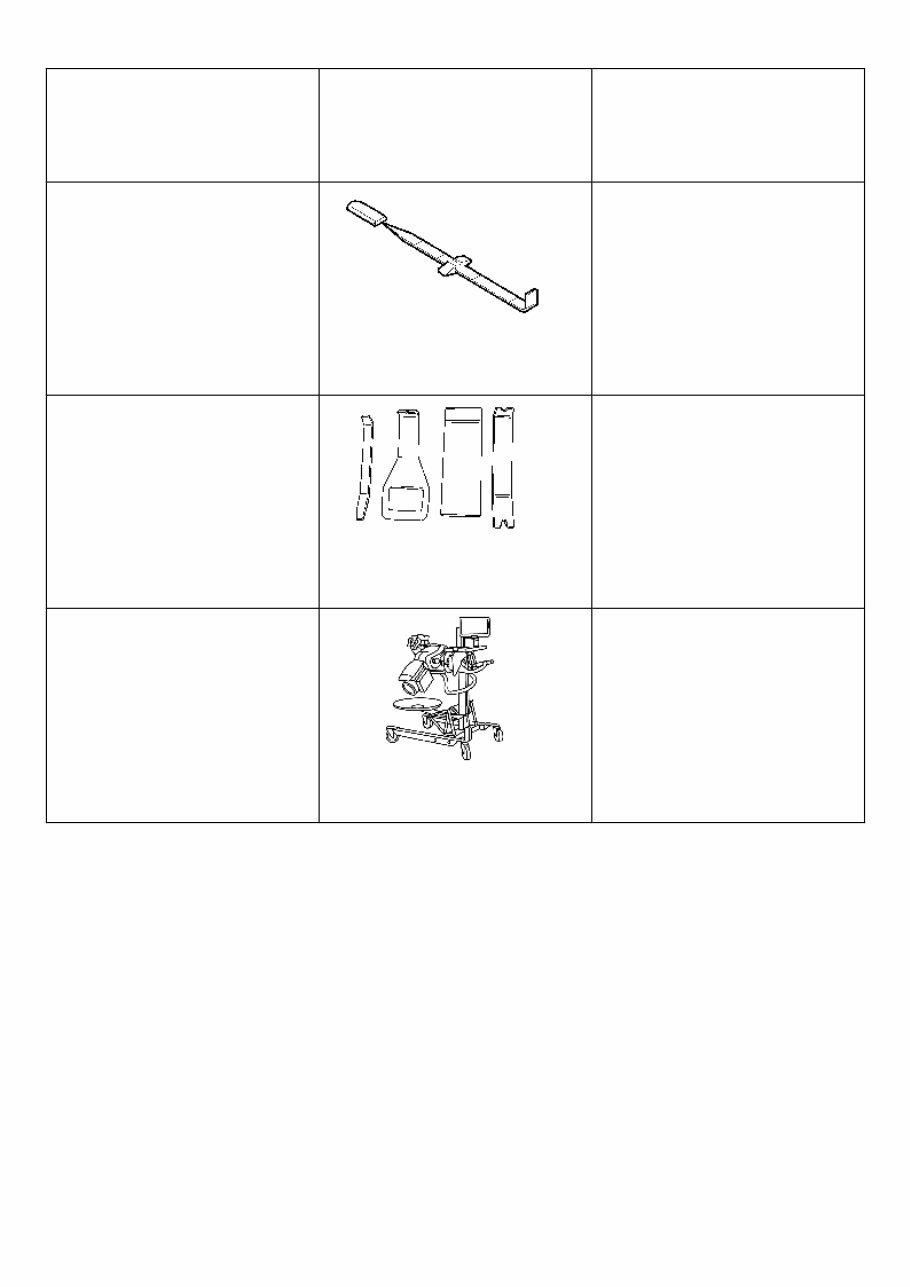
Special Service Tool GUID-8A06F35D-7215-4F99-967B-F7F501B0948E The actual shape of the tools may differ from those illustrated here. Tool number (TechMate No.) Tool name Description — (J-46532) Brake height tool GUID-NISLFIA0227E Measuring brake pedal height — (J-46534) Trim Tool Set GUID-NISAWJIA0483ZZ Removing trim components 38-PFM92 ( — ) ProCut™ PFM Series Lathe GUID-NISALFIA0219ZZ Refinishing rotors
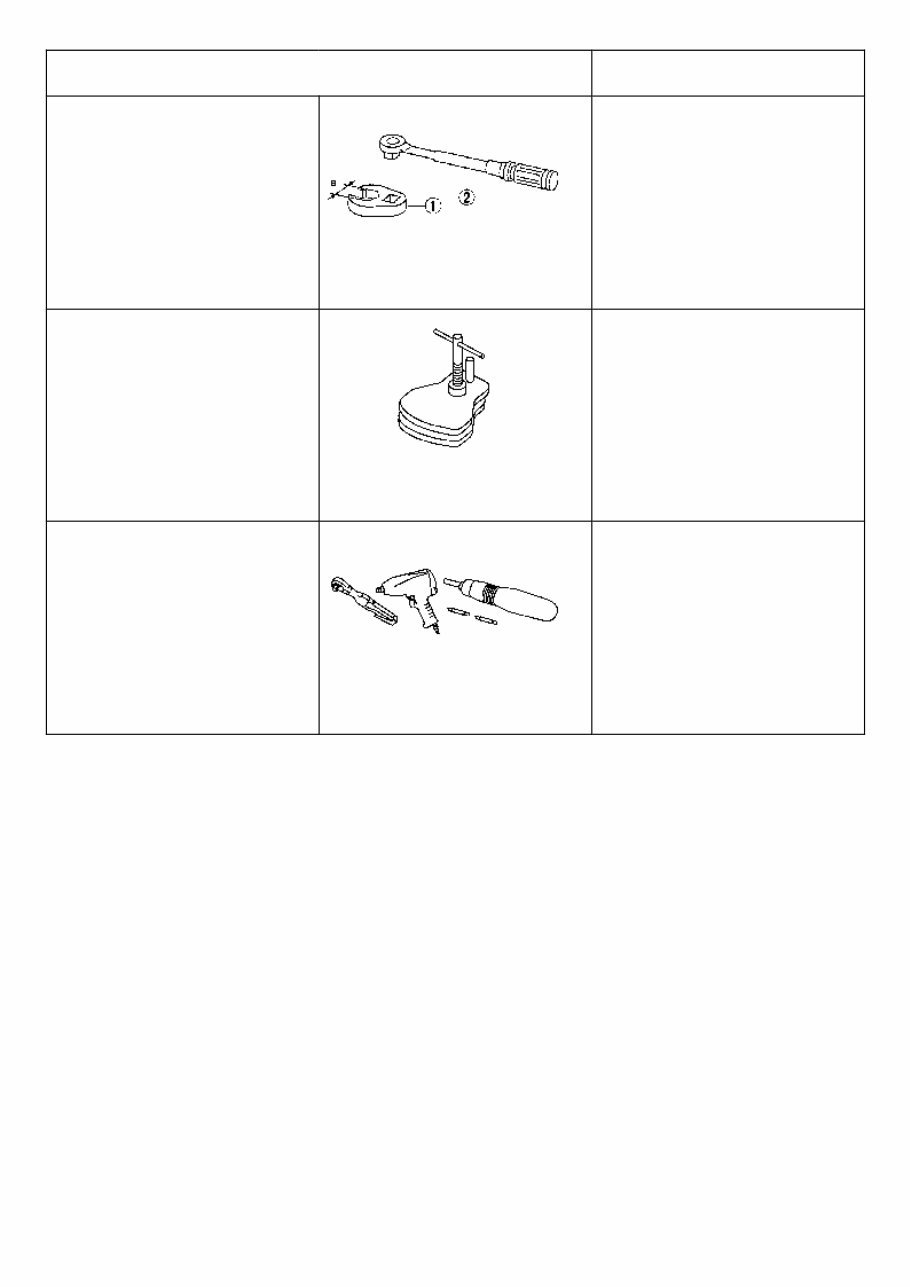
Commercial Service Tool GUID-D2ED422C-B0D4-4A8E-A056-ACE9E9C32576 Tool name Description 1. Flare nut crowfoot 2. Torque wrench GUID-NISNT360 Tightening brake tube flare nuts a: 10 mm (0.39 in)/ 12 mm (0.47 in) Brake caliper wrench (front) GUID-NISNNFIA0040ZZ Return the piston Power tool GUID-NISPIIB1407E Loosening nuts, screws and bolts
Always Replace with New Parts GUID-233BE34D-12FB-4B71-83A3-35C6152AA4B8 Never Reuse These Parts Part Code For additional information: Clevis pin 46520A BRAKE PEDAL EXPLODED VIEW Copper sealing washer 46201D FRONT BRAKE PIPING EXPLODED VIEW Copper sealing washer 46211D REAR BRAKE PIPING EXPLODED VIEW Grommet 46045 BRAKE MASTER CYLINDER EXPLODED VIEW O-ring 46015K BRAKE MASTER CYLINDER EXPLODED VIEW Nut 46015A BRAKE MASTER CYLINDER EXPLODED VIEW Piston seal 41000L FRONT BRAKE CALIPER ASSEMBLY EXPLODED VIEW Piston boot 41000L FRONT BRAKE CALIPER ASSEMBLY EXPLODED VIEW
Inspection GUID-00FA1B8C-3439-4517-A38A-DB38982F1FF0 Check for uneven wear of the disc brake rotor using a micrometer. Replace the disc brake rotor if the thickness is below the wear limit. Refer to Removal and Installation. GUID-NISSBR020B Thickness variation (Measured at 8 positions) : Refer to Rear Disc Brake.
Inspection GUID-F9EE9545-50E8-43F8-9FDF-AC645DFFBBB8 Check for uneven wear of the disc brake rotor using a micrometer. Replace the disc brake rotor if the thickness is below the wear limit. Refer to Removal and Installation. GUID-NISSBR020B Thickness variation (Measured at 8 positions) : Refer to Front Disc Brake.
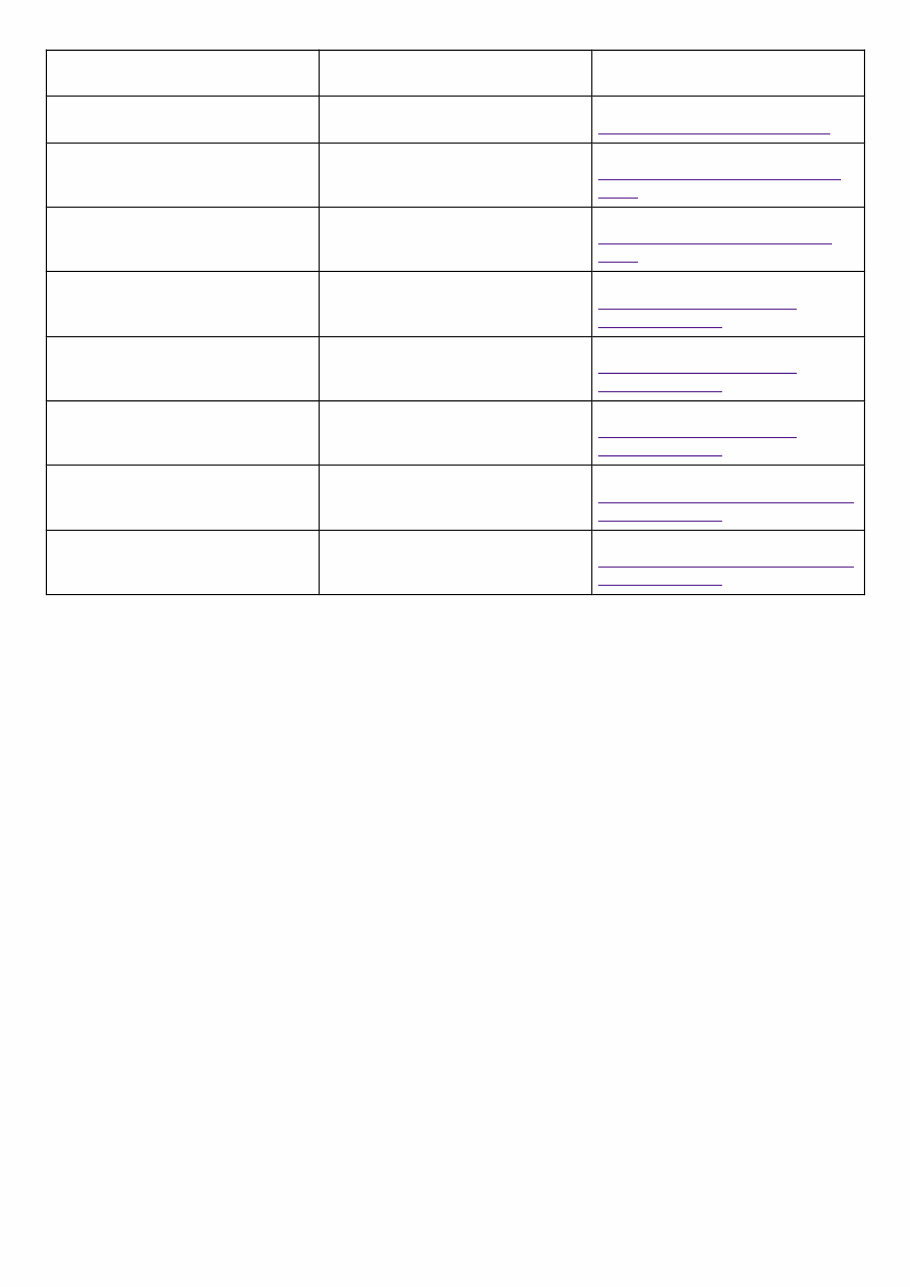
NVH Troubleshooting Chart GUID-20835F3E-53CC-4D95-AA12-1A7687F6ADE9 Use the chart below to find the cause of the symptom. If necessary, repair or replace these parts. Possible cause and SUSPECTED PARTS Symptom Reference BRAKE Noise Shake Shimmy, Judder Pads damaged × — — Refer to Inspection Refer to Inspection Pads uneven wear × — — Refer to Inspection Refer to Inspection Shims damaged × — — Refer to Inspection Refer to Inspection Rotor imbalance — × × Refer to Inspection Refer to Inspection Refer to Inspection Refer to Inspection Rotor damage — — × Refer to Inspection Refer to Inspection Refer to Inspection Refer to Inspection Rotor runout — — × Refer to Inspection Refer to Inspection Refer to Inspection Refer to Inspection Rotor deformation — — × Refer to Inspection Refer to Inspection Refer to Inspection Refer to Inspection Rotor deflection — — × Refer to Inspection Refer to Inspection Refer to Inspection Refer to Inspection Rotor rust × — × Refer to Inspection Refer to Inspection
The 2022 Nissan Pathfinder Service & Repair Manual is a comprehensive guide for those who prefer a Do-It-Yourself approach when it comes to fixing their vehicle. It contains all the troubleshooting and replacement procedures recommended by the manufacturer, complete with step-by-step instructions, clear images, and exploded-view illustrations.
While the durability of your vehicle is unquestionable, regular maintenance is still necessary to keep it in top condition. And when the time comes for certain parts to be replaced, this manual will be your go-to source for the manufacturer's recommended procedures. By following these instructions, you can save on repair costs, increase your vehicle's reliability, and keep the repair shop at bay — now that's a win-win situation!
One of the best features of this manual is its easy accessibility. No need to flip through hundreds of pages to find the information you need. You can carry it around, search it, screenshot it, or bookmark it for quick reference. And for those who prefer a physical copy, you can easily print it out as well.
The 2022 Nissan Pathfinder Service & Repair Manual is compatible with any electronic device, including PC and Mac computers, as well as Android and Apple smartphones and tablets. All you need is Adobe Reader (which is free) to access the manual.







 Lifetime Access




