

LandROVER Land Rover DEFENDER 2.4 TDCI Electrical Wiring Manual
What's Included?
Fast Download Speeds
Offline Viewing
Access Contents & Bookmarks
Full Search Facility
Print one or all pages of your manual
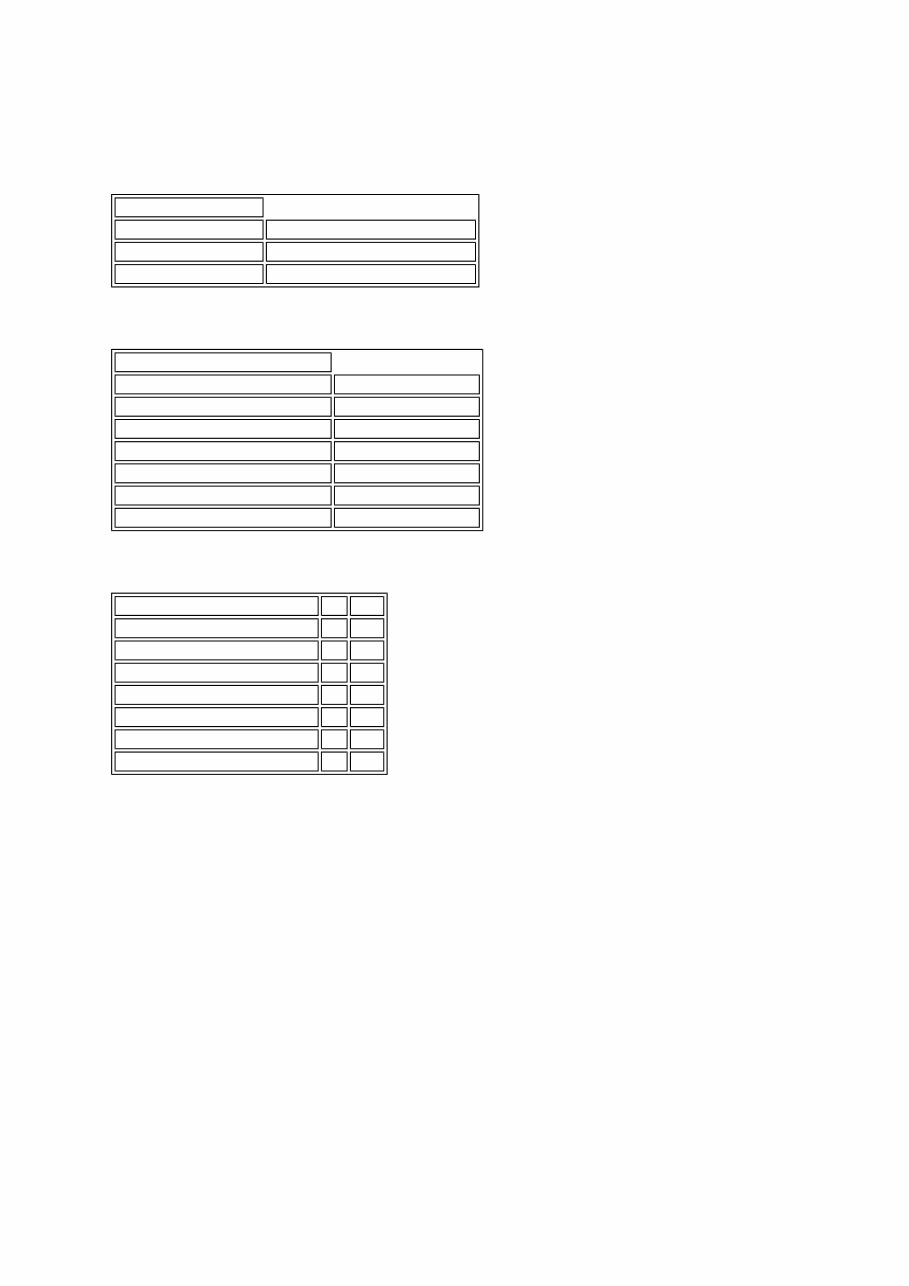
Specifications
General data
Fluids and lubricants
Torque wrench settings
Published: Apr 7, 2006
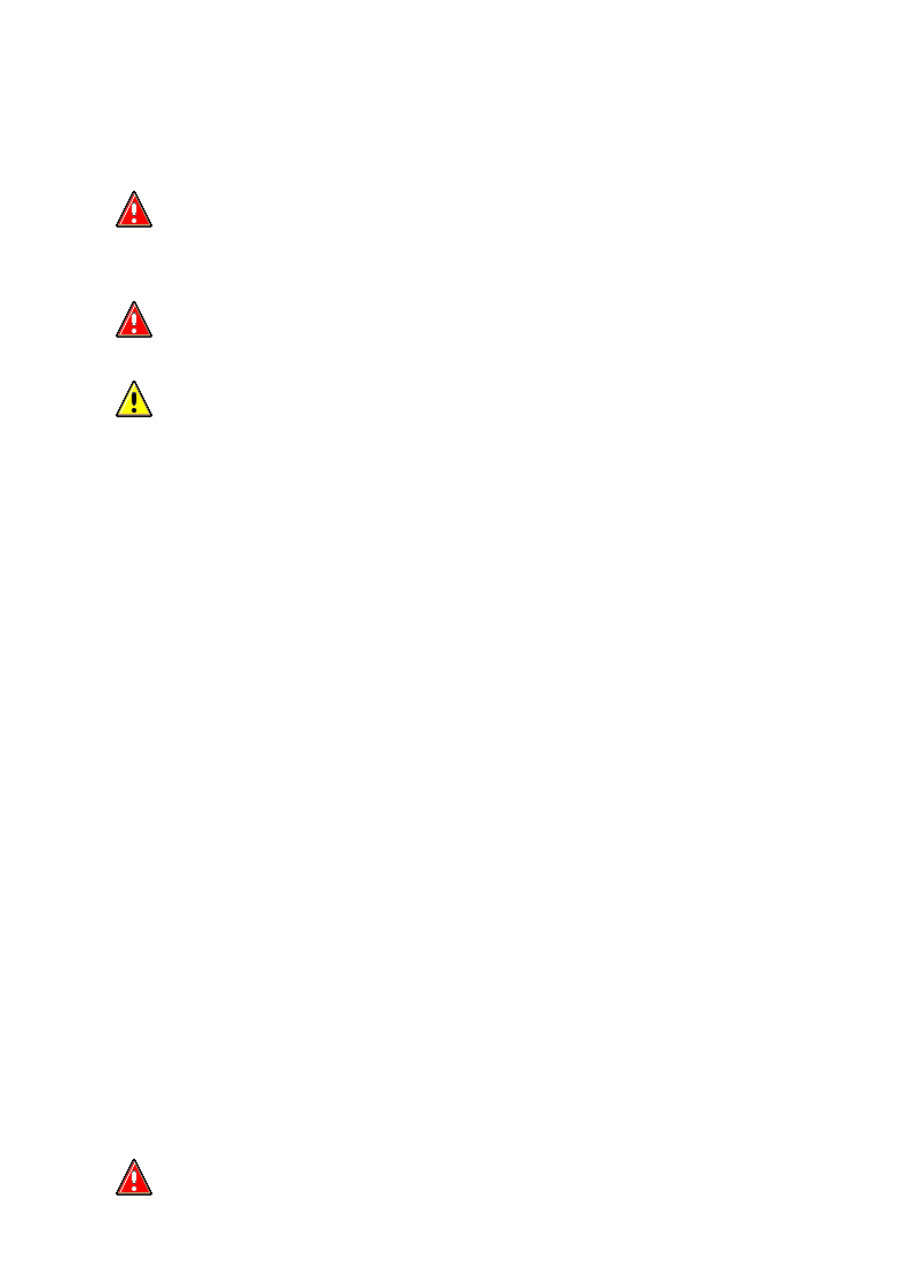
Air conditioning
System type CFC free expansion valve system
Compressor - V8 & Td5 NipponDenso 10PA17
Compressor - 300TDi Sanden TRS105N
Item
Air conditioning refrigerant type R134A
Air conditioning refrigerant quantity
V8 900 g ± 30 g
300 TDi 1100 g ± 50 g
Td5 750 g ± 50 g
Refrigerant oil type NipponDenso ND-OIL8
Refrigerant oil quantity 180 ml (6.3 fl oz)
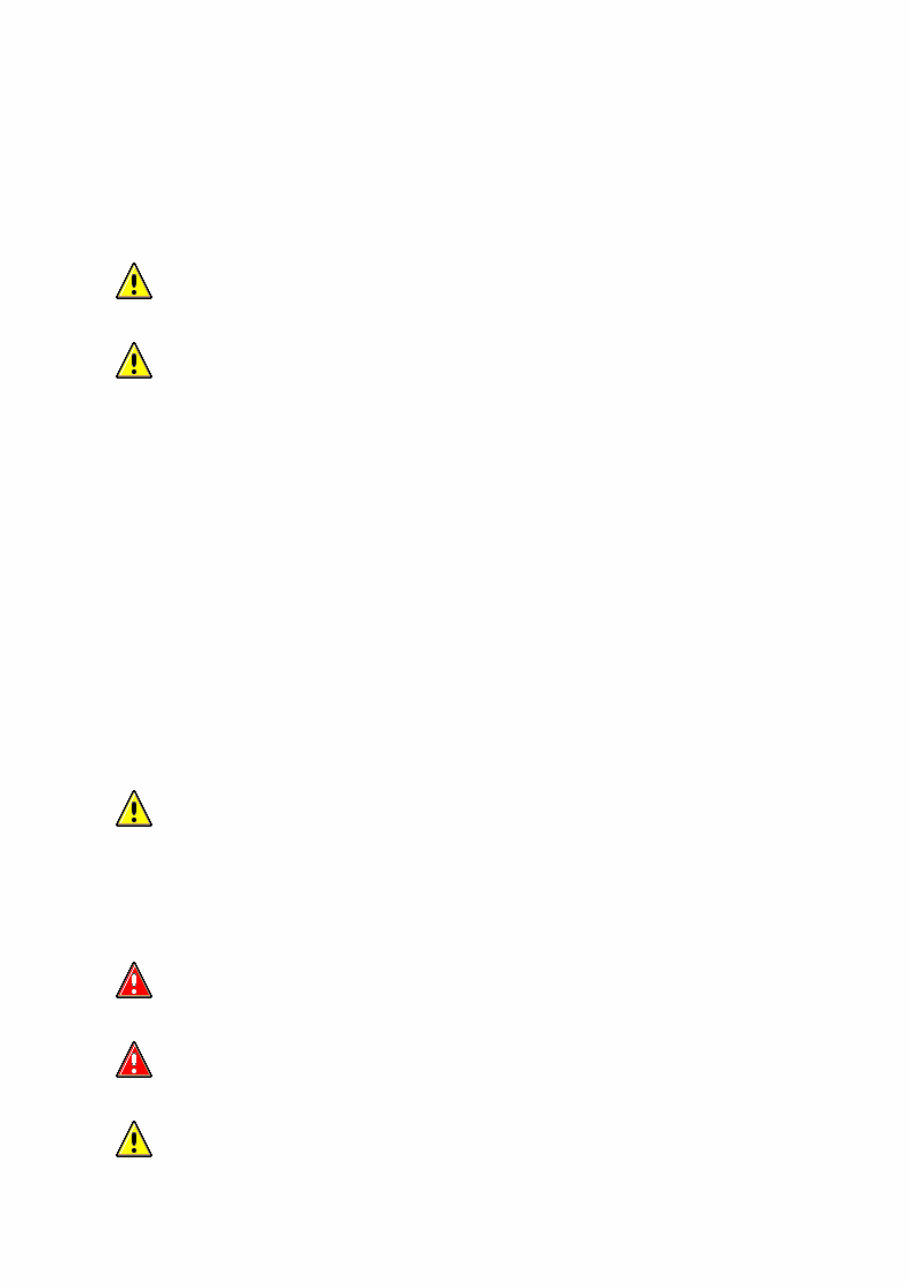
Item Nm lbf.ft
Compressor to mounting bracket 25 18
Compressor pipe flange bolts 10 7
Receiver drier union bolts 6 4.5
Pressure cut-off switch 11 8
Pressure pipe union nuts - M16 14 10
Discharge pipe union nuts - M22 22 16
Suction pipe union nuts - M24 33 24
Air Conditioning (A/C) System Recovery, Evacuation and Charging
(82.30.02)
1. Remove dust caps from high and low pressure connectors.
2. Connect high and low pressure hoses to appropriate connections.
3. Open valves on connectors.
4. Turn valves on refrigerant station to correct positions.
5. Turn Process switch to correct position.
6. Turn Main switch to 'ON'.
7. Allow refrigerant station to recover refrigerant from system.
8. Close valves on refrigerant station.
9. Turn Main switch to 'OFF'.
10. Close valves on connectors.
11. Disconnect high and low pressure hoses from connectors.
12. Fit dust caps to connectors.
13. Open tap at rear of station to drain refrigerant oil recovered from system.
14. Measure and record quantity of refrigerant oil recovered from system.
15. Close tap at rear of station.
16.
Published: Apr 13, 2006
WARNING: The air conditioning system is charged with a high pressure, potentially toxic refrigerant.
Repairs or servicing must only be carried out by an operator familiar with both the vehicle system and the
charging and testing equipment. All operations must be carried out in a well-ventilated area away from open
flame and heat sources. Always wear safety goggles and gloves when opening refrigerant connections.
WARNING: Wear eye and hand safety protection. Open connections slowly in case liquid or
pressure is present. Allow to bleed off slowly.
CAUTION: Overcharging air conditioning system will cause excessive head pressure.
WARNING: Refrigerant must always be recycled before reuse, to ensure that the purity of the
Measure the quantity of oil discharged from the system. Add an equal amount of new refrigerant oil to compressor
before evacuation sequence.
17.
Renew the receiver/drier.
18. Remove dust caps from high and low pressure connectors.
19. Connect high and low pressure hoses to appropriate connections.
20. Open valves on connectors.
21. Turn valves on refrigerant station to correct positions.
22. Turn Process switch to correct position.
23. Turn Main switch to 'ON'.
24. Allow refrigerant station to evacuate system.
25. If the vacuum reading is below 700 mm Hg, 28 in Hg after 15 minutes, suspect a leak in the system. Partially
recharge the system and check for leaks using an electronic leak tester. Check suction lines first, then run the
compressor for 5 minutes and then check the high pressure lines.
26.
refrigerant is high enough for safe use in the air conditioning system. Recycling should always be carried
out with equipment which is design certified by Underwriter Laboratory Inc. for compliance with SAE-J1991.
Other equipment may not recycle refrigerant to the required level of purity. A R134a Refrigerant Recovery
Recycling Recharging Station must not be used with any other type of refrigerant. Refrigerant R134a from
domestic and commercial sources must not be used in motor vehicle air conditioning systems.
CAUTION: When a major repair has been carried out, a leak test should be carried out using inert
gas.
CAUTION: Whenever the refrigerant system is opened, the receiver/drier must be renewed
immediately before evacuating and recharging the system.
CAUTION: The system must be Evacuated immediately before recharging commences. Delay
between Evacuation and Recharging is not permitted.
WARNING: A R134a Refrigerant Recovery Recycling Recharging station must not be used with any
other type of refrigerant.
WARNING: R134a refrigerant from domestic and commercial sources must not be used in motor
vehicle air conditioning systems.
CAUTION: When a major repair has been carried out, a leak test should be carried out using inert
gas.

Close valves on refrigerant station.
27. Close valve on oil charger.
28. Disconnect yellow hose from refrigerant station.
29. Remove lid from oil charger.
30. Pour correct quantity of refrigerant oil into oil charger.
31. Fit lid to oil charger.
32. Connect yellow hose to refrigerant station.
33. Open valve on oil charger.
34. Move pointer on refrigerant gauge to mark position of refrigerant drop.
35. Slowly open correct valve on refrigerant station and allow vacuum to pull refrigerant into system.
36. Close valve on refrigerant station when correct amount of refrigerant has been drawn into air conditioning
system.
37. If the full charge is not accepted by the system, start the engine and run it at 1,500 rev/min for a minimum of 2
minutes. Switch on the air conditioning system, open the vehicle windows, set the temperature control to cold and the
blower switch to maximum.
38. Consult Refrigerant station instruction manual for correct procedure to complete the charge.
39. Turn Main switch to 'OFF'.
40. Close valves on connectors.
41. Disconnect high and low pressure hoses from connectors.
42. Fit dust caps to connectors.
43. Carry out performance test on air conditioning system.

Refrigerant System Tests
1. Place the vehicle in a ventilated, shaded area free from excessive draught, with the doors and windows open.
2. Check that the surface of the condenser is not restricted with dirt, leaves, flies, etc. Do not neglect to check the
surface between the condenser and the radiator. Clean as necessary.
3. Switch on the ignition and the air conditioner air flow control. Check that the blower is operating efficiently at low,
medium and high speeds. Switch off the blower and the ignition.
4. Check that the evaporator drain tube is open and clear.
5. Check the tension of the compressor driving belt, and adjust if necessary.
6. Inspect all connections for the presence of refrigerant oil. If oil is evident, check for leaks, and repair as necessary.
NOTE:
7. Start the engine.
8. Set the temperature controls to cold and switch the air conditioner blower control on and off several times,
checking that the magnetic clutch on the compressor engages and releases each time.
9. With the temperature control at maximum cooling and the blower control at high speed, warm up the engine and
fast idle at 1000 rev/min.
10. Repeat at 1800 rev/min.
11. Gradually increase the engine speed to the high range and check the sight glass at intervals.
12. Check for frosting on the service valves.
13. Check the high pressure hoses and connections by hand for varying temperature. Low temperature indicates a
restriction or blockage at that point.
14. Switch off the air conditioning blower and stop the engine.
15. If the air conditioning equipment is still not satisfactory, carry out a pressure test as previously described in this
section.
Published: Apr 7, 2006
The compressor oil is soluble in Refrigerant R134a and is deposited when the refrigerant evaporates from a
leak.
You're Reading a Preview
What's Included?
Fast Download Speeds
Offline Viewing
Access Contents & Bookmarks
Full Search Facility
Print one or all pages of your manual
$46.99
$61.99
Viewed 69 Times Today


Secure transaction
What's Included?
Fast Download Speeds
Offline Viewing
Access Contents & Bookmarks
Full Search Facility
Print one or all pages of your manual
$46.99
$61.99
The Land Rover Defender 2.4 TDCI Electrical Electric Wiring System Manual is a comprehensive resource for both professional mechanics and DIY enthusiasts. It covers a range of sections including climate control, entertainment system, instrumentation, battery, lighting, and connectors. This manual is applicable to the following vehicle VIN ranges: Defender RHD VIN 732615 to 751062, Defender VIN 751063 to 760594, and SVX (60th Anniversary) model. Whether you are working on routine maintenance or complex electrical repairs, this manual provides the detailed wiring diagrams and electrical system information needed to effectively troubleshoot and repair the electrical components of the Land Rover Defender 2.4 TDCI.


