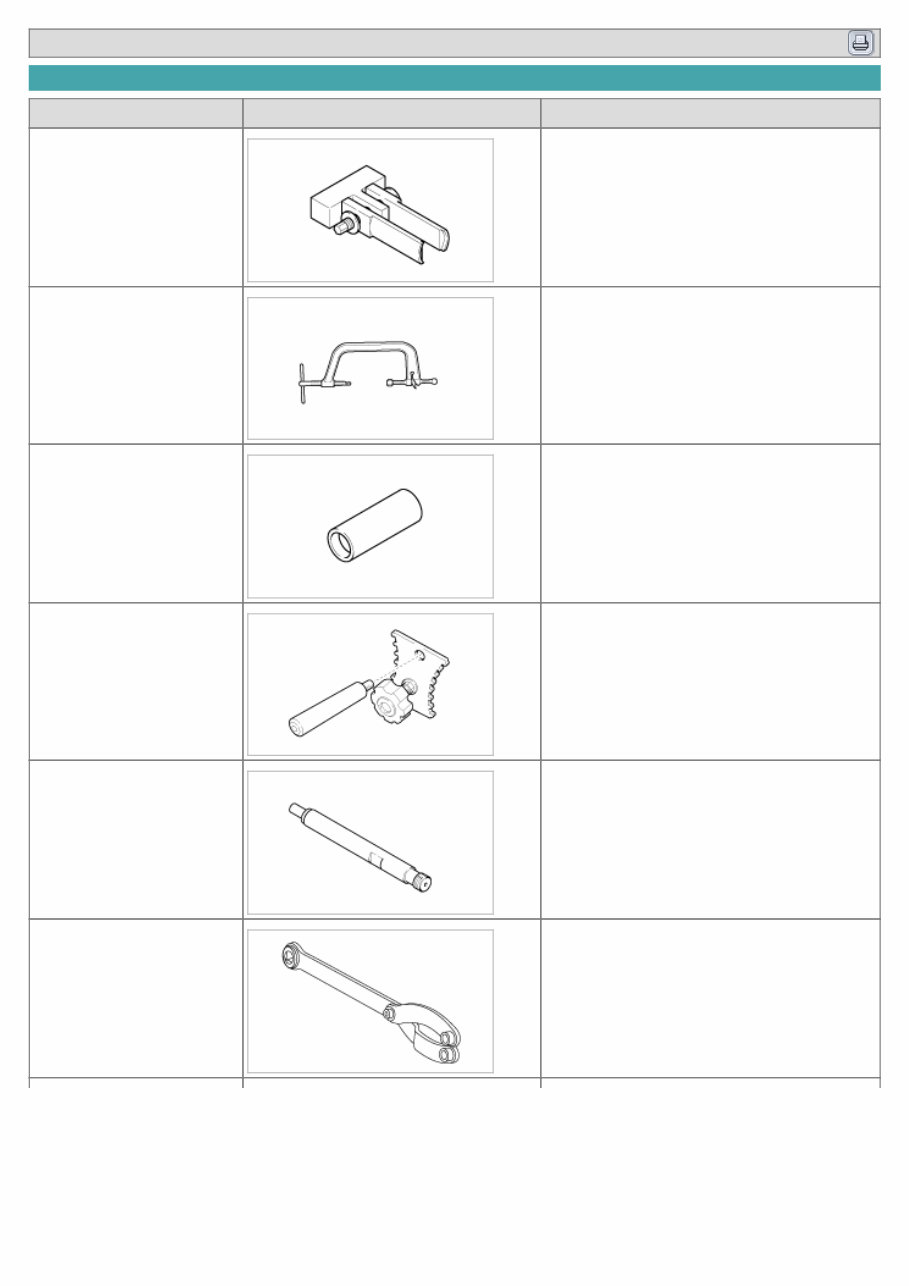
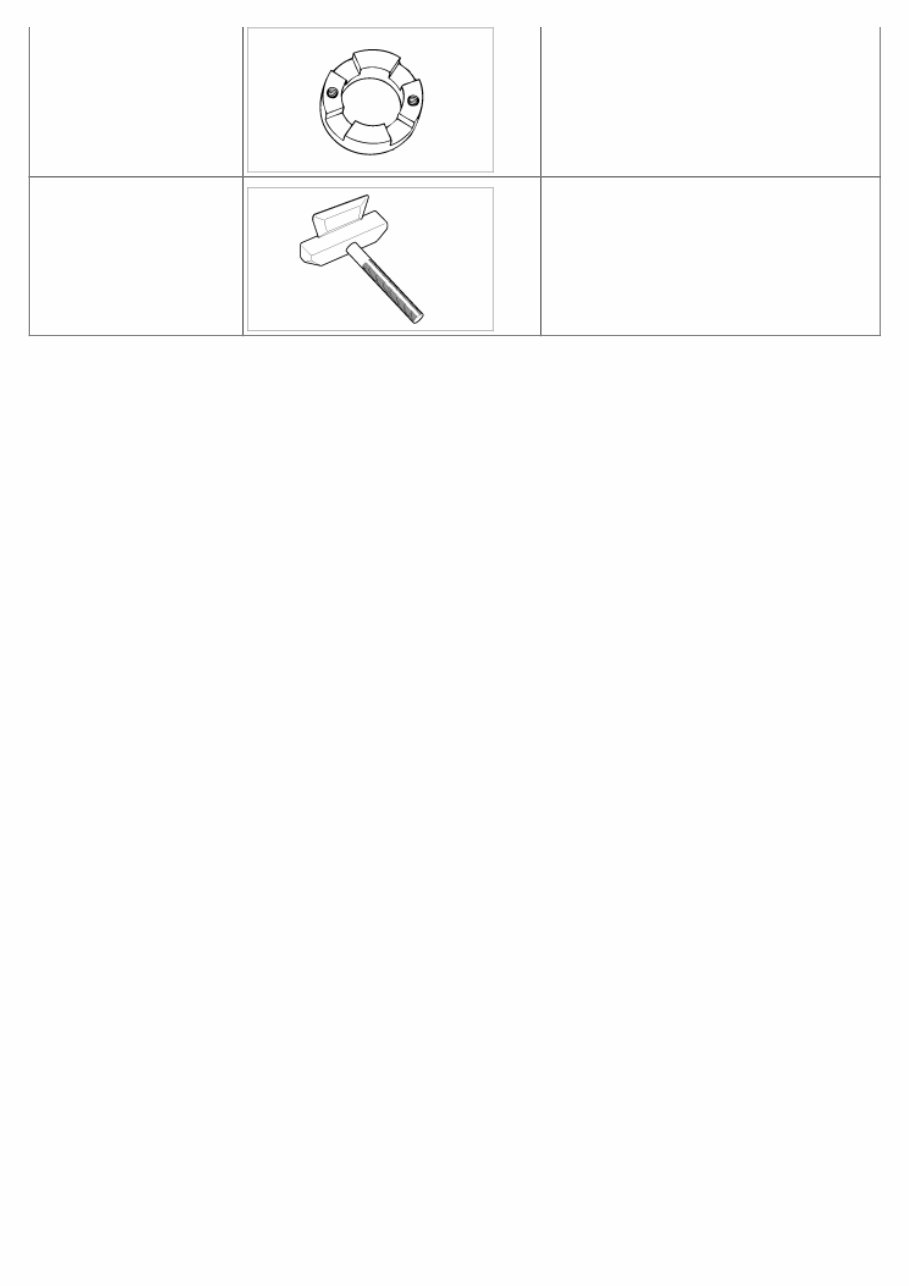
2007 > J2.9L DIESEL CRDI(VGT) > SPECIAL SERVICE TOOLS Tool (Number and name) Illustration Use Valve spring lifter pivot. (0K993 120 004) Removal or installation of the valve spring Valve spring lifter arm. (0K993 120 001) Removal or installation of the valve spring Valve seal installer. (09222-22001) Installation of the valve seal Camshaft pulley holder. (09231 - 4X100) Installation of the camshaft Pressure gauge adapter. (0K552 131 002) Measurement of compression pressure End york holder. (09517-21700) Removal or installation of the crankshaft pulley bolt (used with 09231-H1000) Crankshaft pulley adapter. Removal or installation of the crankshaft
Crankshaft pulley adapter. (09231-H1000) Removal or installation of the crankshaft pulley bolt (used with 09517-21700) Oil pan remover. (09215-3C000) Removal of the oil pan
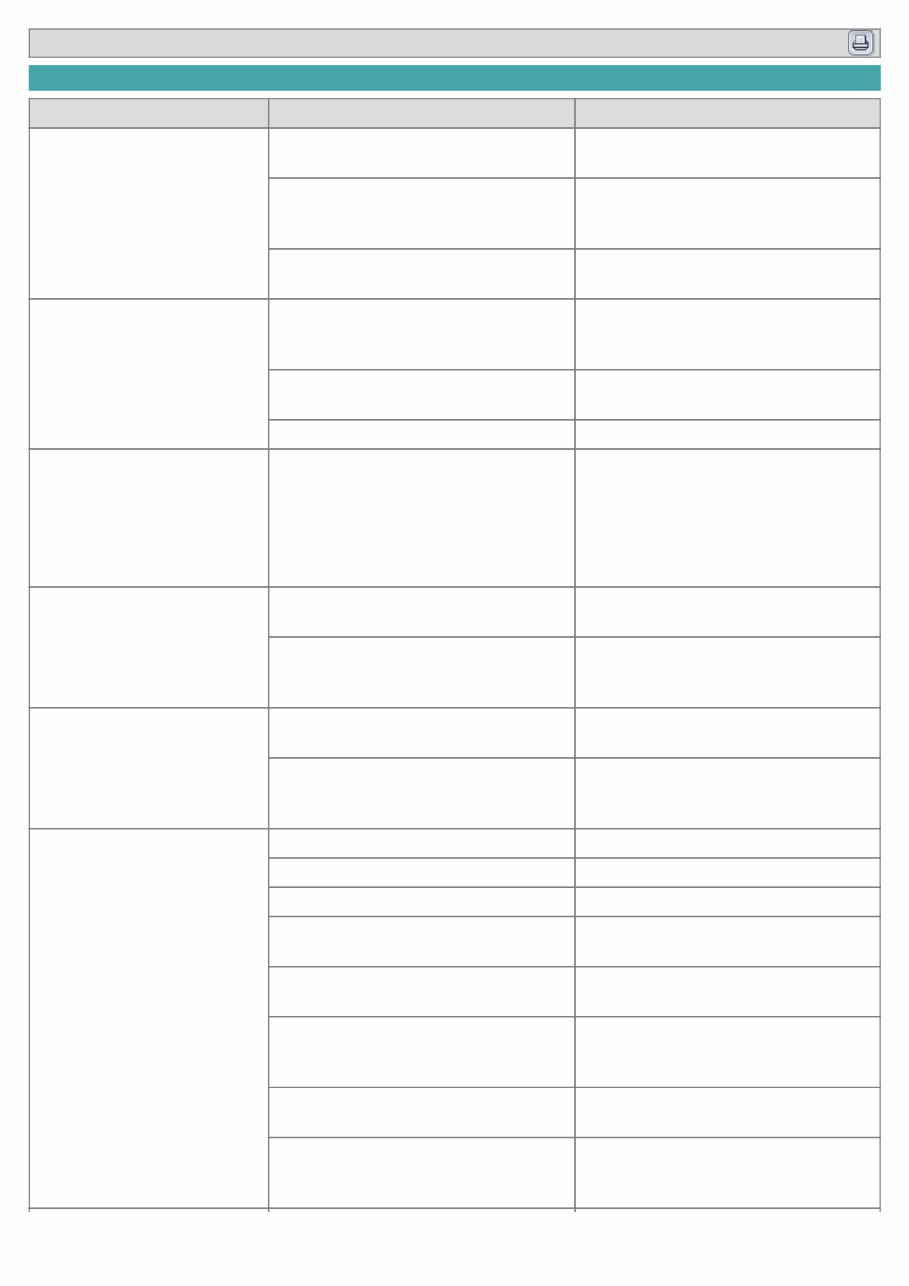
2007 > J2.9L DIESEL CRDI(VGT) > TROUBLESHOOTING Symptom Suspect area Remedy Engine misfire with abnormal internal lower engine noises. Loose or improperly installed engine flywheel. Repair or replace the flywheel as required. Worn piston rings. (Oil consumption may or may not cause the engine to misfire.) Inspect the cylinder for a loss of compression . Repair or replace as required. Worn crankshaft thrust bearings. Replace the crankshaft and bearings as required. Engine misfire with abnormal valve train noise. Stuck valves. (Carbon buildup on the valve stem can cause the valve not to close properly.) Repair or replace as required. Excessive worn or mis-aligned timing chain. Replace the timing chain and sprocket as required. Worn camshaft lobes. Replace the camshaft and valve lifers. Engine misfire with coolant consumption a. Faulty cylinder head gasket and/or cracking or other damage to the cylinder head and engine block cooling system . b. Coolant consumption may or may not cause the engine to overheat. a. Inspect the cylinder head and engine block for damage to the coolant passages and/or a faulty head gasket. b. Repair or replace as required. Engine misfire with excessive oil consumption Worn valves, valve guides and/or valve stem oil seals. Repair or replace as required. Worn piston rings. (Oil consumption may or may not cause the engine to misfire) Inspection the cylinder for a loss of compression Repair or replace as required. Engine noise on start-up, but only lasting a few seconds. Incorrect oil viscosity. Drain the oil. Install the correct viscosity oil. Worn crankshaft thrust bearing. Inspect the thrust bearing and crankshaft. Repair or replace as required. Upper engine noise, regardless of engine speed. Low oil pressure. Repair or replace as required. Broken valve spring. Replace the valve spring. Worn or dirty valve lifters. Replace the valve lifters. Stretched or broken timing chain and/or damaged sprocket teeth. Replace the timing chain and sprockets. Worn timing chain tensioner, if applicable. Replace the timing chain tensioner as required. Worn camshaft lobes. Inspect the camshaft lobes. Replace the camshaft and valve lifters as required. Worn valve guides or valve stems. Inspect the valves and valve guides, then repair as required. Stuck valves. (Carbon on the valve stem or valve seat may cause the valve to stay open.) Inspect the valves and valve guides, then repair as required.
Lower engine noise, regardless of engine speed. Low oil pressure. Repair or replace damaged components as required. Loose or damaged flywheel. Repair or replace the flywheel. Damaged oil pan, contacting the oil pump screen. Inspect the oil pan. Inspect the oil pump screen. Repair or replace as required. Oil pump screen loose, damaged or restricted. Inspect the oil pump screen . Repair or replace as required. Excessive piston-to-cylinder bore clearance. Inspect the piston and cylinder bore. Repair as required. Excessive piston pin-to-bore clearance. Inspect the piston, piston pin and the connecting rod. Repair or replace as required. Excessive connecting rod bearing clearance. Inspect the following components and repair as required. a. The connecting rod bearings. b. The connecting rods. c. The crankshaft. d. The crankshaft journal. Excessive crankshaft bearing clearance. Inspect the following components and repair as required. a. The crankshaft bearings. b. The crankshaft journals. Incorrect piston, piston pin and connecting rod installation. Verify the piston pins and connecting rods are installed correctly. Repair as required. Engine noise under load. Low oil pressure. Repair or replace as required. Excessive connecting rod bearing clearance. Inspect the following components and repair as required. a. The connecting rod bearings. b. The connecting rods. c. The crankshaft. Excessive crankshaft bearing clearance. Inspect the following components and repair as required. a. The crankshaft bearings. b. The crankshaft journals. c. The cylinder block crankshaft bearing bore. Engine will not crank. (crankshaft will not rotate) Hydraulically locked cylinder. a. Coolant/antifreeze in cylinder. b. Oil in cylinder. c. Fuel in cylinder. Remove spark plugs and check for fluid. Inspect for broken head gasket. Inspect for cracked engine block or cylinder head. Inspect for a sticking fuel injector and/or leaking fuel regulator. Broken timing chain and/or timing chain gears. Inspect timing chain and gears. Repair as required. Foreign material in cylinder. a. Broken valve. b. Piston material. c. Foreign material. Inspect cylinder for damaged components and/or foreign materials. Repair or replace as required.
The Kia Sedona 2008-2009 Service & Repair Manual is the ultimate guide for anyone who owns a Kia Sedona model from the years 2008 to 2009. This comprehensive manual provides detailed step-by-step instructions and illustrations for troubleshooting, maintaining, and repairing all aspects of your vehicle.
Whether you are a professional mechanic or a Kia Sedona enthusiast, this manual is a must-have for your collection. It covers a wide range of topics, including engine, transmission, suspension, electrical system, brakes, and much more. No matter what issue you are facing with your Kia Sedona, this manual will help you diagnose the problem and provide the necessary solutions.
Kia Sedona 2008 LX Model
Kia Sedona 2008 EX Model
Kia Sedona 2009 LX Model
Kia Sedona 2009 EX Model
With easy-to-follow instructions and clear diagrams, this manual ensures that even beginners can perform repairs and maintenance on their Kia Sedona with confidence. It includes detailed specifications, torque values, and troubleshooting guides to help you get your vehicle back on the road in no time.
Don't waste time and money at the dealership. Take control of your Kia Sedona's maintenance and repairs with the Kia Sedona 2008-2009 Service & Repair Manual.



 Lifetime Access




