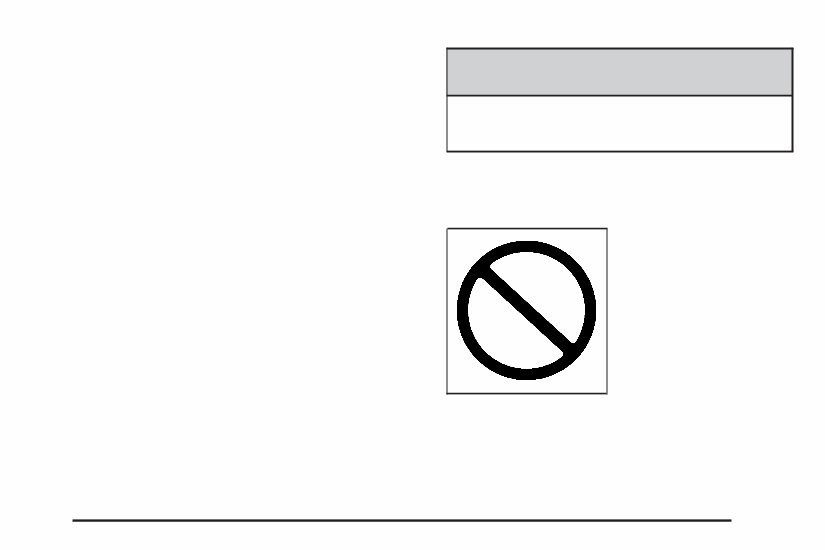
Using this Manual Many people read the owner manual from beginning to end when they first receive their new vehicle to learn about the vehicle’s features and controls. Pictures and words work together to explain things. Index A good place to quickly locate information about the vehicle is the Index in the back of the manual. It is an alphabetical list of what is in the manual and the page number where it can be found. Safety Warnings and Symbols There are a number of safety cautions in this book. A box with the word CAUTION is used to tell about things that could hurt you or others if you were to ignore the warning. {CAUTION: These mean there is something that could hurt you or other people. We tell you what the hazard is and what to do to help avoid or reduce the hazard. Please read these cautions. If you do not, you or others could be hurt. A circle with a slash through it is a safety symbol which means “Do Not,” “Do Not do this” or “Do Not let this happen.” iii
Vehicle Damage Warnings You will also find notices in this manual. Notice: These mean there is something that could damage your vehicle. A notice tells about something that can damage the vehicle. Many times, this damage would not be covered by your vehicle’s warranty, and it could be costly. The notice tells what to do to help avoid the damage. When you read other manuals, you might see CAUTION and NOTICE warnings in different colors or in different words. There are also warning labels on the vehicle which use the same words, CAUTION or NOTICE. Vehicle Symbols The vehicle has components and labels that use symbols instead of text. Symbols are shown along with the text describing the operation or information relating to a specific component, control, message, gage, or indicator. iv
Front Seats ......................................................1-2 Power Seats ..................................................1-2 Power Lumbar ...............................................1-3 Heated Seats .................................................1-4 Memory Seat, Mirrors, and Pedals ....................1-4 Power Reclining Seatbacks ..............................1-6 Head Restraints .............................................1-8 Rear Seats .......................................................1-9 Heated Seats .................................................1-9 60/40 Split Bench Seat (Second Row) ...............1-9 Bucket Seats (Second Row) ...........................1-16 Third Row Seat ............................................1-23 Safety Belts ...................................................1-28 Safety Belts: They Are for Everyone ................1-28 How to Wear Safety Belts Properly .................1-33 Lap-Shoulder Belt .........................................1-41 Safety Belt Use During Pregnancy ..................1-47 Lap Belt ......................................................1-47 Safety Belt Extender .....................................1-48 Child Restraints .............................................1-49 Older Children ..............................................1-49 Infants and Young Children ............................1-52 Child Restraint Systems .................................1-56 Where to Put the Restraint .............................1-58 Lower Anchors and Tethers for Children (LATCH) ..................................................1-60 Securing a Child Restraint in a Rear Seat Position ............................................1-68 Securing a Child Restraint in the Center Front Seat Position ....................................1-71 Securing a Child Restraint in the Right Front Seat Position ....................................1-71 Airbag System ...............................................1-75 Where Are the Airbags? ................................1-78 When Should an Airbag Inflate? .....................1-81 What Makes an Airbag Inflate? .......................1-83 How Does an Airbag Restrain? .......................1-83 What Will You See After an Airbag Inflates? .....1-84 Passenger Sensing System ............................1-85 Servicing Your Airbag-Equipped Vehicle ...........1-90 Adding Equipment to Your Airbag-Equipped Vehicle ....................................................1-90 Restraint System Check ..................................1-92 Checking the Restraint Systems ......................1-92 Replacing Restraint System Parts After a Crash ...................................................1-93 Section 1 Seats and Restraint Systems 1-1
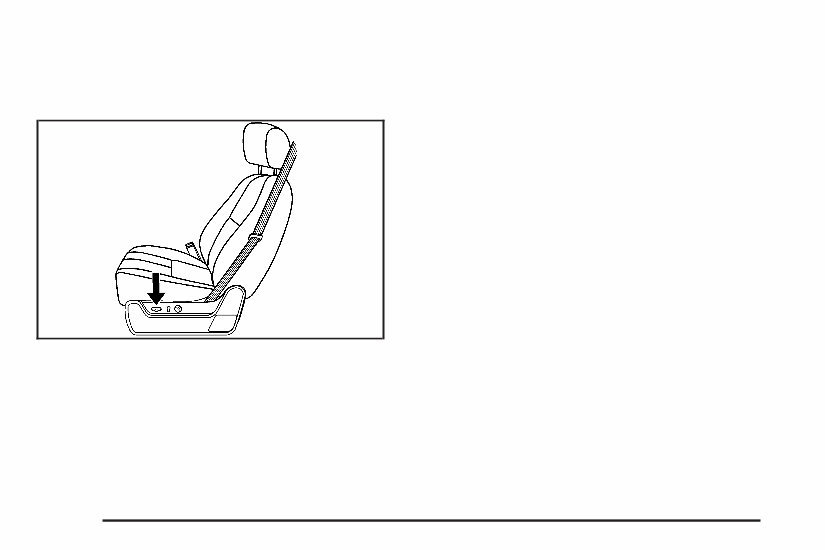
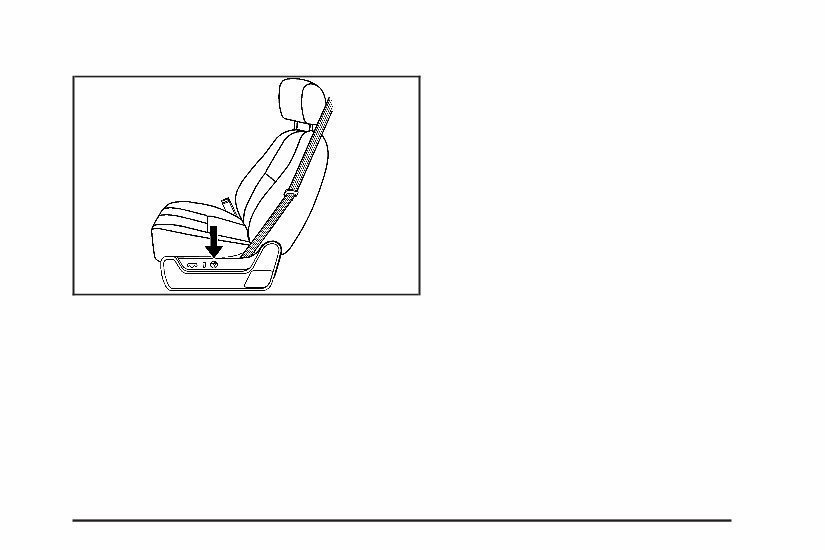
Front Seats Power Seats The power seat controls are located on the outboard side of the front seats. • Move the seat forward or rearward by sliding the control forward or rearward. • Raise or lower the front part of the seat cushion by moving the front of the control up or down. • Raise or lower the rear part of the seat cushion by moving the rear of the control up or down. • Raise or lower the entire seat by moving the entire control up or down. The power reclining seatback control is located behind the power seat control on the outboard side of the seats. See Power Reclining Seatbacks on page 1-6. Your vehicle has a memory function which allows seat settings to be saved and recalled. See Memory Seat, Mirrors, and Pedals on page 1-4. Driver’s Seat with Power Seat Control, Power Recline, and Power Lumbar shown 1-2
Power Lumbar The controls used to operate the power lumbar feature are located on the outboard side of the seats. • To increase lumbar support, press and hold the front of the control. • To decrease lumbar support, press and hold the rear of the control. • To raise the height of the support, press and hold the top of the control. • To lower the height of the support, press and hold the bottom of the control. Let go of the control when the lower seatback reaches the desired level of support. Your vehicle has a memory function which allows seat settings to be saved and recalled. See Memory Seat, Mirrors, and Pedals on page 1-4 for more information. Keep in mind that as your seating position changes, as it may during long trips, so should the position of your lumbar support. Adjust the seat as needed. 1-3
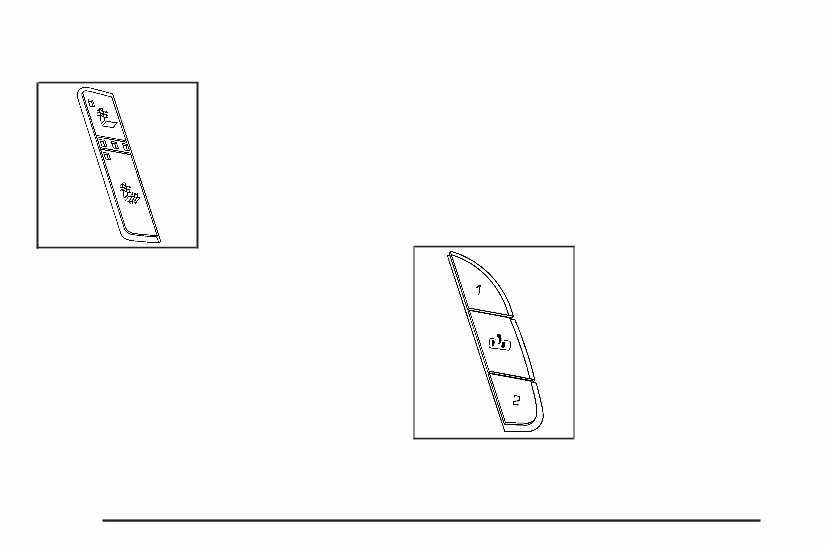
Heated Seats The seats have the heated seat feature, the buttons used to control this feature are located on the front doors near the door handle. I (Heated Seatback): Press this button to turn on the heated seatback. The light on the button will come on to indicate that the feature is working. Press the button to cycle through the temperature settings of high, medium, and low and to turn the heat to the seatback off. Indicator lights below the button show the level of heat selected: three for high, two for medium, and one for low. J (Heated Seat and Seatback): Press this button to turn on the heated seat and seatback. The light on the button will come on to indicate that the feature is working. Press the button to cycle through the temperature settings of high, medium, and low and to turn the heat to the seat off. Indicator lights above the button will show the level of heat selected: three for high, two for medium, and one for low. The heated seats will be canceled ten seconds after the ignition is turned off. If you want to use the heated seat feature after you restart your vehicle, you will need to press the appropriate heated seat or seatback button again. Memory Seat, Mirrors, and Pedals Your vehicle has the memory package. The controls for this feature are located on the driver’s door panel, and are used to program and recall memory settings for the driver’s seat, outside mirrors, and the adjustable throttle and brake pedal feature if your vehicle has it. 1-4
To save your positions in memory, do the following: 1. Adjust the driver’s seat, including the seatback recliner and lumbar, both outside mirrors, and the throttle and brake pedals to a comfortable position. See Outside Power Foldaway Mirrors on page 2-42 and Adjustable Throttle and Brake Pedal on page 2-29 for more information. Not all mirrors will have the ability to save and recall the mirror positions. 2. Press and hold button 1 until two beeps let you know that the position has been stored. A second seating, mirror, and throttle and brake pedal position can be programmed by repeating the above steps and pressing button 2. To recall the memory positions, the vehicle must be in PARK (P). Press and release either button 1 or button 2 corresponding to the desired driving position. The seat, outside mirrors, and adjustable throttle and brake pedals will move to the position previously stored. You will hear a single beep. If you use the remote keyless entry transmitter to enter your vehicle and the remote recall memory feature is on, automatic seat, mirror, and adjustable pedal movement will occur. See “MEMORY SEAT RECALL” under DIC Vehicle Customization (With DIC Buttons) on page 3-64 for more information. To stop recall movement of the memory feature at any time, press one of the power seat controls, memory buttons, power mirror buttons, or adjustable pedal switch. If something has blocked the driver’s seat and/or the adjustable pedals while recalling a memory position, the driver’s seat and/or the adjustable pedals recall may stop working. If this happens, press the appropriate control for the area that is not recalling for two seconds, after the obstruction is removed. Then try recalling the memory position again by pressing the appropriate memory button. If the memory position is still not recalling, see your dealer for service. 1-5
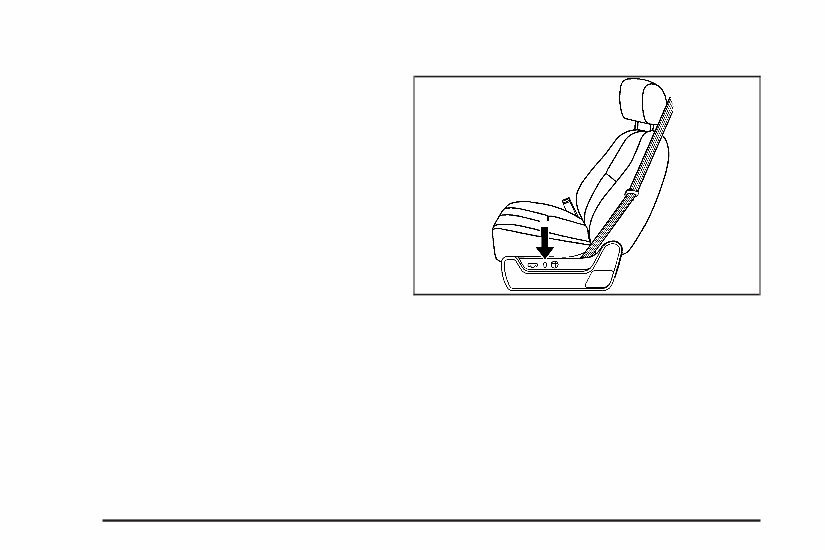
Easy Exit Seat The control for this feature is located on the driver’s door panel between buttons 1 and 2. With the vehicle in PARK (P), the exit position can be recalled by pressing the exit button. You will hear a single beep. The driver’s seat will move back. If the easy exit seat feature is on in the Driver Information Center (DIC), automatic seat movement will occur when the key is removed from the ignition. See “EASY EXIT SEAT” under DIC Vehicle Customization (With DIC Buttons) on page 3-64 for more information. Further programming for the memory seat feature can be done using the DIC. You can select or not select the following: • The automatic easy exit seat feature • The remote memory seat recall feature For programming information, see DIC Vehicle Customization (With DIC Buttons) on page 3-64. Power Reclining Seatbacks The controls for the power reclining seatback are located on the outboard side of the front seats behind the power seat control. • To recline the seatback, tilt the top of the control rearward. • To bring the seatback forward, tilt the top of the control forward. Driver’s Seat with Power Seat Control, Power Recline, and Power Lumbar shown 1-6
The 08 GMC Yukon Denali/Yukon XL Denali Owners Manual is the essential guide for all owners of the 2008 GMC Yukon Denali and Yukon XL Denali models. This comprehensive manual provides detailed information on the operation, maintenance, and troubleshooting of your vehicle. Whether you are a new owner or a seasoned GMC enthusiast, this manual will help you get the most out of your Yukon Denali or Yukon XL Denali.
Key features of the 08 GMC Yukon Denali/Yukon XL Denali Owners Manual:
Complete guide to vehicle operation, including controls, features, and instruments.
Tips for safe and efficient driving.
Important maintenance procedures and schedules to ensure the longevity of your vehicle.
Detailed troubleshooting and diagnostic information to help you identify and resolve common issues.
Instructions for performing basic repairs and maintenance tasks.
Specifications and technical information for your vehicle.
Models covered:
2008 GMC Yukon Denali
2008 GMC Yukon XL Denali
Whether you need help understanding a specific feature, performing routine maintenance, or troubleshooting a problem, the 08 GMC Yukon Denali/Yukon XL Denali Owners Manual has you covered. Invest in this invaluable resource and maximize your enjoyment of your GMC Yukon Denali or Yukon XL Denali.






 Lifetime Access




