Engine working on or near any fuel-related component. Highly flammable mixtures are always present and may be ignited. Failure to follow these instructions may result in serious personal injury. components, relieve the fuel system pressure to prevent accidental spraying of fuel. Fuel in the fuel system remains under high pressure, even when the engine is not running. Failure to follow this instruction may result in serious personal injury. 1. With the vehicle in NEUTRAL, position it on a hoist. For additional information, refer to Section 100 - SECTION 303-01A: Engine — 3.5L GTDI 2014 F-150 Workshop Manual REMOVAL Procedure revision date: 10/25/2013 Special Tool(s) Bar, Engine Spreader 303-1454 Lifting Bracket, Engine 303-F047 (014-00073) or equivalent Lift Eye, Right Front 303-1566 2,200# Floor Crane, Fold Away 300-OTC1819E or equivalent Retainer, Torque Converter 307-346 (T97T-7902-A) or equivalent Page 1 sur 16 2014 F-150 Workshop Manual 2014-03-01 file:///C:/TSO/tsocache/VDTOM2_10764/SE2~us~en~file=SE231A33.HTM~gen~ref.H... repair4less
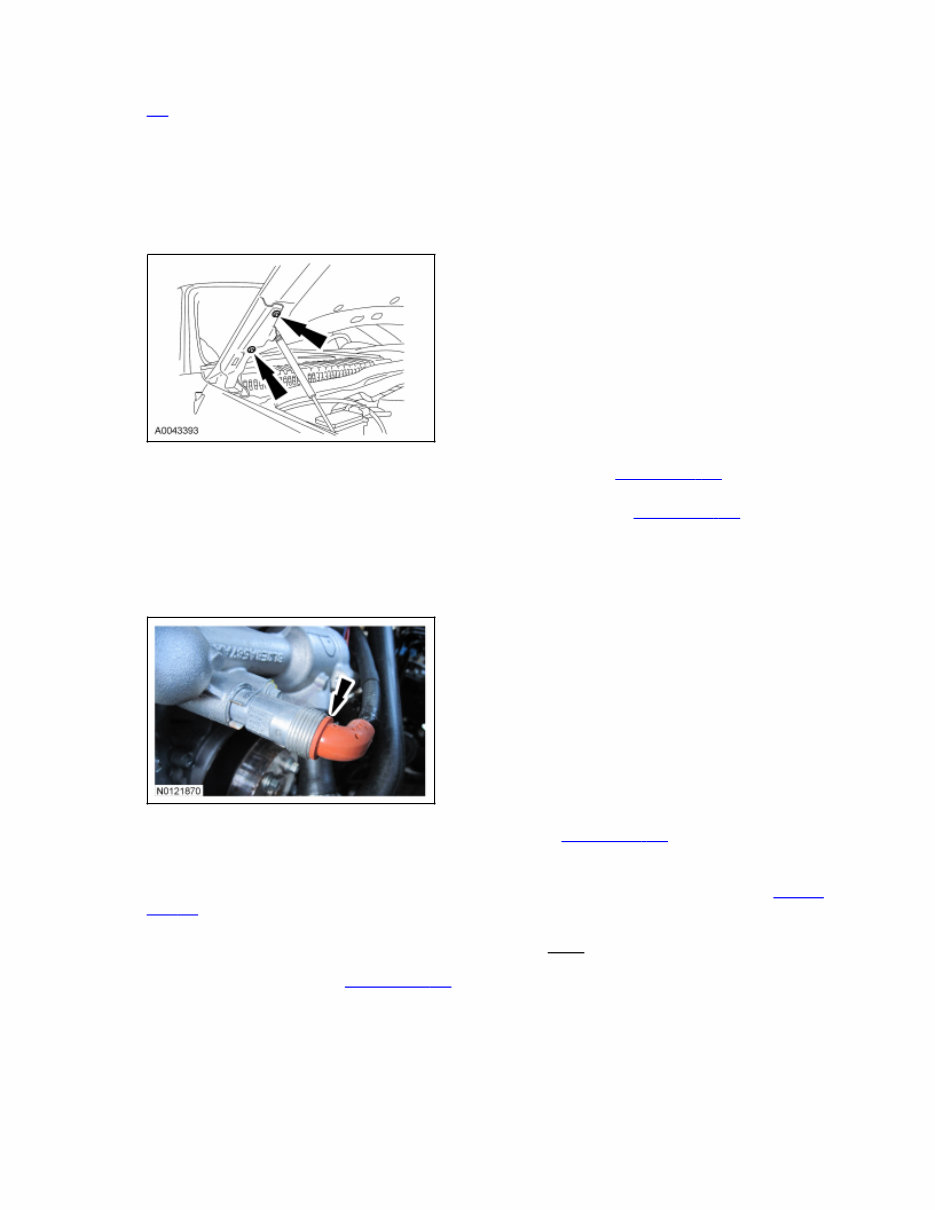
02 . 2. NOTE: Index-mark the hood hinge location to aid in hood installation. NOTE: RH shown, LH similar. Remove the 4 bolts (2 shown) and the hood. 3. Release the fuel system pressure. For additional information, refer to Section 310 - 00 . 4. Disconnect the battery ground cable. For additional information, refer to Section 414 - 01 . 5. If equipped, disconnect the block heater electrical connector at the thermostat housing. z Detach the block heater wiring harness retainer from the LH valve cover stud bolt and position aside. 6. Remove the cooling module. For additional information, refer Section 303 - 03 . 7. Remove the LH and RH turbocharger intake tubes. For additional information, refer to 3.5L Gasoline Turbocharged Direct Injection (GTDI) Charge Air Cooler (CAC) and Tubes Exploded View in Section 303 - 12 . 8. Remove the 2 Charge Air Cooler (CAC) inlet tubes and the CAC outlet tube. For additional information, refer to 3.5L Gasoline Turbocharged Direct Injection (GTDI) Charge Air Cooler (CAC) and Tubes Exploded View in Section 303 - 12 . 9. Disconnect the Battery Junction Box (BJB) wiring harness and the A/C pressure transducer electrical connectors. Page 2 sur 16 2014 F-150 Workshop Manual 2014-03-01 file:///C:/TSO/tsocache/VDTOM2_10764/SE2~us~en~file=SE231A33.HTM~gen~ref.H...
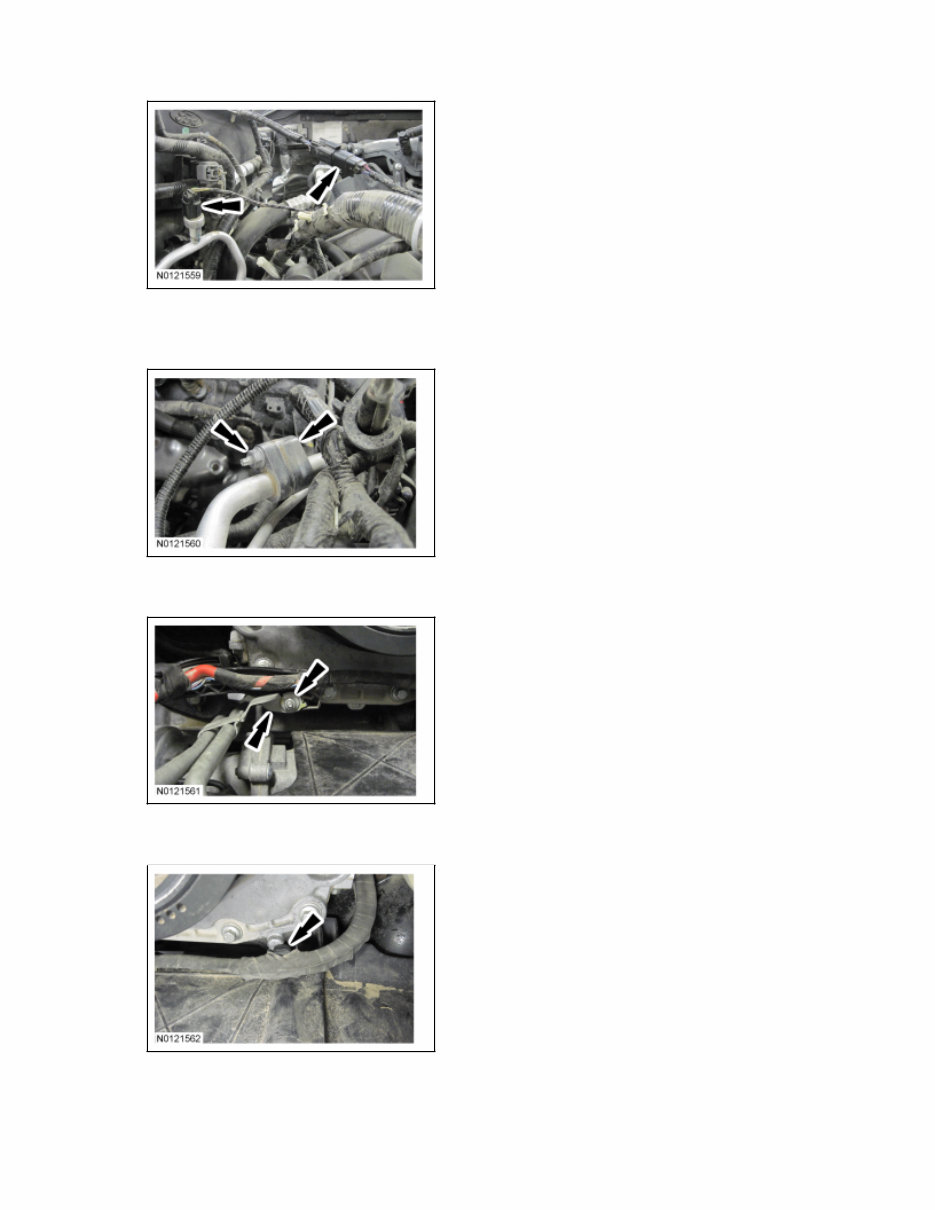
10. Remove the nut and disconnect the A/C tube. z Discard the O-ring seal and gasket seal. 11. Remove the nut and the transmission cooler line bracket from the engine front cover stud bolt. 12. Detach the generator wiring harness from the engine front cover. 13. Disconnect the A/C compressor electrical connector. z Detach the A/C compressor wiring harness from the A/C compressor. Page 3 sur 16 2014 F-150 Workshop Manual 2014-03-01 file:///C:/TSO/tsocache/VDTOM2_10764/SE2~us~en~file=SE231A33.HTM~gen~ref.H... repair4less
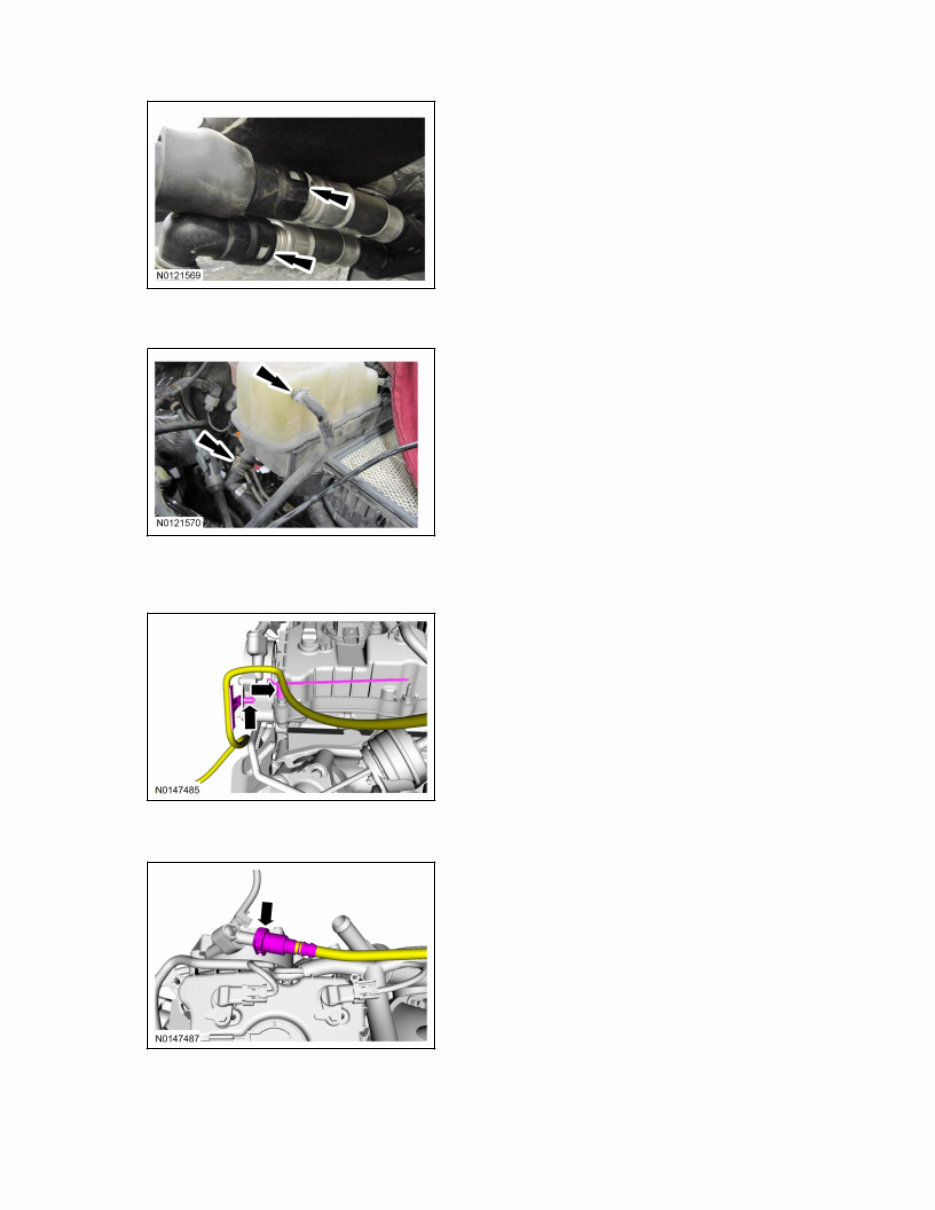
14. Remove the generator. For additional information, refer to Section 414 - 00 . 15. Remove the A/C compressor belt. For additional information, refer to Section 303 - 05 . 16. Disconnect the PCM electrical connector and the engine wire harness electrical connector. z Detach the wiring harness retainers from the fender splash shield. 17. Remove the fuel injection pump. For additional information, refer to Section 303 - 04A . 18. Remove the intake manifold. For additional information, refer to Intake Manifold in this section. 19. Disconnect the 2 heater hose couplings at the RH rear of the engine. Page 4 sur 16 2014 F-150 Workshop Manual 2014-03-01 file:///C:/TSO/tsocache/VDTOM2_10764/SE2~us~en~file=SE231A33.HTM~gen~ref.H...
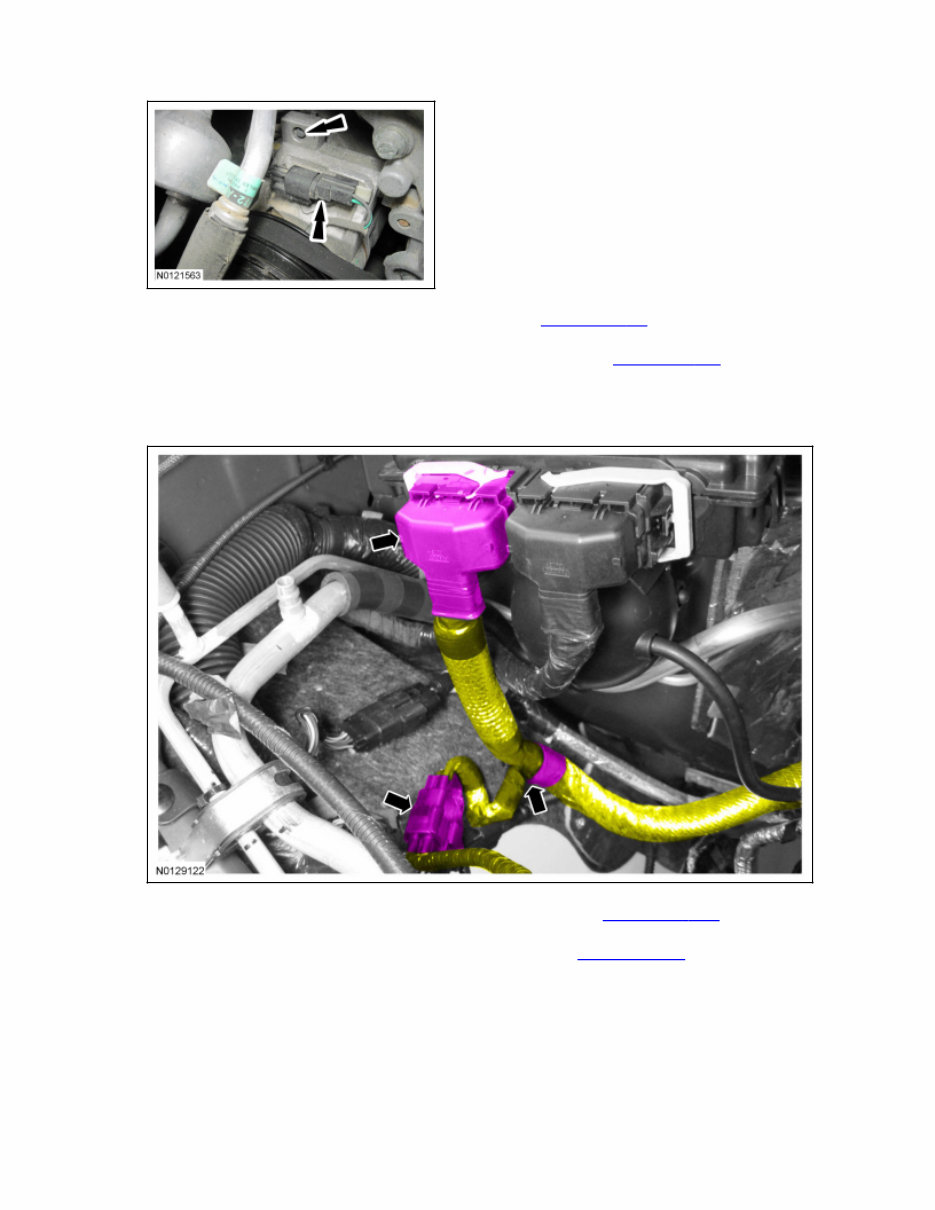
20. Disconnect the 2 coolant hoses from the degas bottle. 21. Detach the wiring harness retainers from the rear of the RH valve cover stud bolt and the rear of the vacuum pump. 22. Disconnect the vacuum pump tube and position aside. 23. Remove the bolt and the ground strap from the cowl. Page 5 sur 16 2014 F-150 Workshop Manual 2014-03-01 file:///C:/TSO/tsocache/VDTOM2_10764/SE2~us~en~file=SE231A33.HTM~gen~ref.H... repair4less
This service and repair manual for the 2009-2014 Ford F-150 offers detailed technical information for accurate maintenance and repairs. Covering all major systems, it includes step-by-step repair procedures, troubleshooting guides, maintenance schedules, and factory torque specifications, ensuring reliable servicing.
The manual provides in-depth coverage of the engine, transmission, suspension, brakes, and electrical components. It also includes factory-approved wiring diagrams, diagnostic charts, and component-specific details tailored to the 2009-2014 F-150 models, making it a valuable resource for both routine maintenance and more complex mechanical work.
Available in a digital format, the manual is easy to navigate and can be accessed on computers or mobile devices, offering convenience for workshop or field use. Whether you’re a professional technician or an experienced DIY enthusiast, this service and repair manual is an essential tool for keeping your Ford F-150 running smoothly and efficiently.
Printable: Yes Language: English Compatibility: Pretty much any electronic device, incl. PC & Mac computers, Android and Apple smartphones & tablet, etc. Requirements: Adobe Reader (free)