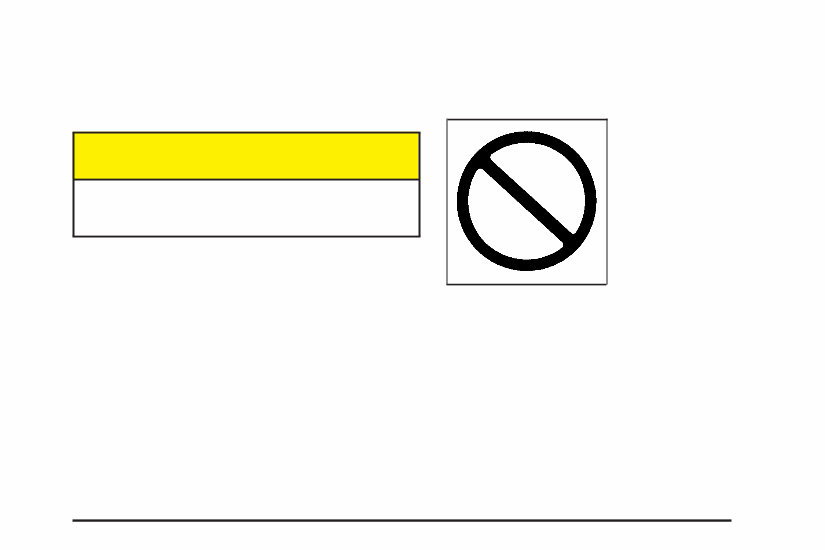
Safety Warnings and Symbols There are a number of safety cautions in this book. We use a box and the word CAUTION to tell about things that could hurt you if you were to ignore the warning. {CAUTION: These mean there is something that could hurt you or other people. In the caution area, we tell you what the hazard is. Then we tell you what to do to help avoid or reduce the hazard. Please read these cautions. If you do not, you or others could be hurt. You will also find a circle with a slash through it in this book. This safety symbol means “Do Not,” “Do Not do this” or “Do Not let this happen.” iii
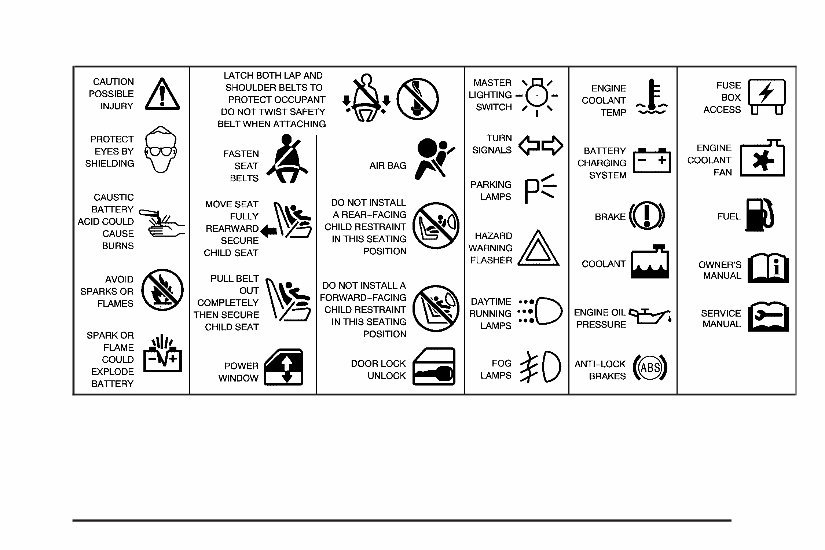
Vehicle Damage Warnings Also, in this manual you will find these notices: Notice: These mean there is something that could damage your vehicle. A notice tells about something that can damage the vehicle. Many times, this damage would not be covered by your vehicle’s warranty, and it could be costly. But the notice will tell what to do to help avoid the damage. When you read other manuals, you might see CAUTION and NOTICE warnings in different colors or in different words. There are also warning labels on the vehicle. They use the same words, CAUTION or NOTICE. Vehicle Symbols The vehicle has components and labels that use symbols instead of text. Symbols are shown along with the text describing the operation or information relating to a specific component, control, message, gage, or indicator. If you need help figuring out a specific name of a component, gage, or indicator, reference the following topics: • Seats and Restraint Systems in Section 1 • Features and Controls in Section 2 • Instrument Panel Overview in Section 3 • Climate Controls in Section 3 • Warning Lights, Gages, and Indicators in Section 3 • Audio System(s) in Section 3 • Engine Compartment Overview in Section 5 iv
These are some examples of symbols that may be found on the vehicle: v
✍ NOTES vi
Front Seats ......................................................1-3 Manual Seats ................................................1-3 Power Seat ...................................................1-3 Manual Lumbar ..............................................1-4 Reclining Seatbacks ........................................1-4 Head Restraints .............................................1-6 Seatback Latches ...........................................1-6 Rear Seats .......................................................1-7 Rear Seat Operation .......................................1-7 Bench Seat ..................................................1-11 Bucket Seats ...............................................1-17 Safety Belts ...................................................1-18 Safety Belts: They Are for Everyone ................1-18 Questions and Answers About Safety Belts ......1-22 How to Wear Safety Belts Properly .................1-23 Driver Position ..............................................1-23 Shoulder Belt Height Adjustment .....................1-30 Safety Belt Use During Pregnancy ..................1-31 Right Front Passenger Position .......................1-31 Rear Seat Passengers ..................................1-31 Center Rear Passenger Position .....................1-34 Rear Safety Belt Comfort Guides for Children and Small Adults ..........................1-35 Safety Belt Extender .....................................1-37 Child Restraints .............................................1-38 Older Children ..............................................1-38 Infants and Young Children ............................1-40 Child Restraint Systems .................................1-46 Where to Put the Restraint .............................1-49 Top Strap ....................................................1-50 Top Strap Anchor Location .............................1-52 Lower Anchorages and Top Tethers for Children (LATCH System) ...........................1-54 Securing a Child Restraint Designed for the LATCH System ....................................1-56 Securing a Child Restraint in a Rear Outside Seat Position .........................1-57 Securing a Child Restraint in a Center Rear Seat Position (Bench Seat) .........................1-58 Securing a Child Restraint in the Right Front Seat Position ............................................1-60 Section 1 Seats and Restraint Systems 1-1
Airbag System ...............................................1-63 Where Are the Airbags? ................................1-65 When Should an Airbag Inflate? .....................1-66 What Makes an Airbag Inflate? .......................1-67 How Does an Airbag Restrain? .......................1-68 What Will You See After an Airbag Inflates? .....1-68 Servicing Your Airbag-Equipped Vehicle ...........1-69 Adding Equipment to Your Airbag-Equipped Vehicle ....................................................1-70 Restraint System Check ..................................1-70 Checking Your Restraint Systems ...................1-70 Replacing Restraint System Parts After a Crash ...................................1-71 Section 1 Seats and Restraint Systems 1-2
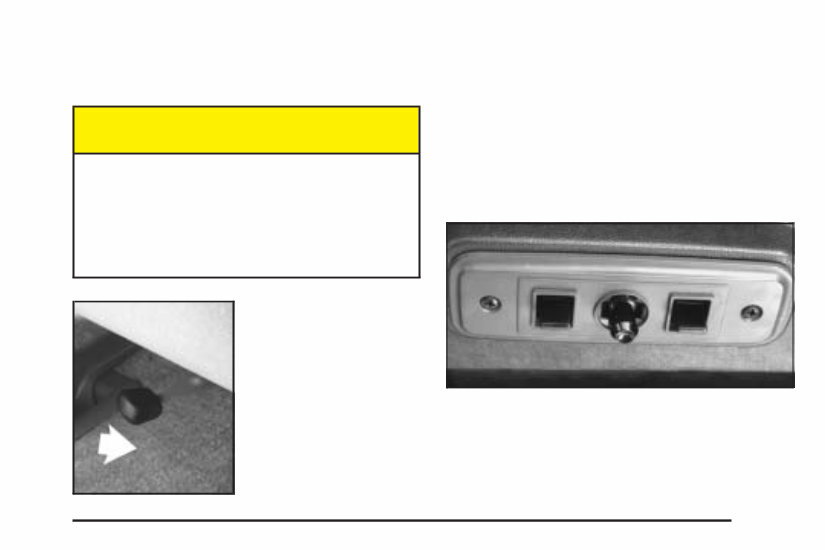
Front Seats Manual Seats {CAUTION: You can lose control of the vehicle if you try to adjust a manual driver’s seat while the vehicle is moving. The sudden movement could startle and confuse you, or make you push a pedal when you do not want to. Adjust the driver’s seat only when the vehicle is not moving. If your vehicle has manual seats, they can be adjusted forward or rearward using the lever located under the front of the seat(s). 1. Move the seat adjustment lever toward the outboard side of the seat to unlock it. 2. Slide the seat to where you want it. 3. Release the lever and try to move the seat with your body, to make sure that the seat is locked into place Power Seat If your vehicle has this feature, there will be controls located on the inboard side of the driver’s seat. To raise or lower the front of the seat cushion, raise or lower the lever located toward the front of the vehicle. To raise or lower the rear of the seat cushion, raise or lower the lever located toward the rear of the vehicle. To move the entire seat backwards, forward, or up or down, move the center knob. 1-3
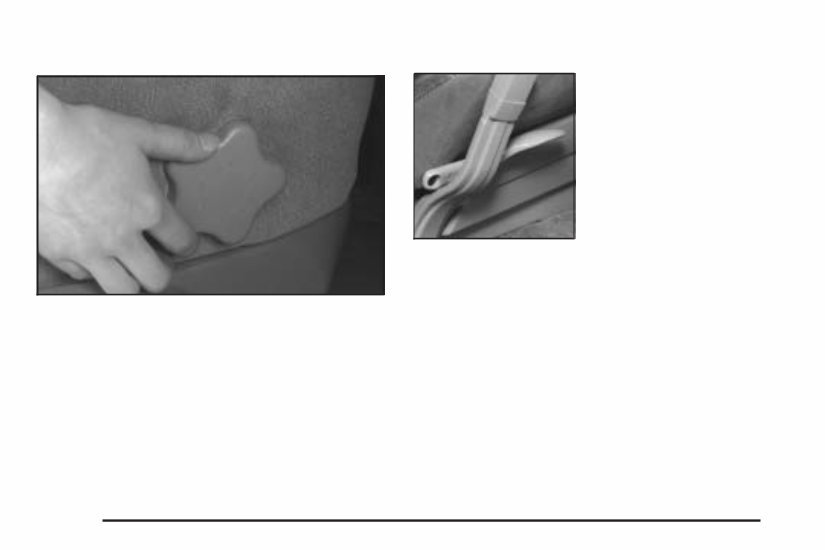
Manual Lumbar If your vehicle has this feature, there will be a knob located on the inboard side of the driver’s and passenger’s bucket seats. Turn the knob toward the front of the vehicle to increase lumbar support. Turn the knob toward the rear of the vehicle to decrease lumbar support. Reclining Seatbacks There is a lever located on the inboard side of the seat to adjust the seatback. 1. Lift the lever and lean back until the seatback is at the desired position. 2. Release the lever to lock the seatback where you want it. To return the seatback to an upright position, pull up on the lever and lean forward. 1-4
The 2005 CHEVY/ CHEVROLET Astro Van Owners Manual is a comprehensive guide designed to assist owners in understanding and operating their 2005 Astro Van model. With detailed instructions, diagrams, and specifications, this manual is a valuable resource for Astro Van owners.
This manual covers the following Astro Van models:
2005 CHEVY Astro Van
2005 CHEVROLET Astro Van
Whether you are a new owner or have been driving the Astro Van for years, this manual will provide you with the information you need to properly maintain and operate your vehicle. From essential maintenance tasks to troubleshooting common issues, this manual has got you covered.
With its user-friendly layout and easy-to-understand language, the 2005 CHEVY/ CHEVROLET Astro Van Owners Manual is the perfect companion for Astro Van owners seeking to maximize the performance and longevity of their vehicle. Get your hands on this manual and take control of your Astro Van today!







 Lifetime Access




