1. GENERAL INFORMATION 1-0 MXU 250 __________________________________________________________________________________ __________________________________________________________________________________ __________________________________________________________________________________ __________________________________________________________________________________ __________________________________________________________________________________ GENERAL INFORMATION __________________________________________________________________________________ SERIAL NUMBER---------------------------------------------------------- 1- 1 SPECIFICATIONS ---------------------------------------------------------- 1- 2 SERVICE PRECAUTIONS ------------------------------------------------ 1- 3 TORQUE VALUES --------------------------------------------------------- 1-11 SPECIAL TOOLS ----------------------------------------------------------- 1-12 LUBRICATION POINTS -------------------------------------------------- 1-13 CABLE & HARNESS ROUTING ---------------------------------------- 1-16 WIRING DIAGRAM (OFF ROAD) -------------------------------------- 1-20 WIRING DIAGRAM (ON ROAD) --------------------------------------- 1-21 TROUBLESHOOTING----------------------------------------------------- 1-22 1
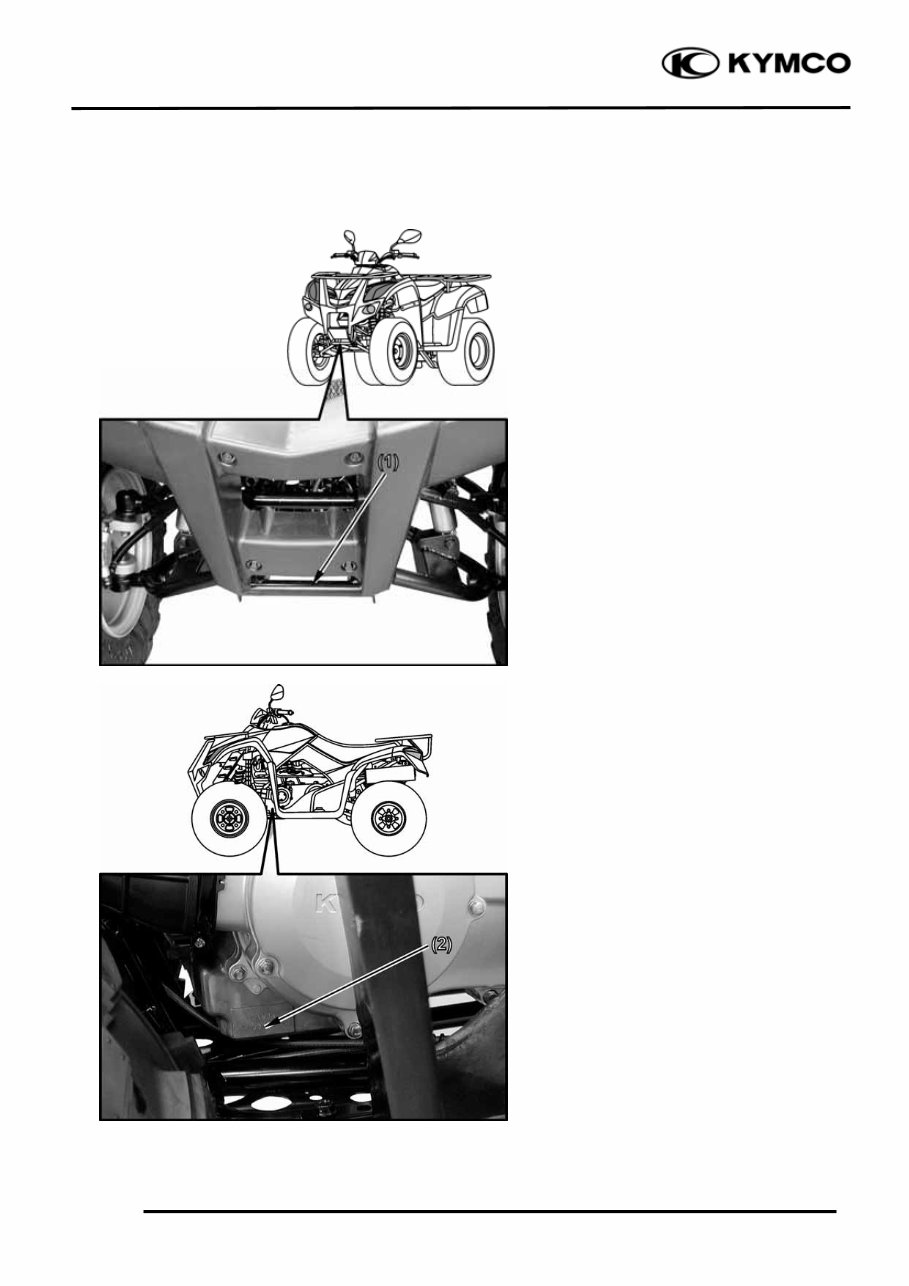
1. GENERAL INFORMATION 1-1 MXU 250 SERIAL NUMBER (2) Location of Engine Serial Number (1) Location of Frame Serial Number
1. GENERAL INFORMATION 1-2 MXU 250 SPECIFICATIONS Name & Model No. LB50AD/AA Motorcycle Name & Type MXU Overall length 1810 mm (72.4 in) Overall width (mm) 1050 mm (42 in) Overall height (mm) 1110 mm (44.4 in) Wheel base (mm) 1170 mm (46.8 in) Engine type O.H.C. Displacement 249 cm 3 (15.2 cu-in) Fuel Used 92# nonleaded gasoline Front wheel 112 kg (246 lbs) Dry weight Rear wheel 102 kg (224 lbs) Total 214 kg (471 lbs) Front wheel 116 kg (255 lbs) Curb weight Rear wheel 110 kg (242 lbs) Total 226 kg (497 lbs) Front wheel 22*7-10 Rear wheel 22*10-10 Ground clearance 125 mm (5 in) Min. turning radius 2900 mm (116 in) Starting system Electric/Recoil starter Type Gasoline, 4-stroke Cylinder arrangement Single cylinder Combustion chamber type Semi-sphere Valve arrangement O.H.C., chain drive Bore x stroke (mm) 72.7 x 60 mm (2.9 x 2.4 in) Compression ratio 10.3:1 Compression pressure 16 kg/cm² (1600kPa, 227 psi) Intake Open 8.1° BTDC Port (1mm) Close 41° ABDC timing Exhaust Open 37° BBDC (1mm) Close 7.9° ATDC Valve clearance Intake 0.1 mm (0.004 in) (cold) Exhaust 0.1 mm (0.004 in) Idle speed (rpm) 1500rpm Lubrication type Forced pressure & Wet sump Oil pump type Trochoid Oil filter type Full-flow filtration Oil capacity 1.6 L (1.4 lmp qt, 1.7 Us qt) Oil exchanging capacity 1.4 L (1.23 lmp qt, 1.48 Us qt Cooling Type Liquid cooled Air cleaner type & No Wet type element Fuel capacity 12.5 L (2.63 lmp gal, 3.25 US gal Type Piston valve Main jet NO. 98 Venturi dia. φ22 mm (φ0.88 in) Throttle type PISTON Type Full transistor digital ignition Ignition timing 5°BTDC/1000rpm Contact breaker Non-contact point type Spark plug DPR7EA-9 Spark plug gap 0.6~0.7mm (0.002~ 0.003 in) Battery Capacity 12V12AH Clutch Type Dry, centrifugal automatic Type Helical gear/spur gear Operation Automatic centrifugal Type Type Chain drive Reduction 1st 26.5 ratio 2nd 10.02 Reverse ratio 50.9 FR/RR tire rolling circumference 1759/1759 mm (71.8/71.8 in) Tire pressure Front Rear 0.28 kg/cm² (28 Kpa, 3.2 psi) Turning Left 40° angle Right 40° Brake system Rear Disk brake type Front Disk brake Front Double wishbone Suspension type Rear Link suspension Frame type Double cradle Tires Engine Fuel System Carburetor Electrical Equipment Ignition System Power Drive System Transmis- sion Gear Reduction Gear Moving Device Damping Device Lubrication System
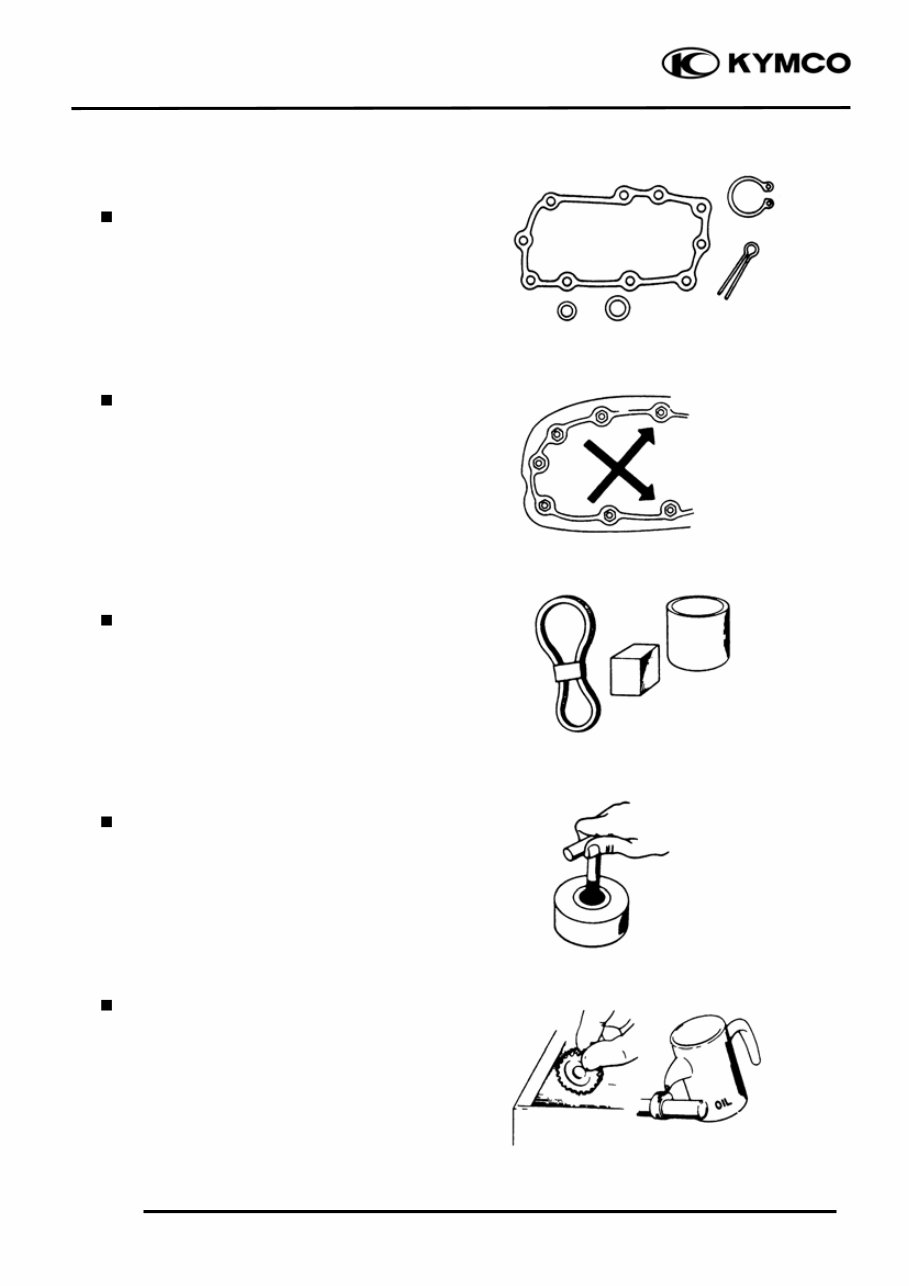
1. GENERAL INFORMATION 1-3 MXU 250 SERVICE PRECAUTIONS Make sure to install new gaskets, O-rings, circlips, cotter pins, etc. when reassembling. When tightening bolts or nuts, begin with larger-diameter to smaller ones at several times, and tighten to the specified torque diagonally. Use genuine parts and lubricants. When servicing the motorcycle, be sure to use special tools for removal and installation. After disassembly, clean removed parts. Lubricate sliding surfaces with engine oil before reassembly.
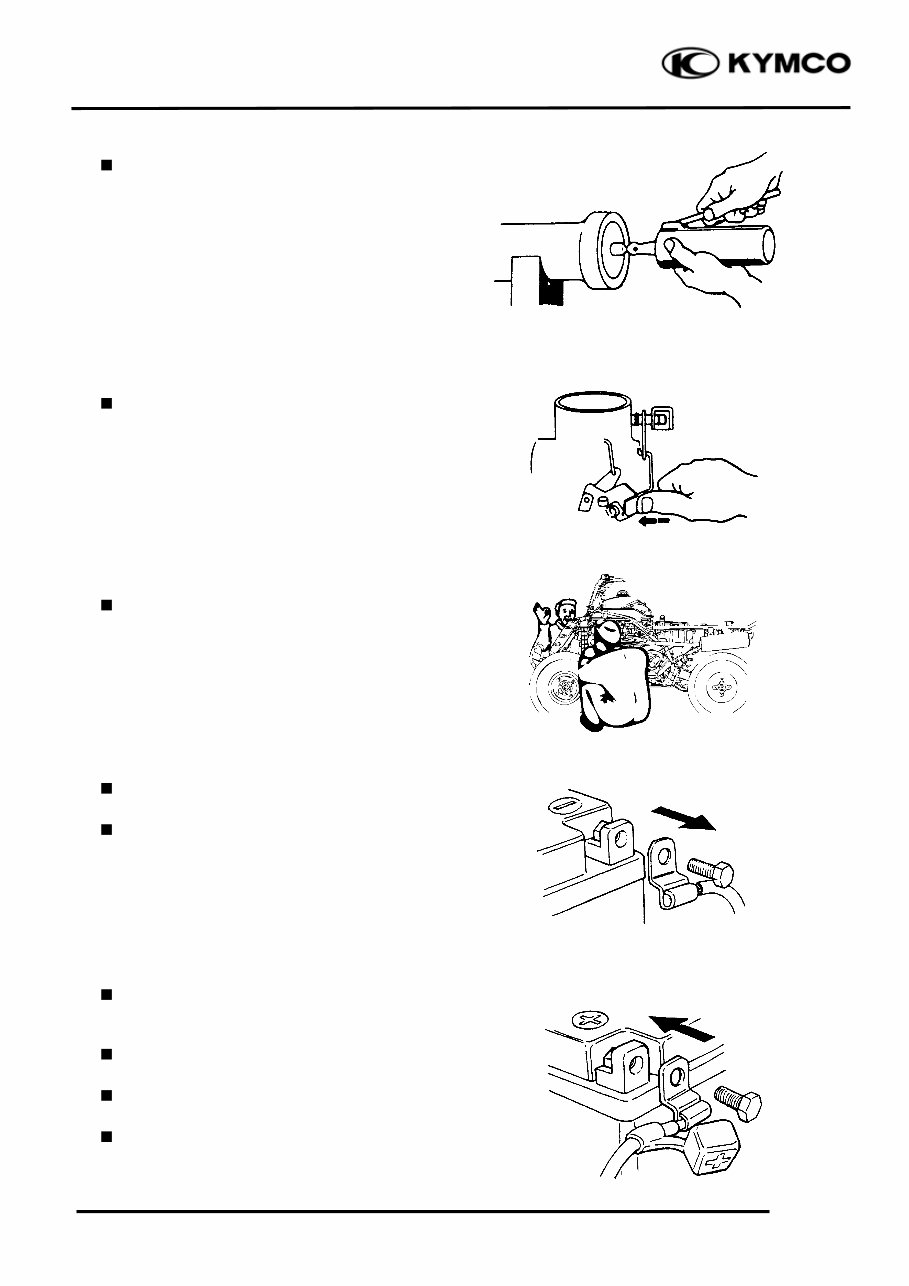
1. GENERAL INFORMATION 1-4 MXU 250 Apply or add designated greases and lubricants to the specified lubrication points. After reassembly, check all parts for proper tightening and operation. When two persons work together, pay attention to the mutual working safety. Disconnect the battery negative (-) terminal before operation. When using a spanner or other tools, make sure not to damage the motorcycle surface. After operation, check all connecting points, fasteners, and lines for proper connection and installation. When connecting the battery, the positive (+) terminal must be connected first. After connection, apply grease to the battery terminals. Terminal caps shall be installed securely.
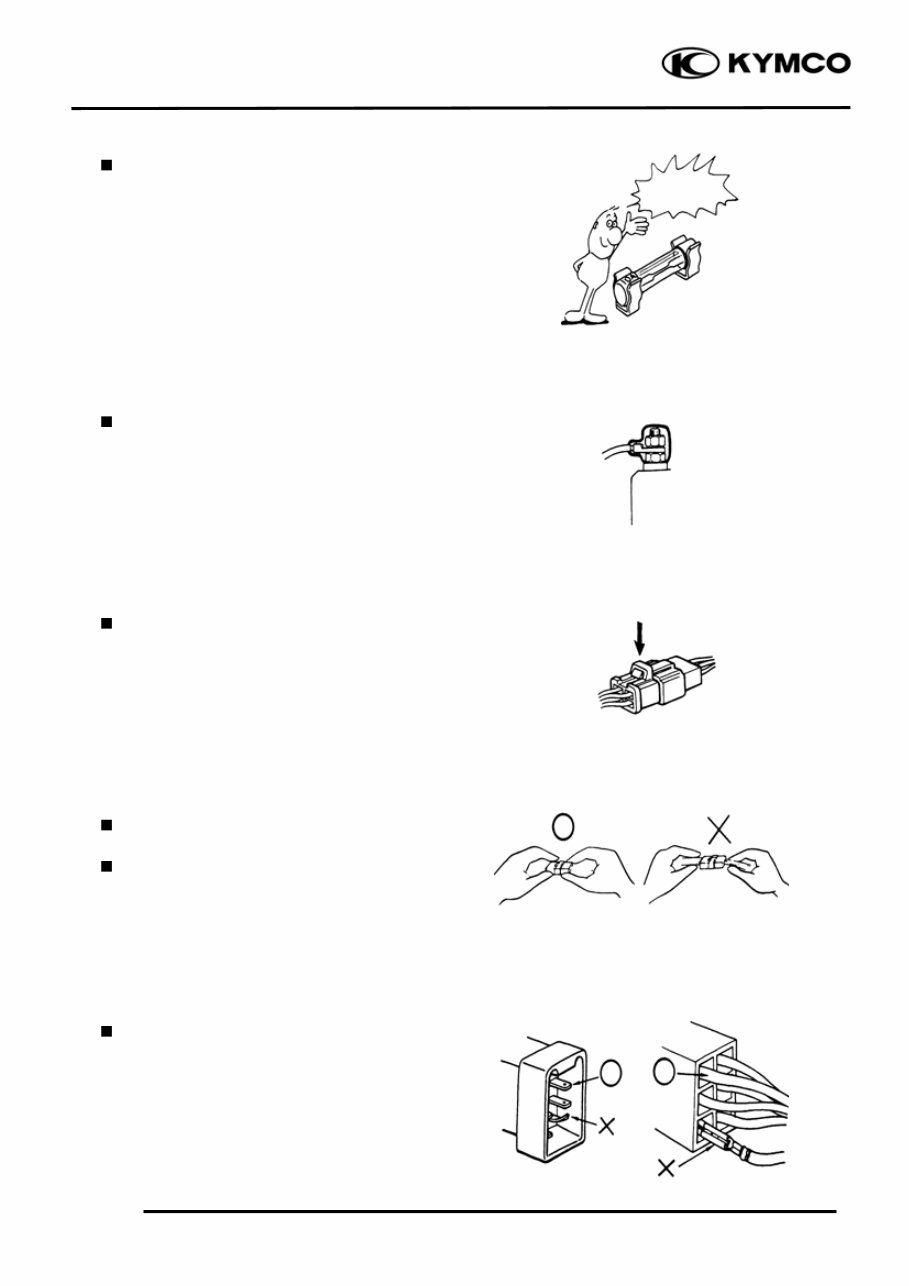
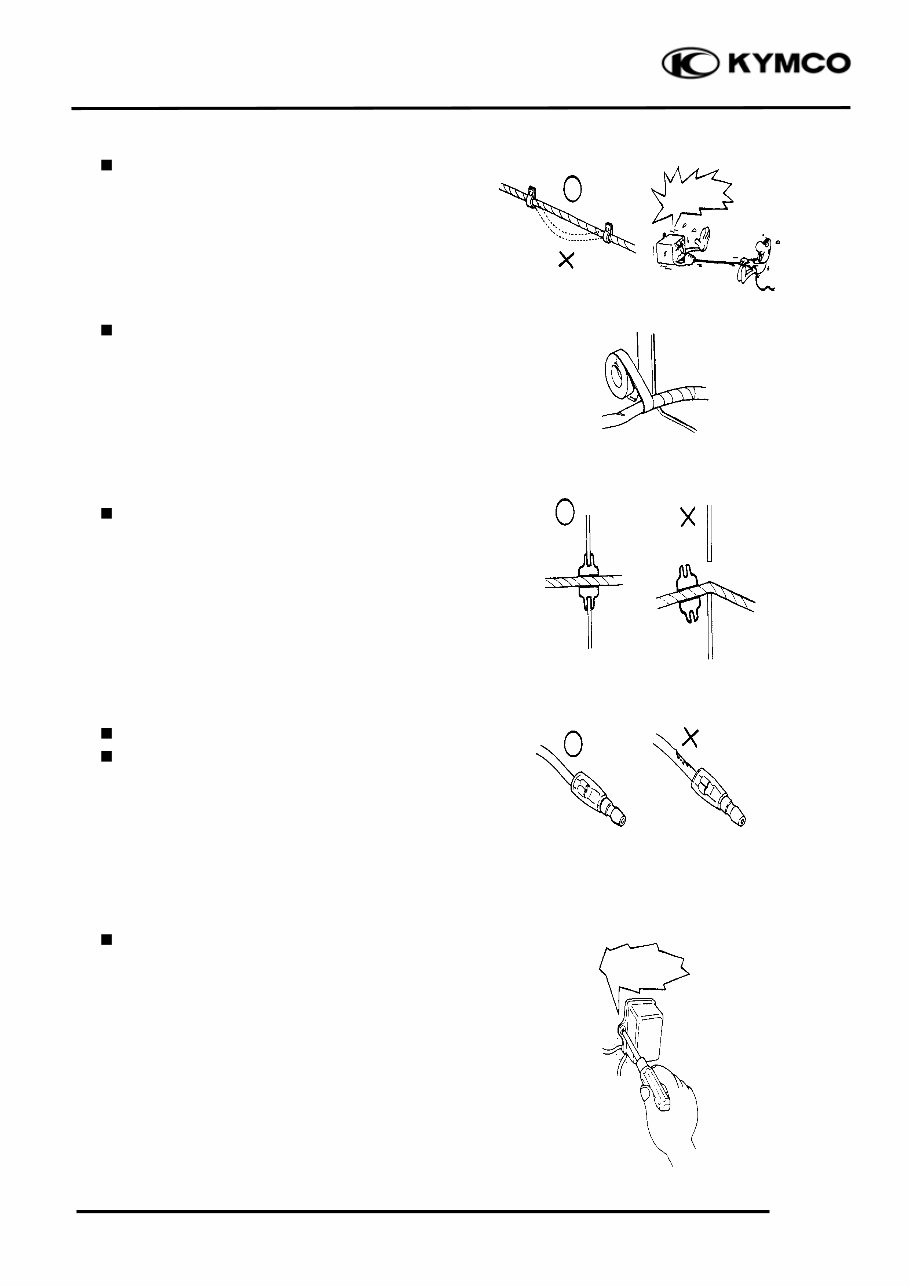
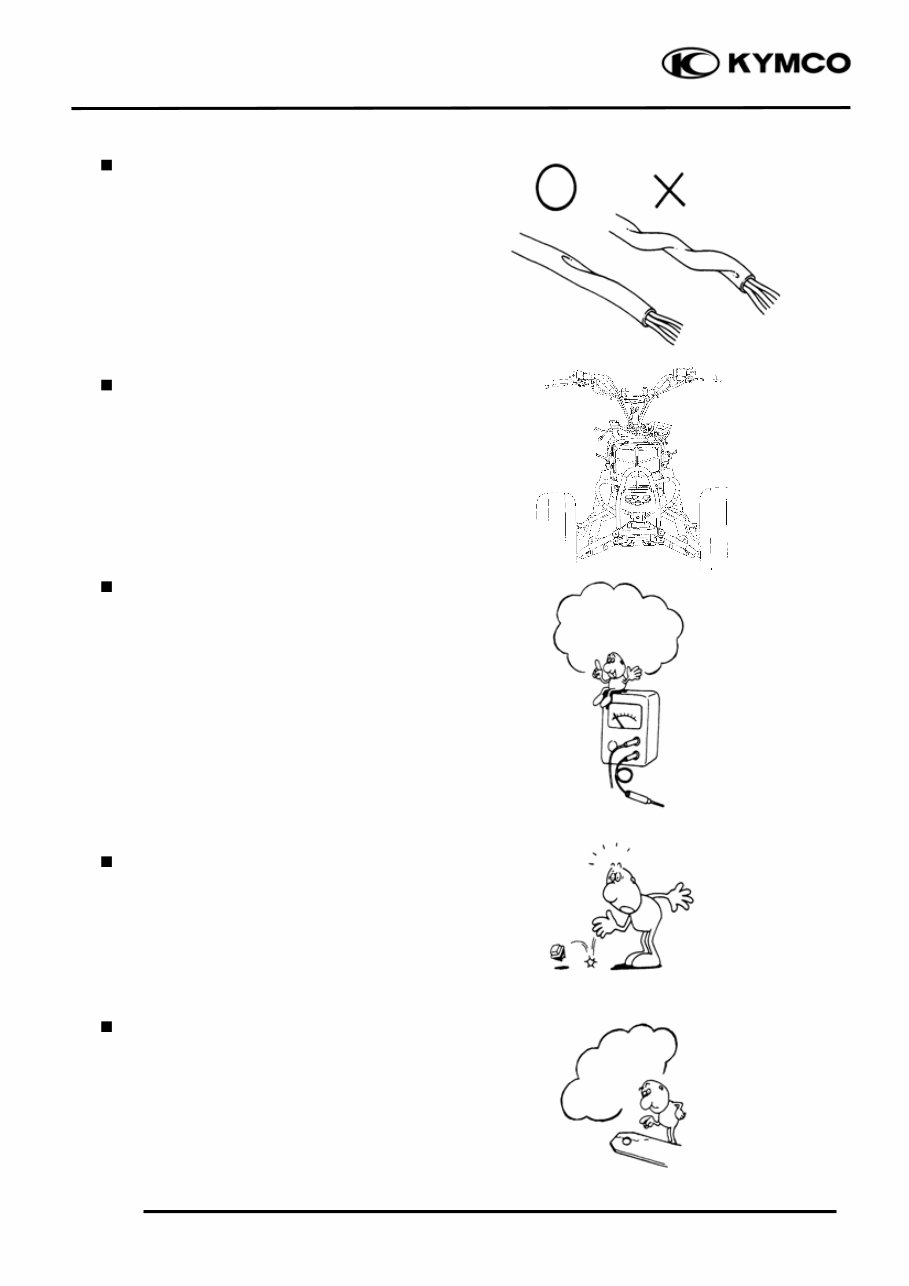
1. GENERAL INFORMATION 1-5 MXU 250 If the fuse is burned out, find the cause and repair it. Replace it with a new one according to the specified capacity. After operation, terminal caps shall be installed securely. When taking out the connector, the lock on the connector shall be released before operation. Hold the connector body when connecting or disconnecting it. Do not pull the connector wire. Check if any connector terminal is bending, protruding or loose. Confirm Capacity
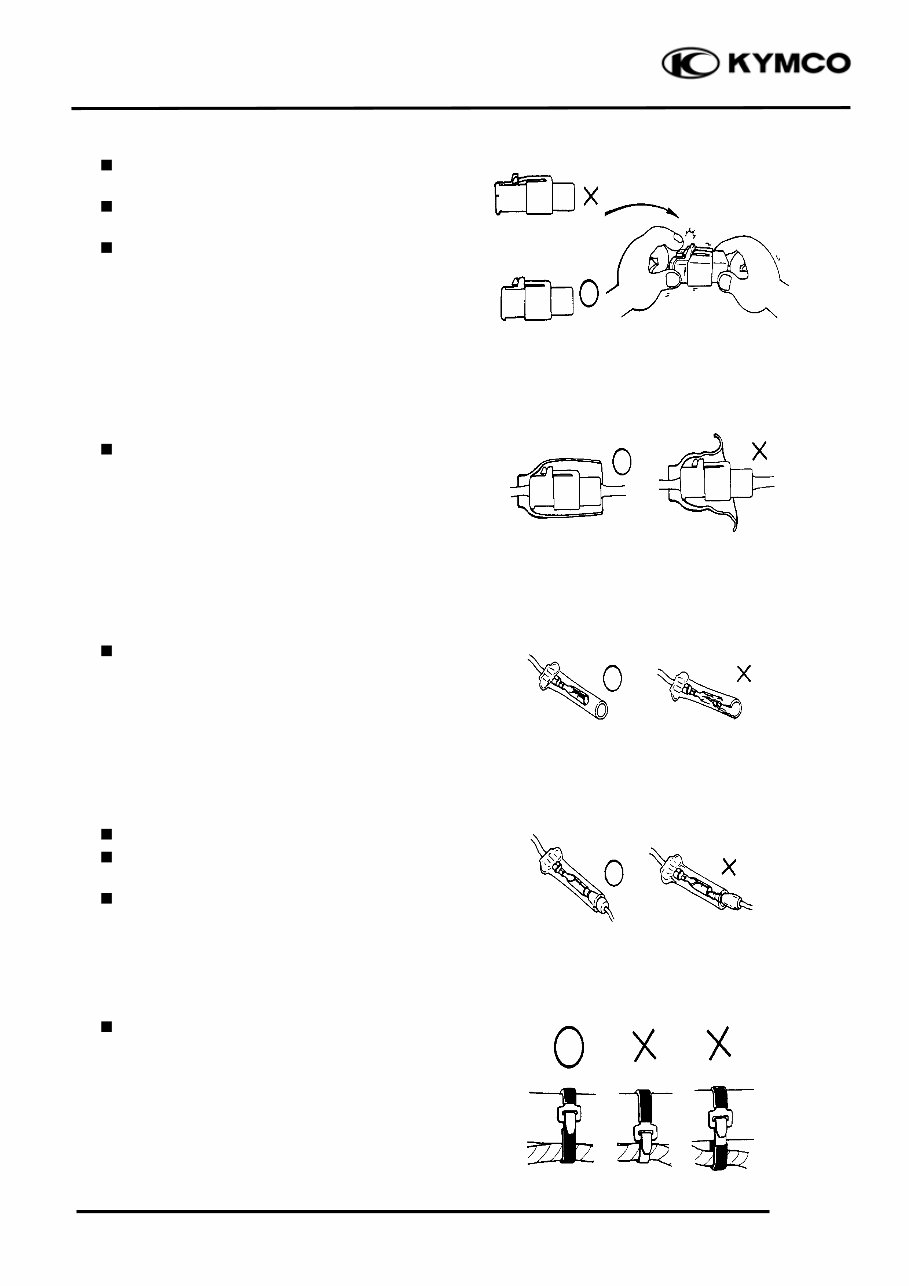
1. GENERAL INFORMATION 1-6 MXU 250 The connector shall be inserted completely. If the double connector has a lock, lock it at the correct position. Check if there is any loose wire. Before connecting a terminal, check for damaged terminal cover or loose negative terminal. Check the double connector cover for proper coverage and installation. Insert the terminal completely. Check the terminal cover for proper coverage. Do not make the terminal cover opening face up. Secure wire harnesses to the frame with their respective wire bands at the designated locations. Tighten the bands so that only the insulated surfaces contact the wire harnesses. Snapping!
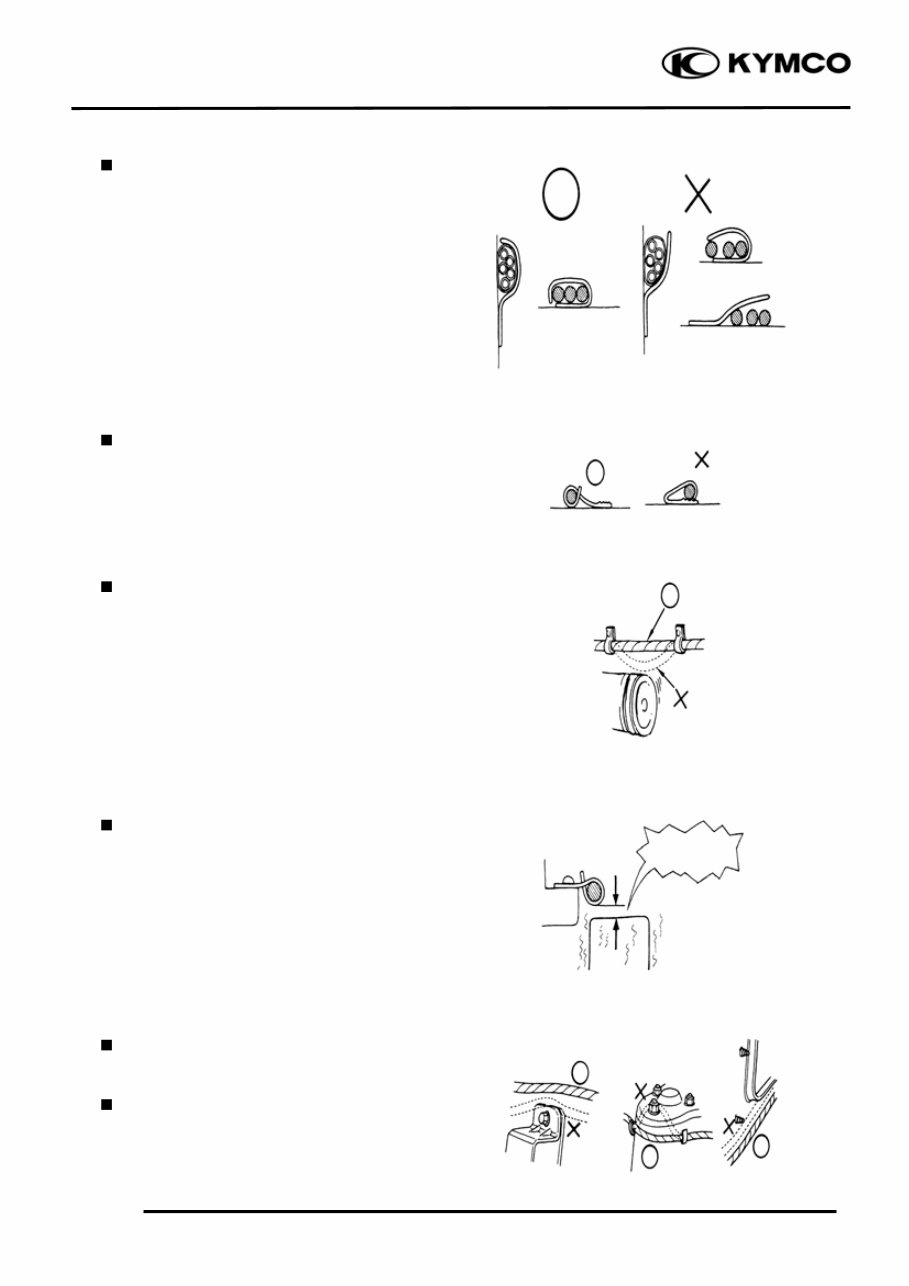
1. GENERAL INFORMATION 1-7 MXU 250 After clamping, check each wire to make sure it is secure. Do not squeeze wires against the weld or its clamp. After clamping, check each harness to make sure that it is not interfering with any moving or sliding parts. When fixing the wire harnesses, do not make it contact the parts which will generate high heat. Route wire harnesses to avoid sharp edges or corners. Avoid the projected ends of bolts and screws. Route wire harnesses passing through the side of bolts and screws. Avoid the projected ends of bolts and screws. No Contact !
1. GENERAL INFORMATION 1-8 MXU 250 Route harnesses so they are neither pulled tight nor have excessive slack. Protect wires and harnesses with electrical tape or tube if they contact a sharp edge or corner. When rubber protecting cover is used to protect the wire harnesses, it shall be installed securely. Do not break the sheath of wire. If a wire or harness is with a broken sheath, repair by wrapping it with protective tape or replace it. When installing other parts, do not press or squeeze the wires. Do not pull too tight! Do not press or squeeze the wire.
1. GENERAL INFORMATION 1-9 MXU 250 After routing, check that the wire harnesses are not twisted or kinked. Wire harnesses routed along with handlebar should not be pulled tight, have excessive slack or interfere with adjacent or surrounding parts in all steering positions. When a testing device is used, make sure to understand the operating methods thoroughly and operate according to the operating instructions. Be careful not to drop any parts. When rust is found on a terminal, remove the rust with sand paper or equivalent before connecting. Do you understand the instrument? Is the instrument set correctly? Remove Rust !
Thank you for considering this comprehensive Workshop Service Repair Manual for the Kymco MXU 250 ATV, covering the years 2004 to 2009.
This manual is an invaluable resource for both professional mechanics and DIY enthusiasts, providing detailed instructions and illustrations for every service and repair procedure.
By utilizing this manual, you can significantly reduce repair costs by performing maintenance and repairs on your own. The step-by-step instructions and accompanying images make it easy to tackle servicing and repairs across all areas of the vehicle.
Upon acquisition, this manual becomes your permanent reference. You have the flexibility to print individual pages, specific chapters, or the entire manual. Additionally, it can be conveniently accessed on your tablet or smartphone.
All models, engines, trim levels, and transmission types are comprehensively covered in this manual, ensuring its applicability to a wide range of variations.
The manual encompasses all repair procedures from A to Z, leaving no aspect of maintenance or service untouched.
Compatibility is not an issue, as this manual is designed to function seamlessly across all PC and MAC computers, tablets, and mobile phones. The only software requirement is Adobe Reader, which is commonly pre-installed on most systems or can be obtained for free.
Upon payment confirmation through Visa, MasterCard, or PayPal, the manual will be promptly delivered to the email address provided during the checkout process.
Rest assured, customer satisfaction is guaranteed with this comprehensive Workshop Service Repair Manual.