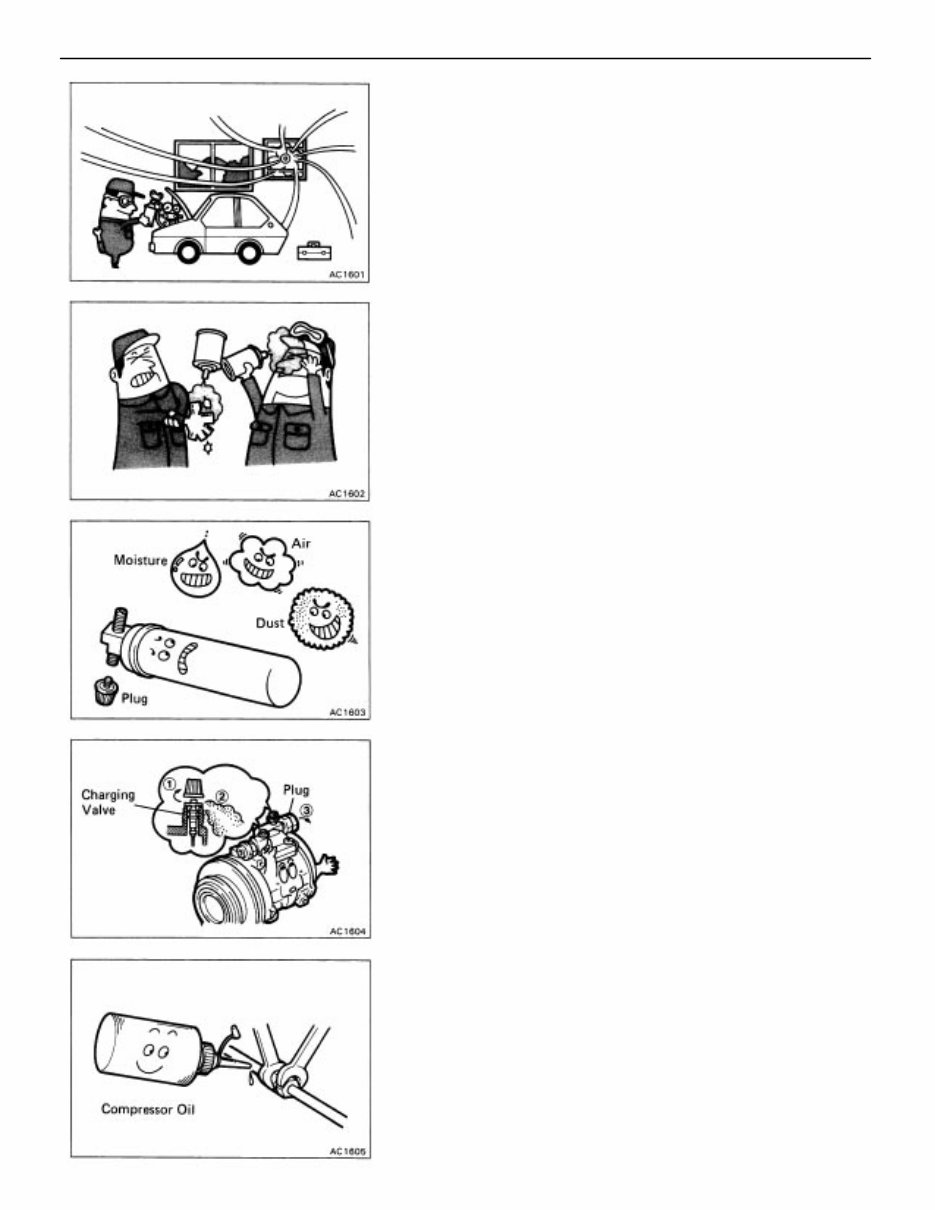
GENERAL INFORMATION 1. WHEN HANDLING REFRIGERANT (R–12), FOLLOWING PRECAUTIONS MUST BE OBSERVED (a) Do not handle refrigerant in an enclosed area or near an open flame. (b) Always wear eye protection. (c) Be careful that liquid refrigerant does not get in your eyes or on your skin. If liquid refrigerant gets in your eyes or on your skin; • Do not rub. • Wash the area with a lot of cool water. • Apply clean petroleum jelly to the skin. • Go immediately to a physician or hospital for profes- sional treatment. • Do not attempt to treat yourself. (d) Discharge refrigerant from the charging valve before installing the new compressor. If the refrigerant is not discharged first, compressor oil will spray out with the refrigerant gas when the plug is removed. (e) Do not use a burner for bending or lengthening op- erations on tubes. If tubes are heated with a burner, a layer of oxidation forms inside the tube, causing the same kind of trouble as an accumulation of dust. 3. WHEN TIGHTENING CONNECTING PARTS; (a) Apply a few drops of compressor oil to O–ring fittings for easy tightening and to prevent leaking of refrig- erant gas. (b) Tighten the nut using two wrenches to avoid twisting the tube. 2. WHEN REPLACING PARTS ON REFRIGERANT LINE; (a) Discharge refrigerant slowly before replacement. (b) Insert a plug immediately in disconnected parts to prevent entry of moisture and dust. (c) Do not leave a new condenser or receiver, etc., lying around with the plug removed. – AIR CONDTIONING General Information AC–2
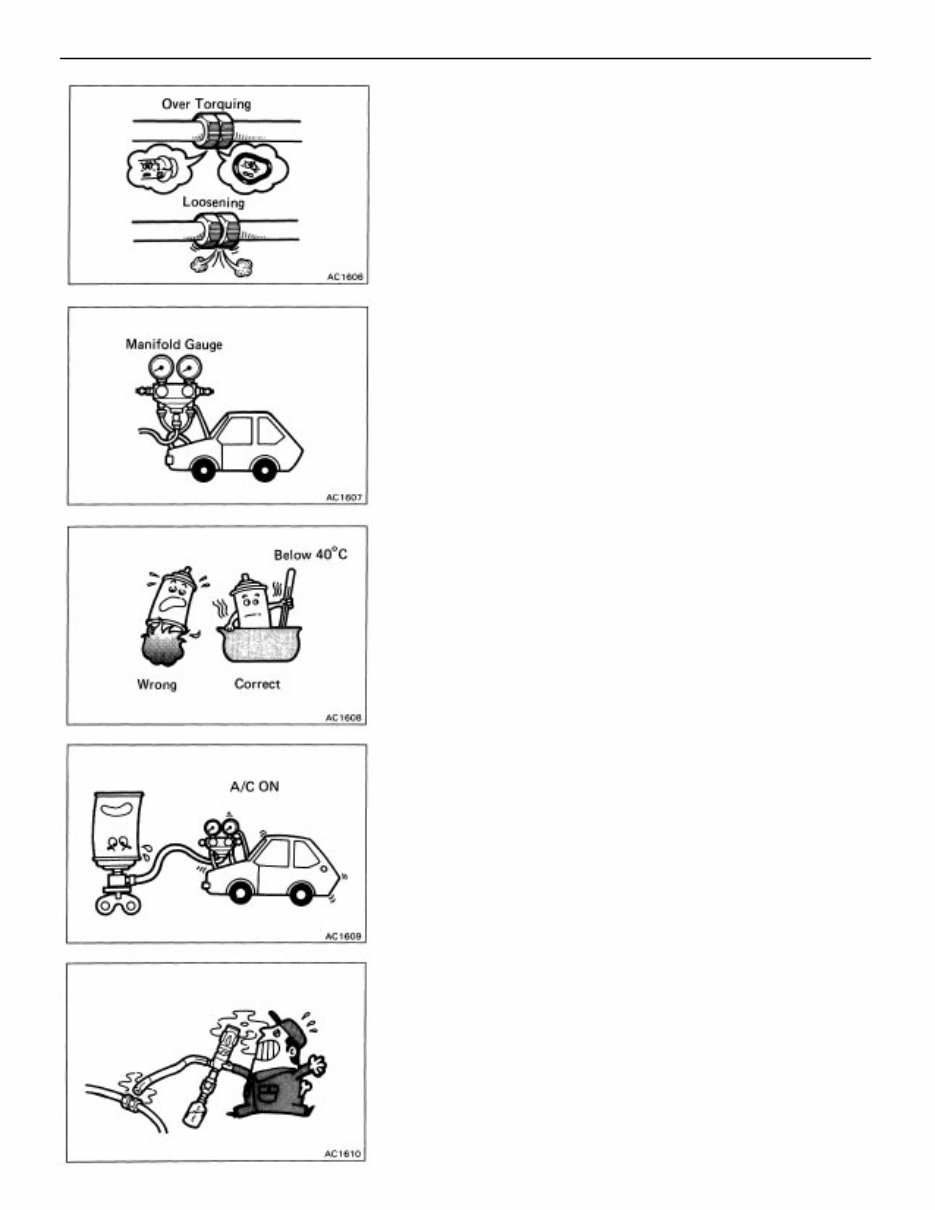
6. WHEN HANDLING REFRIGERANT CONTAINER (SERVICE CAN); (a) Must never be heated. (b) Must be kept below 40°C (104°F). (c) If warming service can with hot water, be careful that the valve on top of the service can is never immersed in the water, as the water may permeate into the refrigerant cycle. (d) Empty service cans must never be re–used. 7. WHEN A/C IS ON AND REFRIGERANT GAS IS BEING REPLENISHED; (a) If there is not enough refrigerant gas in the refrigerant cycle, oil lubrication becomes insufficient and compres- sor burnout may occur, so take care to avoid this. (b) If the valve on the high pressure side is opened, refriger- ant flows in reverse and causes the service can to rup- ture, so only open and close the valve on the low pres- sure side. (c) If the service can is inverted and refrigerant is inserted in a liquid state, the liquid is compressed and the compres- sor breaks down, so the refrigerant must be inserted in a gaseous state. (d) Be careful not to insert too much refrigerant gas, as this causes trouble such as inadequate cooling, poor fuel economy, engine overheat, etc. 8. WHEN USING GAS–CYLINDER TYPE LEAK DETECTION INSTRUMENT; (a) As a naked flame is used, first make sure that there are no flammable substances nearby before using it. (b) Be careful, as poisonous gas is produced when refrigerant gas comes in contact with heat parts. (c) Tighten the 0–ring fittings or the bolted type fittings to the specified torque 4. WHEN CONNECTING MANIFOLD GAUGE; (a) Be sure to connect the charging hose end with a pin to the compressor charging valve. (b) The letter ”D” engraved near the compressor service valve indicates the high pressure side, and ”S” indicates the low pressure side. Pay careful attention when connecting the hose. (c) Tighten hose by hand. (d) To prevent loosening of connected hose, do not ap– ply drops of compressor oil to the seat of connection. HINT: After connecting the manifold gauge and the refriger- ant container (service can), discharge any air in the hoses. 5. WHEN EVACUATING; Approx. 15 minutes after removal, check the system for leaks, then take at least another 15 minutes to make sure the air is fully removed. – AIR CONDTIONING General Information AC–3
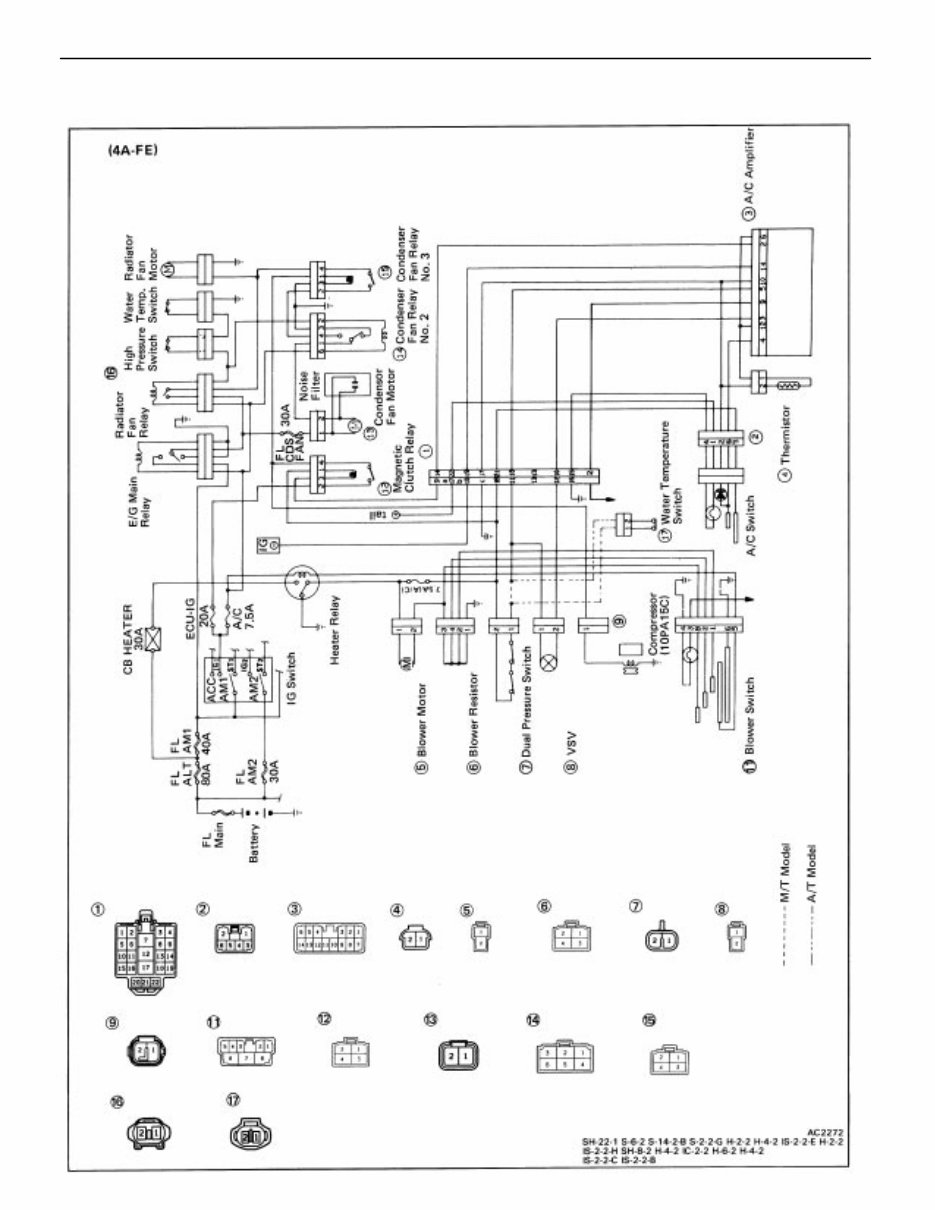
AIR CONDITIONING SYSTEM CIRCUIT – AIR CONDTIONING Air Conditioning System Circuit AC–4
AIR CONDITIONING SYSTEM CIRCUIT (Cont’d) – AIR CONDTIONING Air Conditioning System Circuit AC–5
Discover the extensive 1987-1992 Toyota Corolla Service & Repair Manual. This manual is an essential guide for Toyota Corolla owners from 1987 to 1992, providing detailed insights and systematic instructions for the maintenance and repair of your vehicle.
Crafted to aid both professional mechanics and DIY enthusiasts, this manual encompasses all facets of maintaining and repairing the Toyota Corolla. Whether it involves routine maintenance tasks or intricate repairs, this manual is a reliable resource.
1987 Toyota Corolla models
1988 Toyota Corolla models
1989 Toyota Corolla models
1990 Toyota Corolla models
1991 Toyota Corolla models
1992 Toyota Corolla models
Contained within are detailed elucidations, diagrams, and illustrations for various systems of the Toyota Corolla, encompassing the engine, transmission, suspension, electrical, and more. The systematic procedures ensure that you can competently and precisely execute any repair or maintenance task.
By utilizing this service & repair manual, you can economize time and money by conducting your own repairs and maintenance instead of depending on costly dealership services. Be assured that you are utilizing precise and dependable information specific to your Toyota Corolla model.
Do not allow mechanical issues to impede your progress. Acquire the 1987-1992 Toyota Corolla Service & Repair Manual today and take charge of maintaining and repairing your vehicle with confidence!